
Making Smaller Boxes
I started working on the drawers back in November 2018 and just now completed them in May 2019 so six months of this year long project was spent just making drawers. There is a caveat however as during two of these six months, absolutely no work actually occurred. In November, I underwent surgery to remove a cancerous melanoma from my left shoulder and was unable to exert myself until I was mostly healed and in February we had one of the snowiest months on record and the shop was just too darn cold to do any work.
Another note on timeline: until now these blog posts have been out of sync with real time since I had been catching up to the work that had already been completed. Now with the drawers, we are all caught up and blog posts are aligned with the present day.
The Components
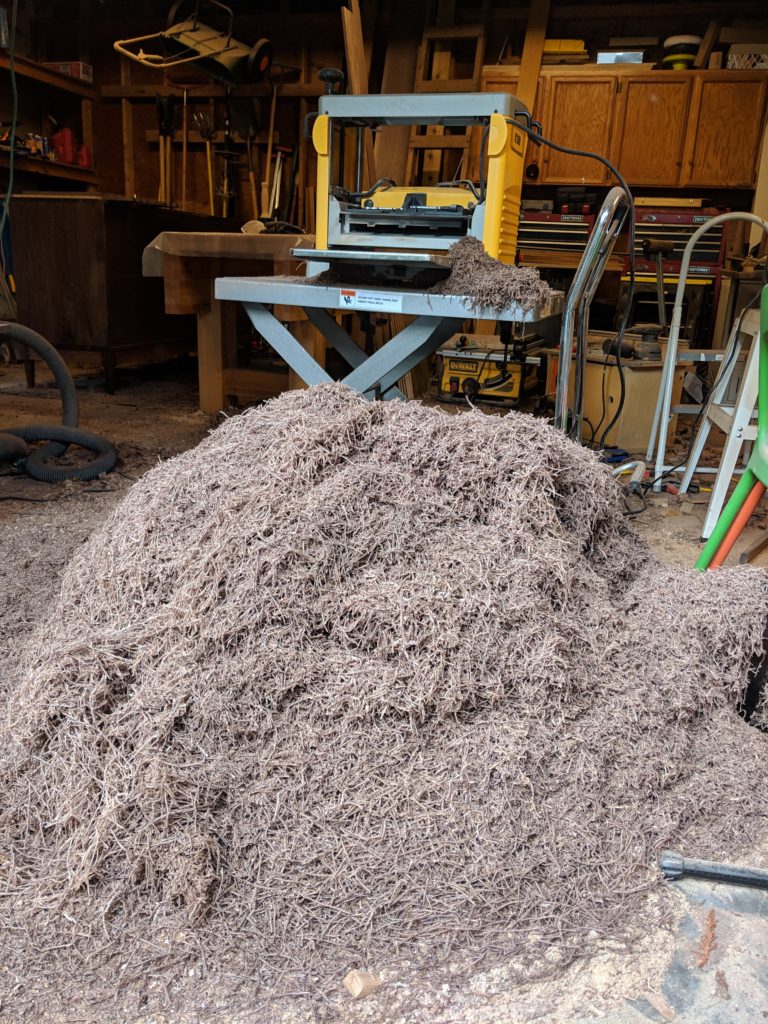
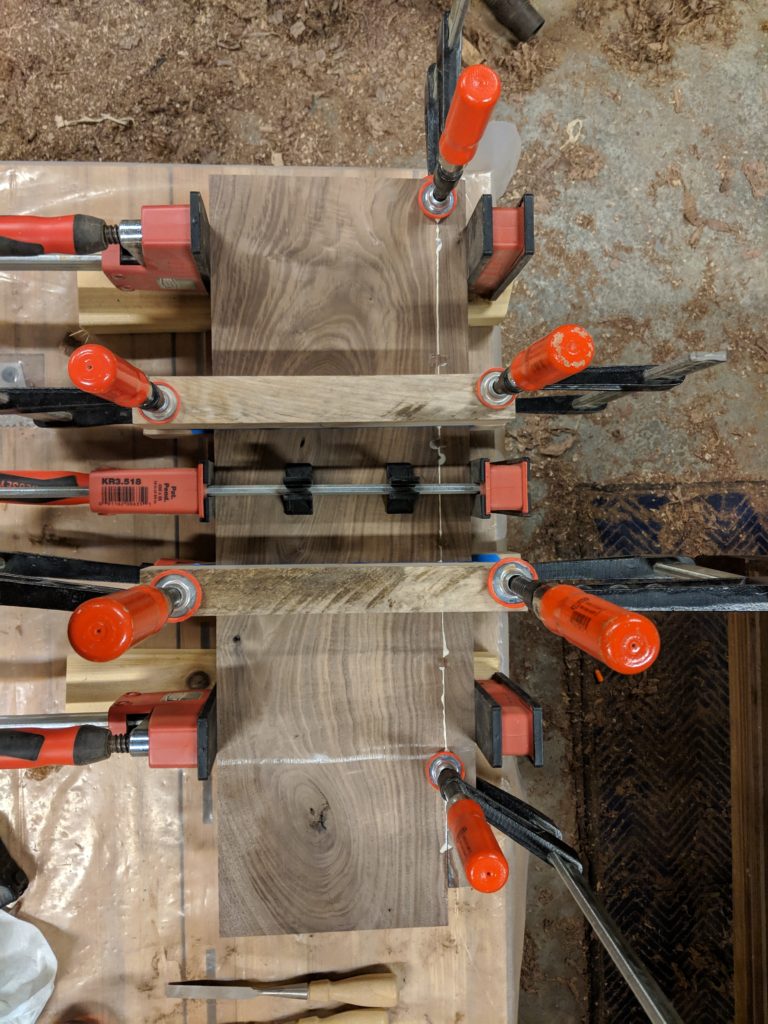
I gathered up all the walnut lumber that was left and ran it through the planer to a consistent 11/16″ thickness. Most of the lumber was not wide enough to make a drawer side from a single piece so I had to join two boards edge to edge to make a piece wide enough. I used clamps along the glue line to make sure the faces of each board were flush and tried the best I could to line up the grain patterns so the line disappeared as much as possible.
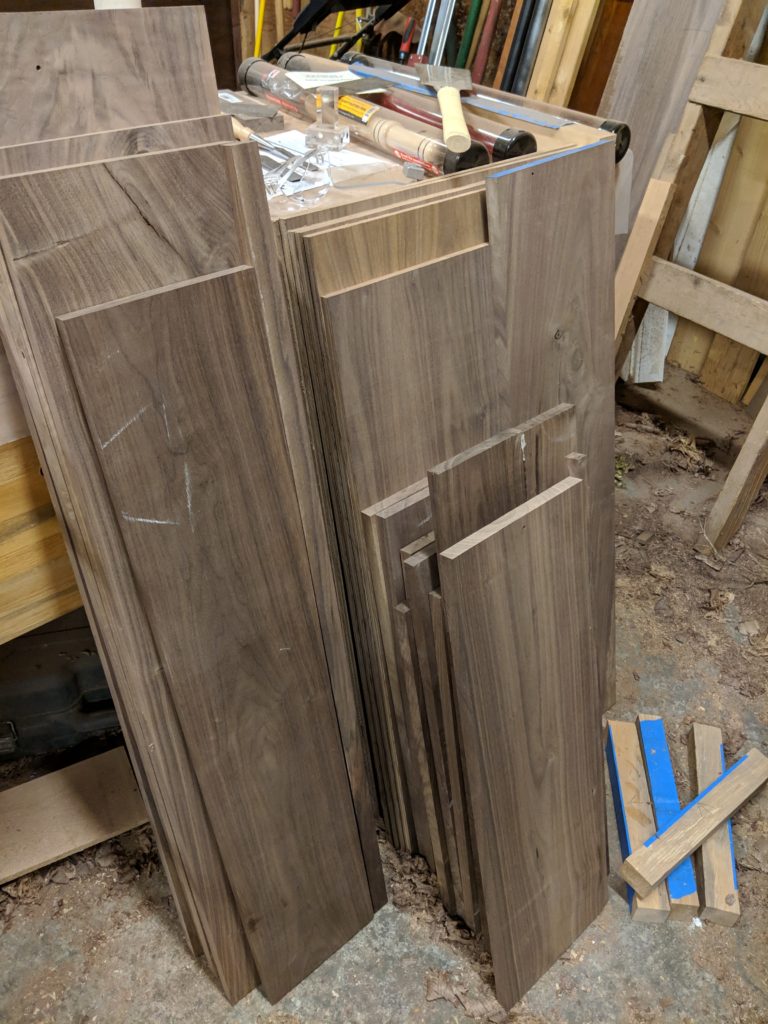
After the glue dried, the final step was to bring the width and length to final dimension which was done with the table saw ripping along the fence for the width and crosscutting with a miter gauge for the length. This length dimension for the drawer fronts and backs was critical that it be exact since it determined the overall width of the drawers which had to fit snugly inside the drawer cavity. More on this later. The length of the sides didn’t matter so much since they didn’t have to fit perfectly into the depth of the drawer cavity.
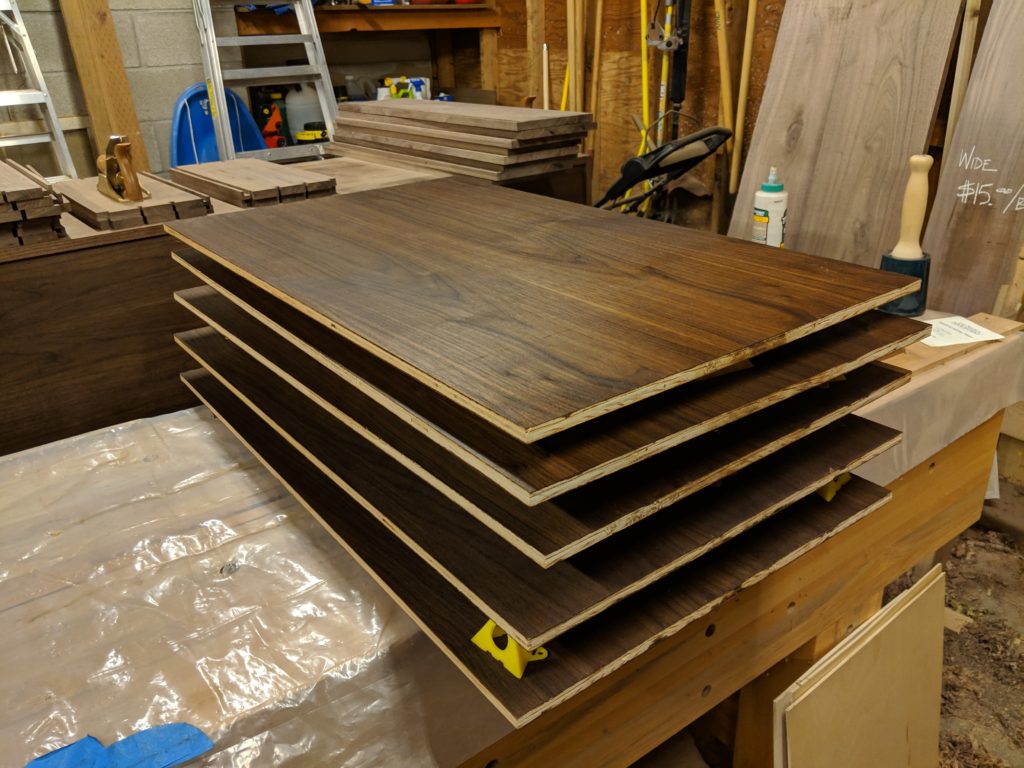
The same walnut veneered plywood that was used for the case back and drawer dividers was used for the drawer bottoms. I measured the inside dimensions of the dado grooves that will hold the bottoms in place and subtracted 1/16″ from the length and width to allow for variations and any wood movement. Then I cut out six pieces and set them aside.
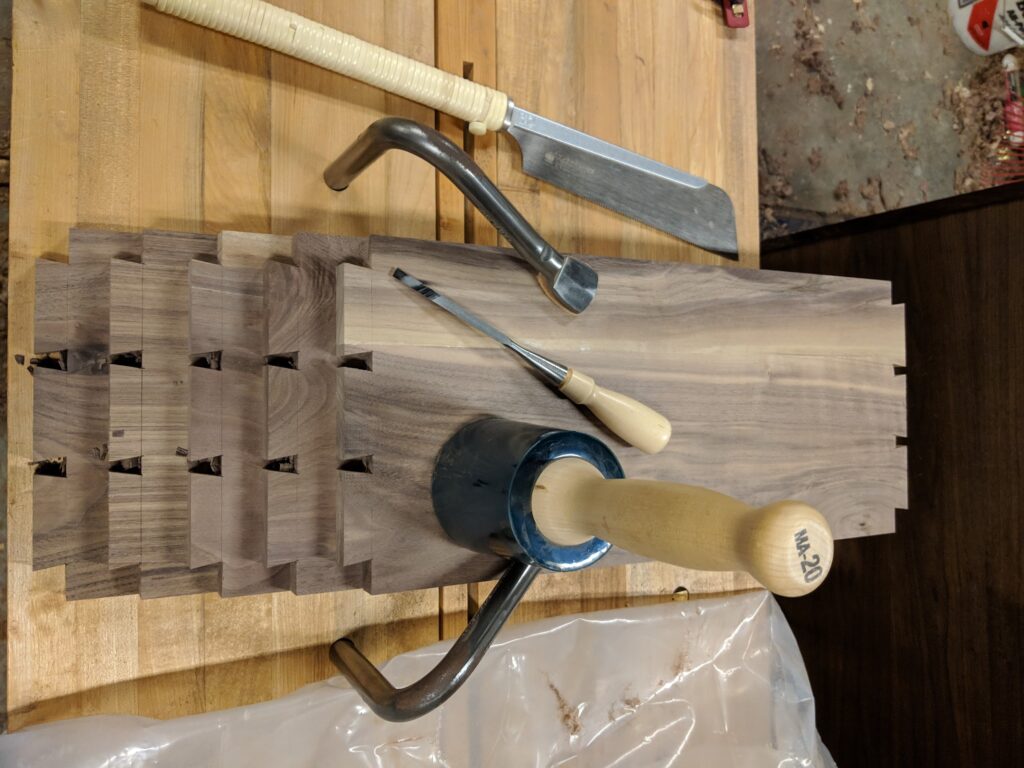
Lots Of Dovetails
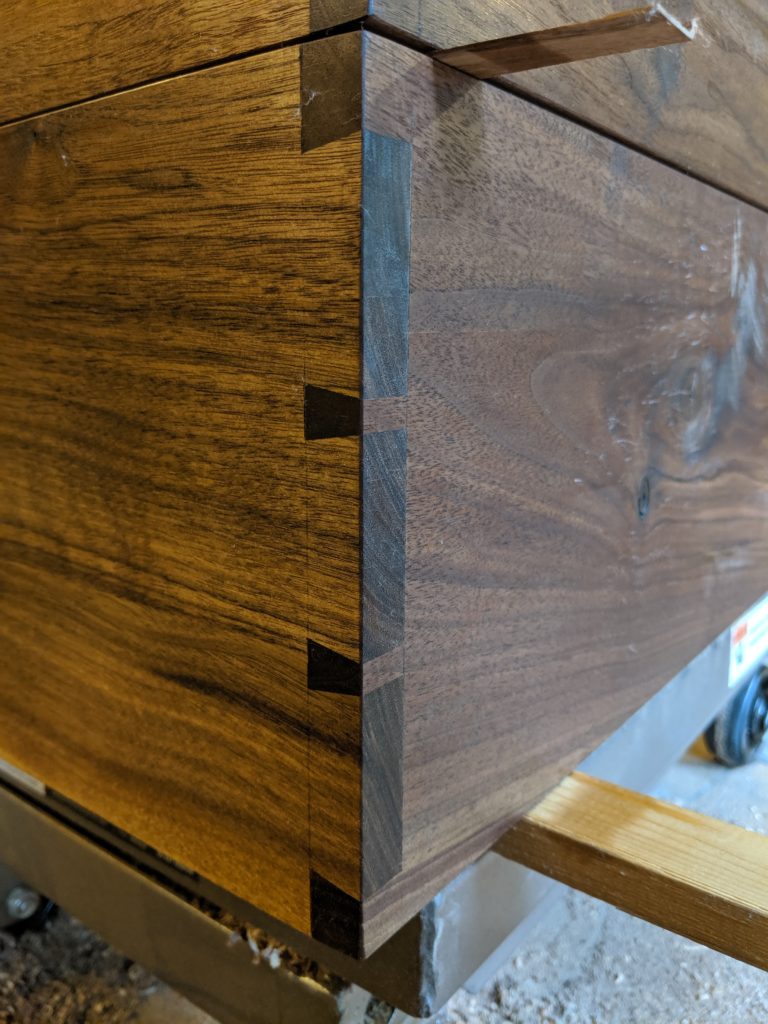
Before now, I had never really cut a lot of dovetails. I did cut the dovetails for the case earlier but nothing like the amount of dovetailing I was about to do. I really got my practice in. I won’t get into the step by step process I use for hand cutting dovetails as I already mentioned it in earlier posts and it can be a lot of detail. Instead I recommend watching the time lapse video I made of myself making the drawer dovetails. This is my very first woodworking video and the production quality isn’t great but I shot it on my smartphone and edited it with a free editing software so expectations were not high. It was a lot of fun and I look forward to doing it again on another project.
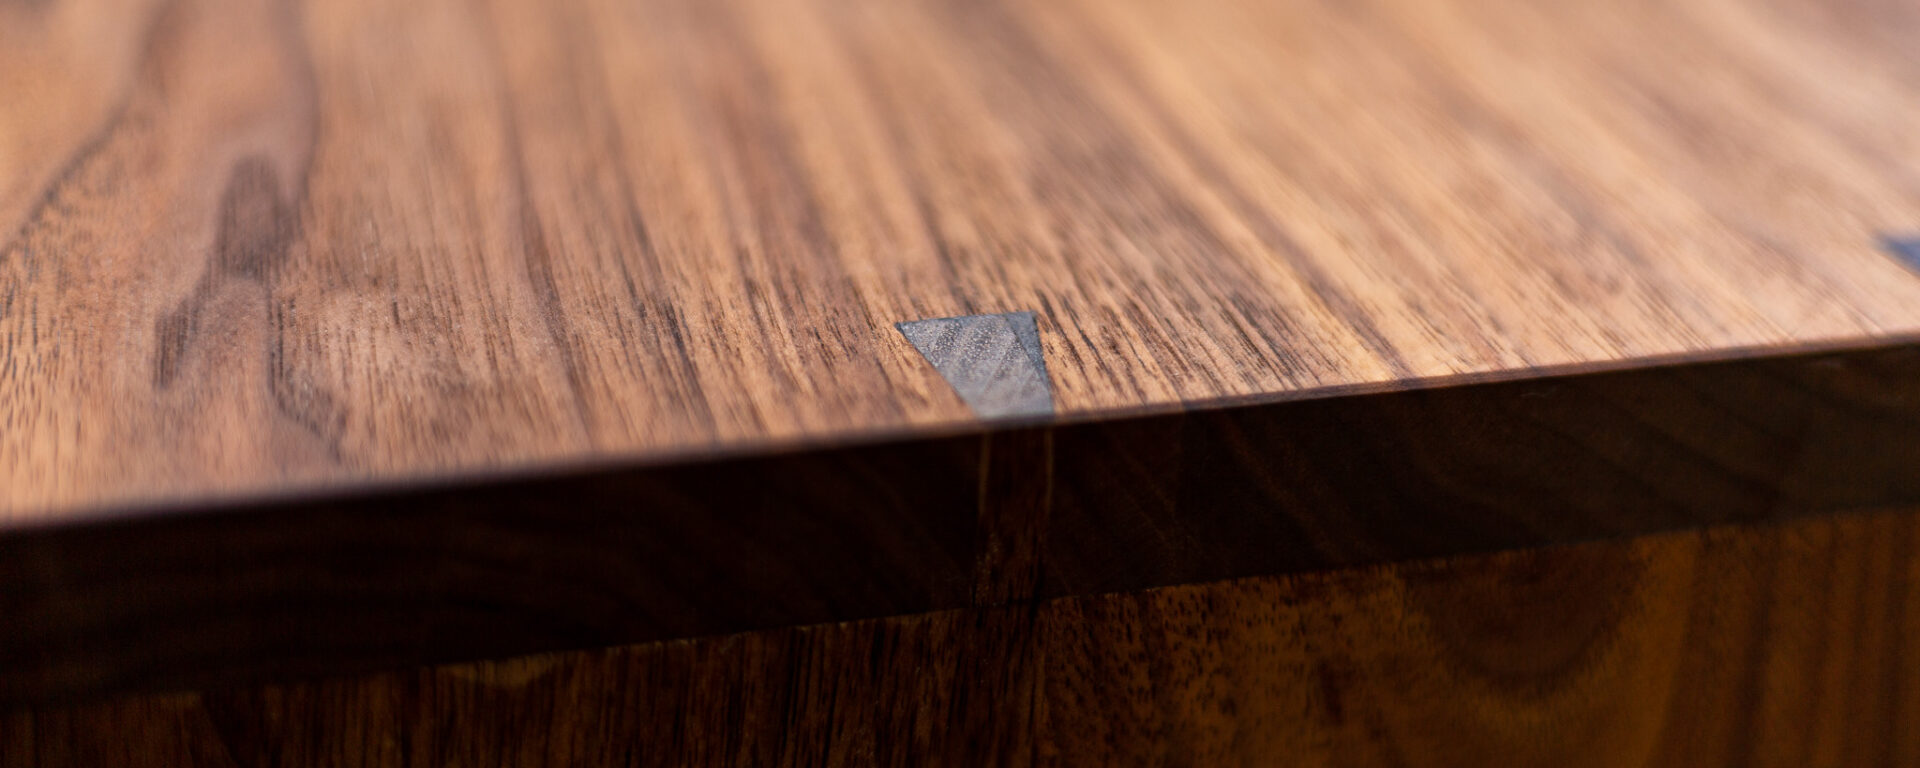
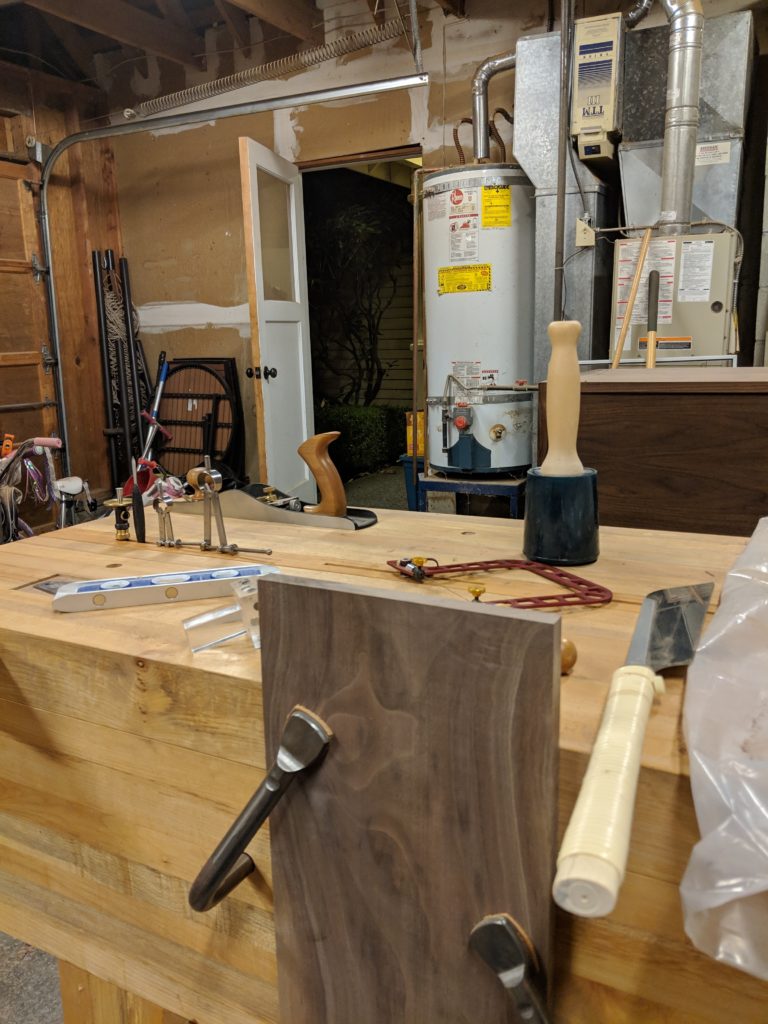
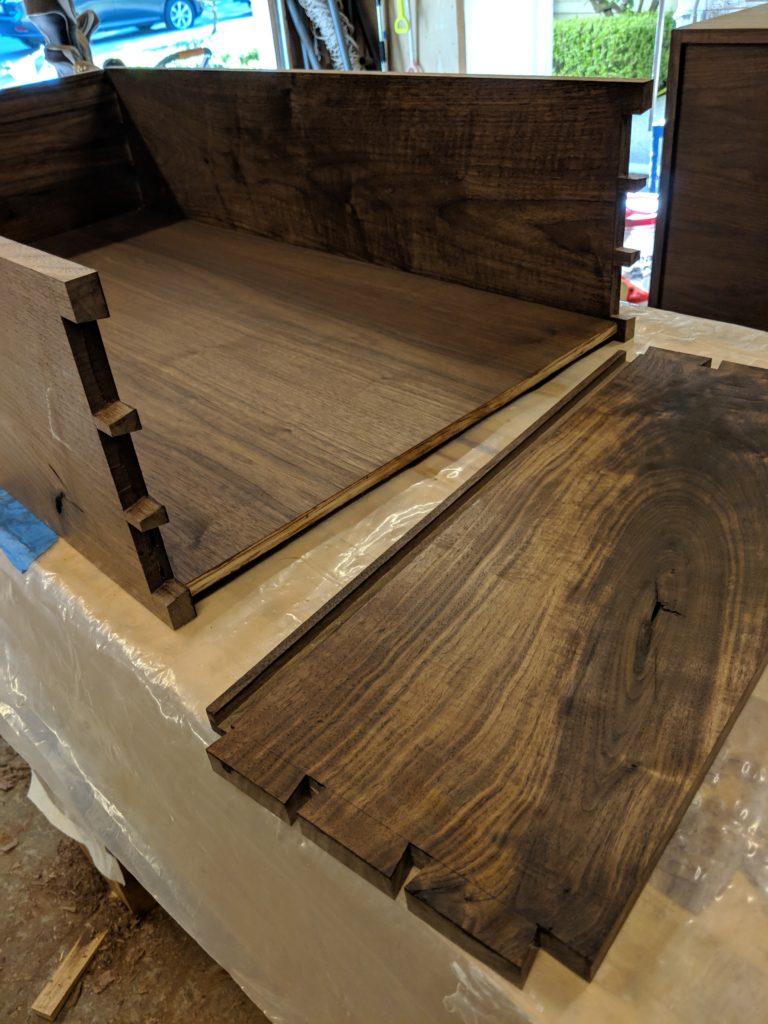
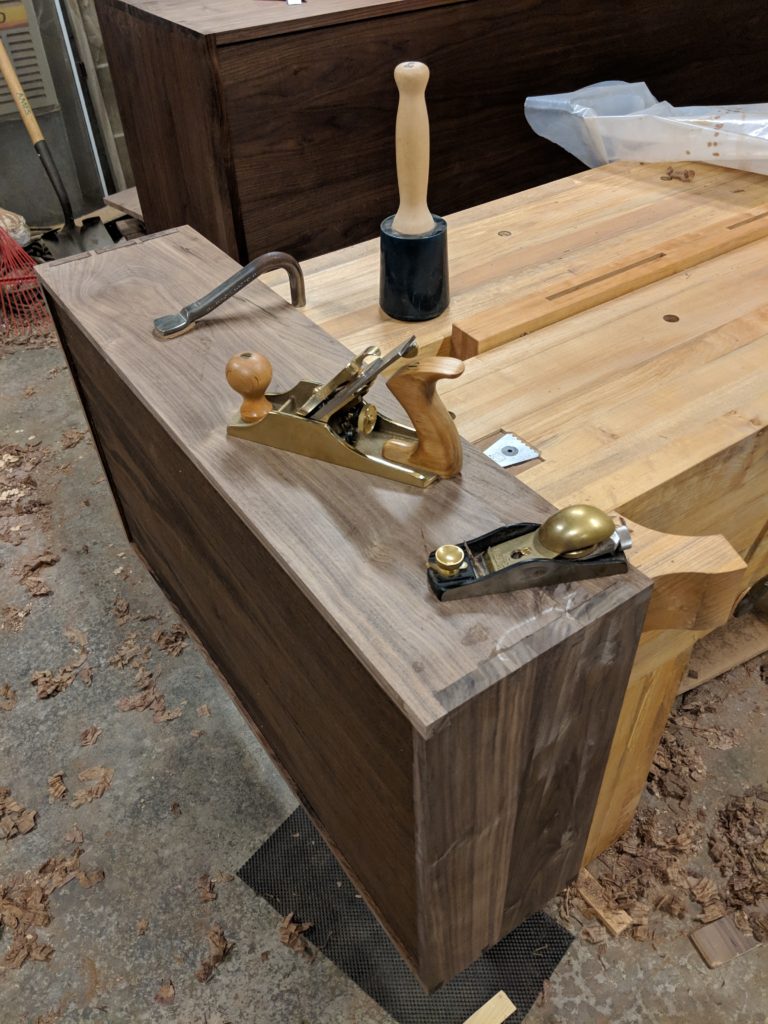
After all the dovetails were fit, I used my router to cut the dados on the inside bottom faces of the drawer sides to receive the bottoms. Then my attention turned to the hand plane. I received an absolutely beautiful bronze #4 Lie-Nielsen smoothing plane for Christmas and now I was about to put it to work. I just love this tool and when it is honed sharp and well tuned with a high angle back bevel and slight camber on the blade, it can leave a surface that looks and feels like glass. No sand paper required.
The plane was not the only thing to get a work out. Holy moly did my triceps hurt after finish planing all 24 inside drawer faces. I simply had to do this over multiple weekends because my arms were just too tired and they needed a rest. Plus my hands got blisters which needed the time to heal. By the end of this step, I had developed some nice calluses

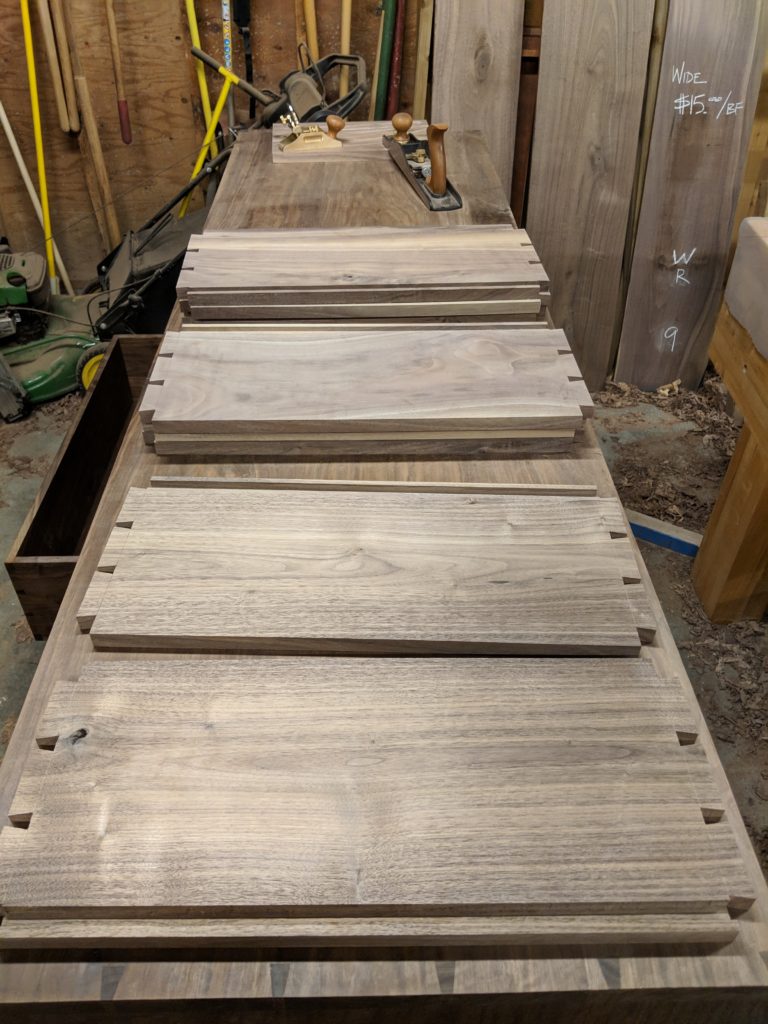
It was important to plane and finish the insides of the drawers before assembly since it would be difficult to do afterwards. One of my favorite steps in woodworking is seeing the oil finish applied to the wood for the first time. The color and grain just come to life and there is an immediate sense of satisfaction.
Assembly
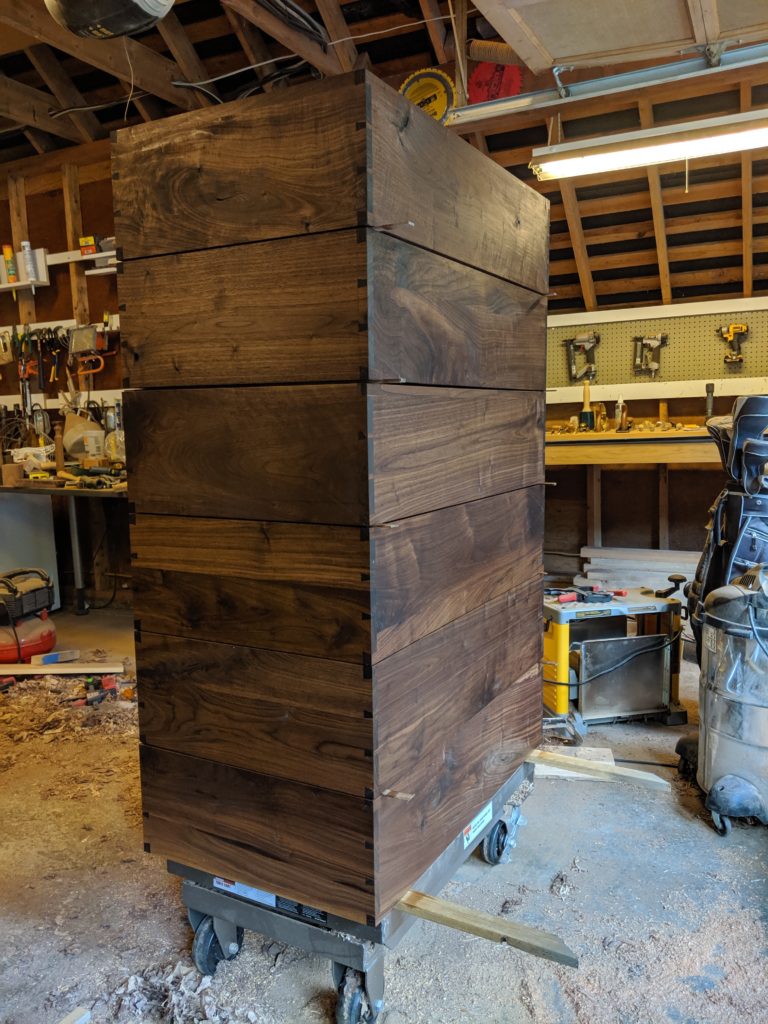
With dovetails, you only need to apply glue to the long grain surfaces of the pins and tails. Applying glue to the end grain surfaces does nothing for joint strength and is a waste of glue and, more importantly, precious assembly time. I learned the hard way that you must first assemble one tails side with two pins sides before sliding in the bottom. If you do the reverse and try to assemble two tails sides, the geometry is such that you cannot slide the bottom in place. Lesson learned. I glued up all the drawers, squared them up and let them dry overnight. I clamped the first drawer because I thought I needed to but I discovered that this is mostly unnecessary as a tight fitting dovetail joint mostly holds itself together.
Hand Fitting
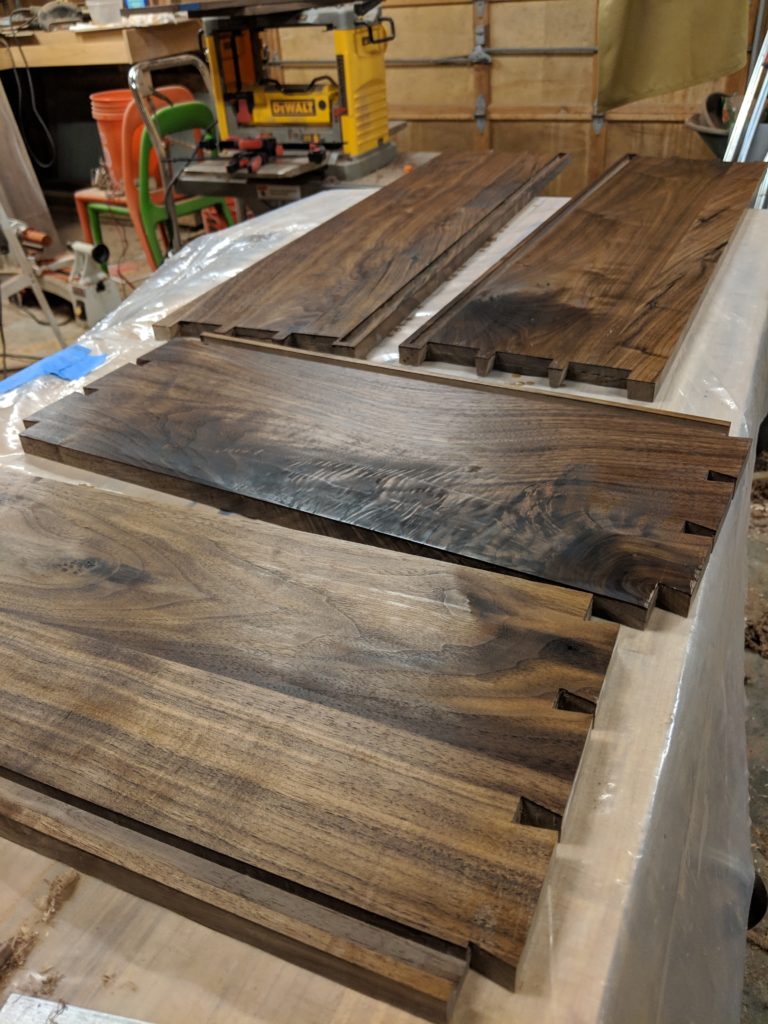
If I hadn’t had enough of a arm work out planing the inside drawer faces, I was about to double it planing the outside faces. The difference here was that I needed to contend with the end grain of the pins and tails. For this I used a low angle block plane to shave the end grain flush with the surface since it was intentionally left about 1/32″ proud when I marked the dovetails with the marking gauge. A low angle will slice the perpendicular wood fibers as opposed to scraping them (or blowing them out) as a high angle plane would.
Then I went at it with the smoothing plane. It was at this moment that I was very happy that I decided to build workbench with a split top. The split allowed me to position the drawer such that I could support it in place and plane on the surface without it sliding around on me. Then began the multiple weekends of sore triceps and blistered hands until I had finished all 24 outside drawer faces. Planing the outside was more enjoyable than the inside because you could see the beauty of the dovetail joints come to life as you planed them flush.
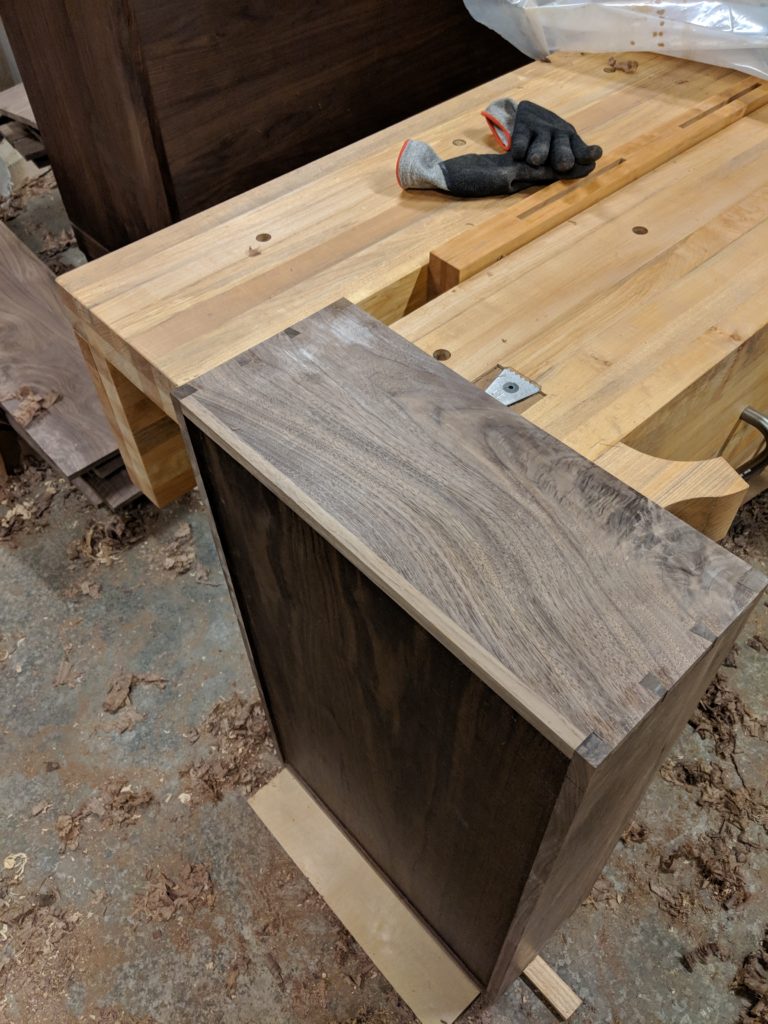
For these drawers to work without mechanical glide hardware, they needed a custom fit into the drawer cavities. If the fit was too sloppy, they would rack or drop down when the drawer was opened. The goal was a piston fit that required that the overall width and height be perfect. Much time was spent with a variety of block planes and jack planes shaving thousandths of an inch at a time and repeatedly checking for fit.
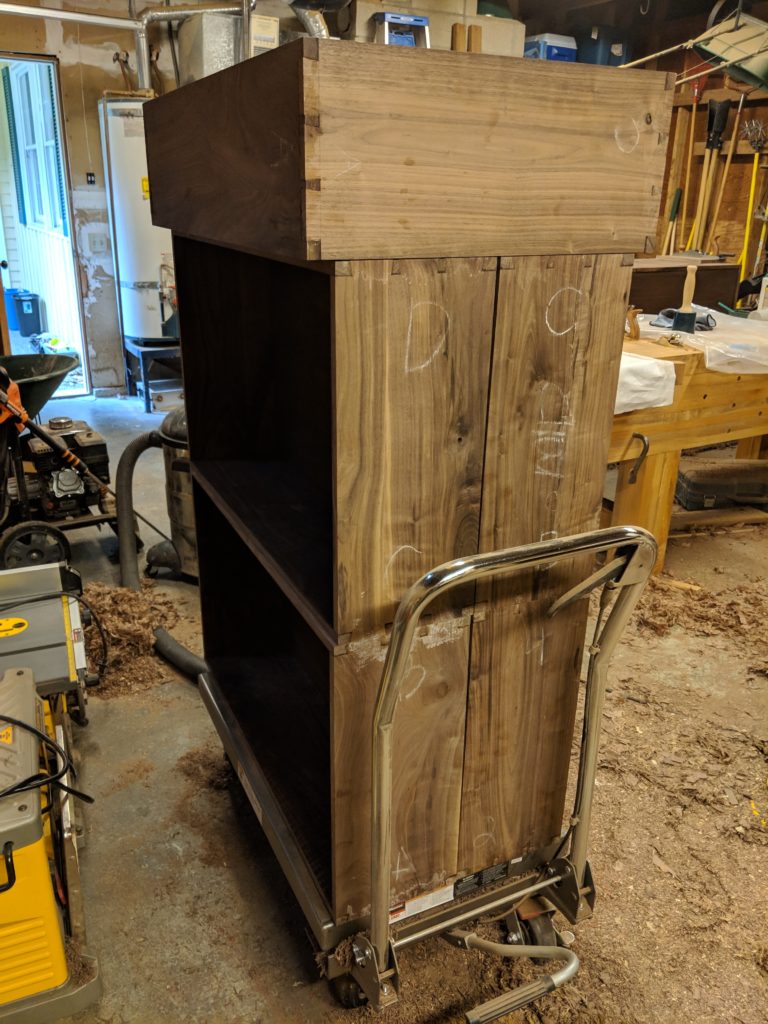
The design for this dresser called for an inset drawer front that sits flush with the front of the case. To make this work, the drawers needed to be offset from the insides of the case so that the drawer fronts would have room to inset. This was achieved by the addition of spacers that I made out of 3/8″ walnut strips which were screwed to the case sides, top and bottom. The spacers also needed to be exactly in plane with the front of the drawer dividers so the drawer front would have a positive stop to push up against. All of these dimensions had to be taken into account before the drawer fronts and backs were crosscut to length so these were actually installed before the drawers were made so they could be measured to.
This was by far the most labor intensive part of the build but now that it is behind me, there is clear sailing ahead. I can feel that I am rounding the final corner and the end is in sight. I just need to stay committed to finishing without cutting corners or rushing it.

Up next: Part 5 – The End will finish the story with the addition of the inset drawer fronts with integral routed finger pulls and then final photos, relocation to the master bedroom and finally champagne to celebrate.