
Project Wrap And Photo Gallery
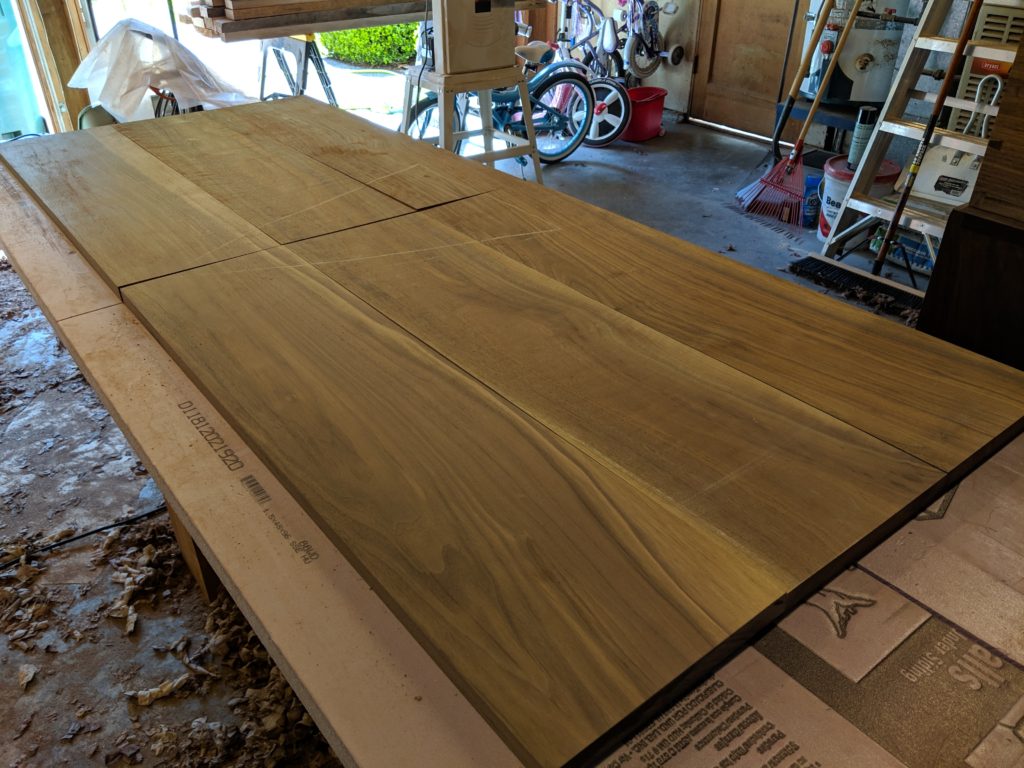
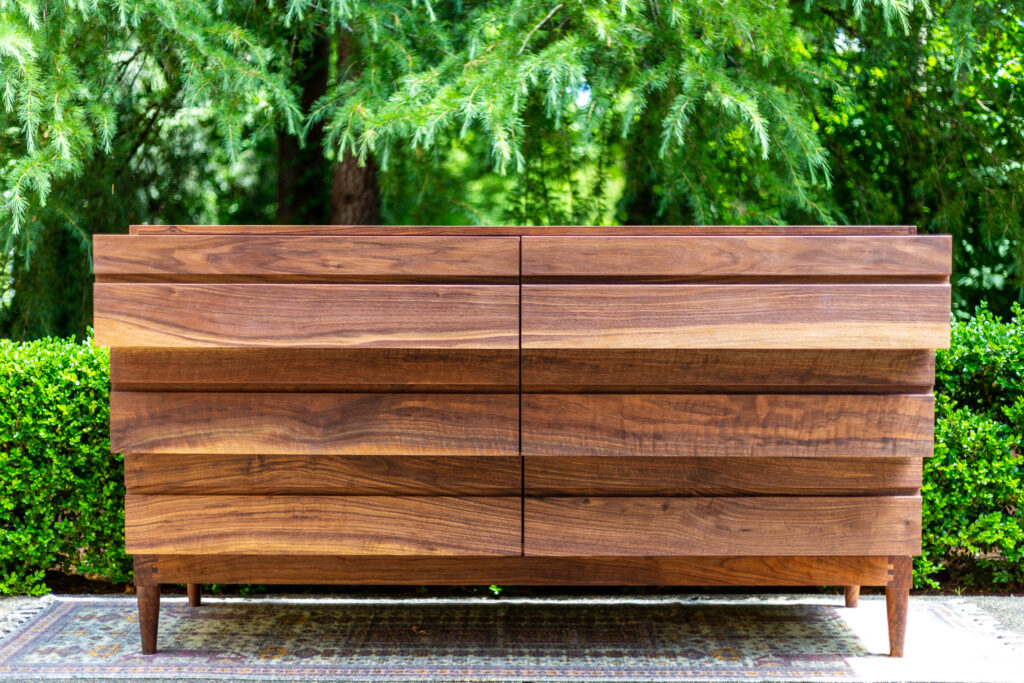
Procuring the right pieces of walnut to make up the drawer fronts required at least four separate trips to Crosscut Hardwoods in Seattle spread out over six months so that the inventory had time to turn over. The boards had to be wider than normal, have no knots or cracks and also have interesting flowing grain patterns. I ended up purchasing six pieces that fit the bill and after many hours spent comparing them side by side by flipping them over and turning them around to find the best grain match, I selected the three boards that best complimented each other in the most optimal orientation. I’ll use the other three boards on a future project.
Making The Drawer Fronts
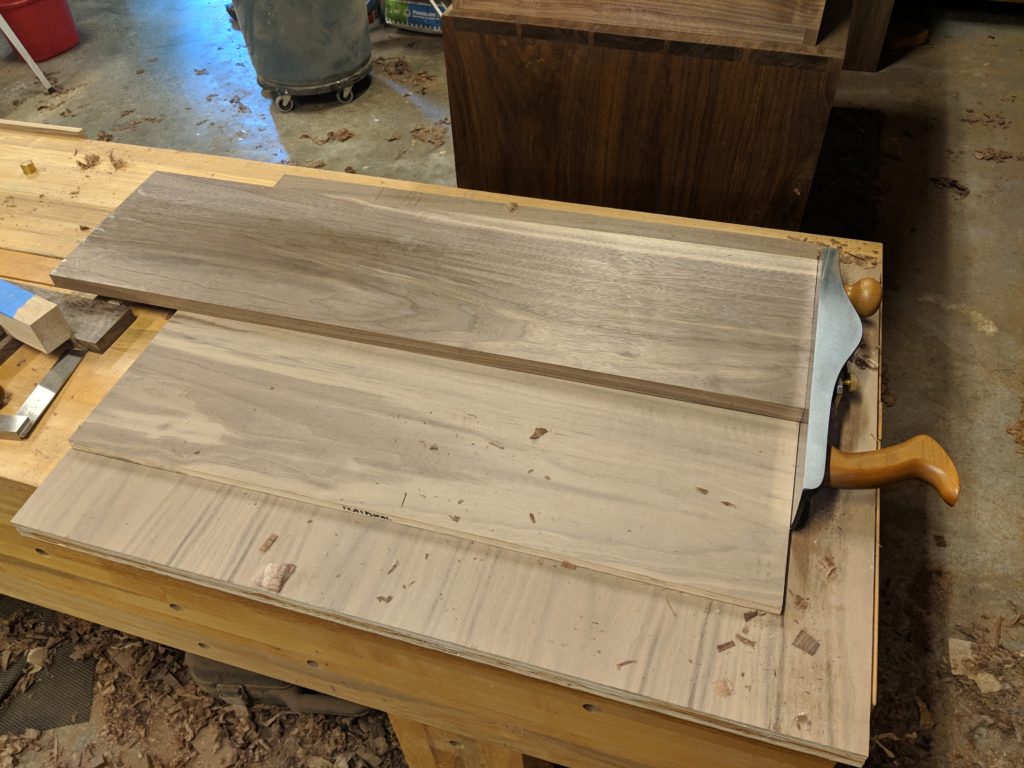
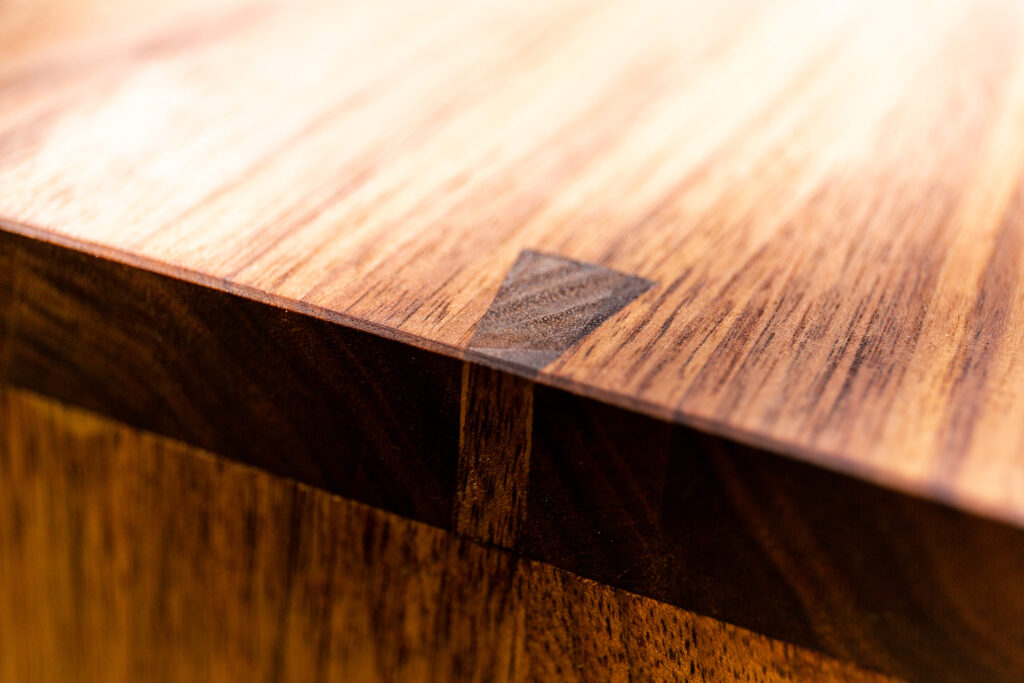
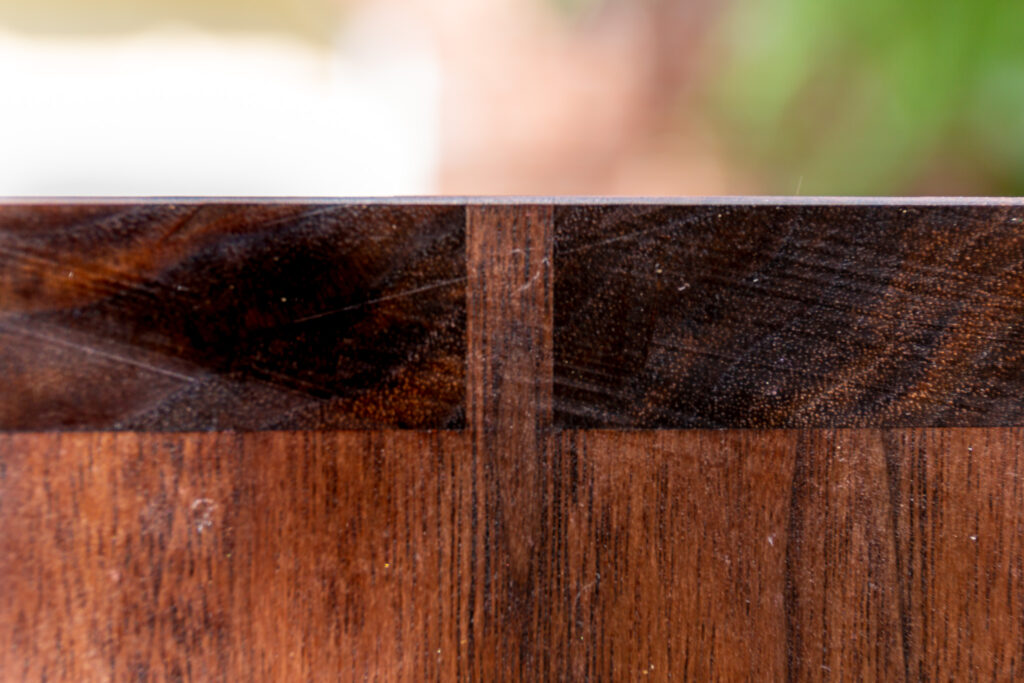
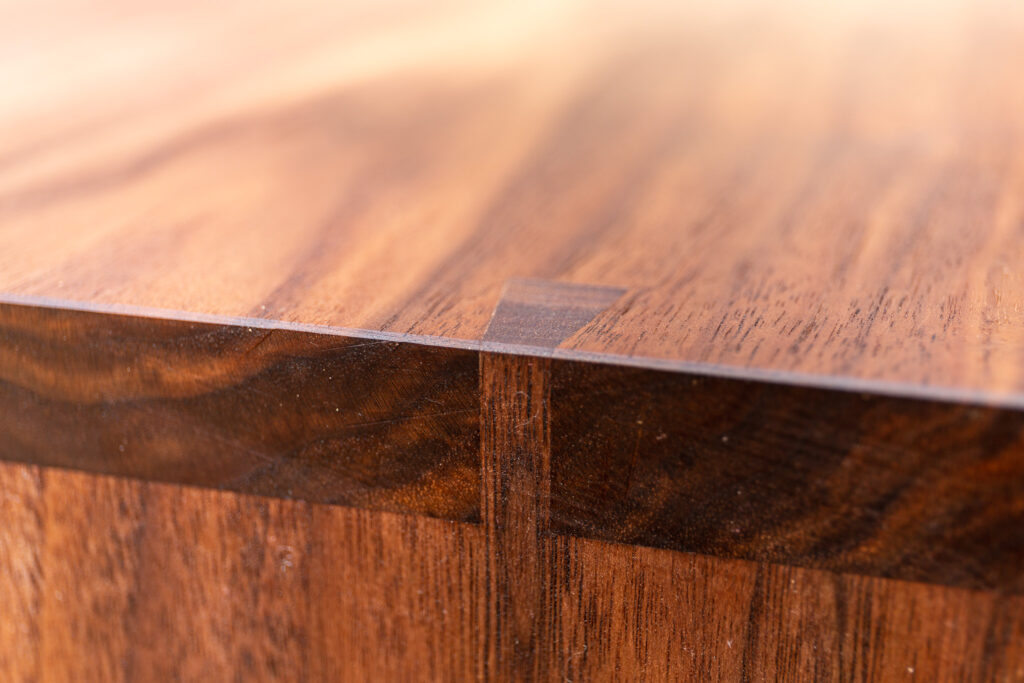
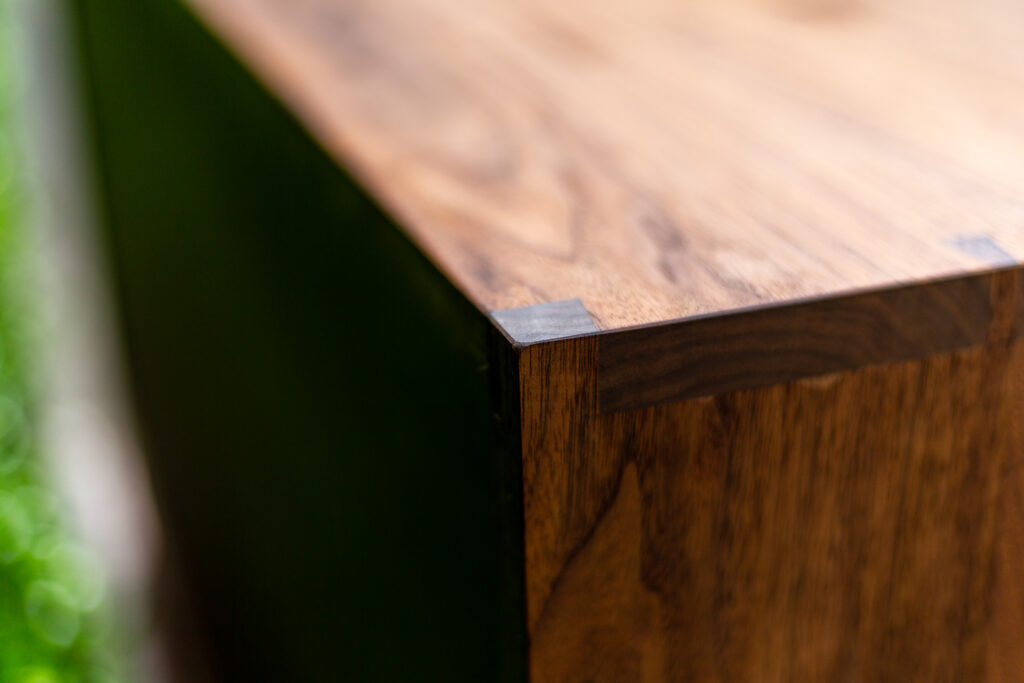
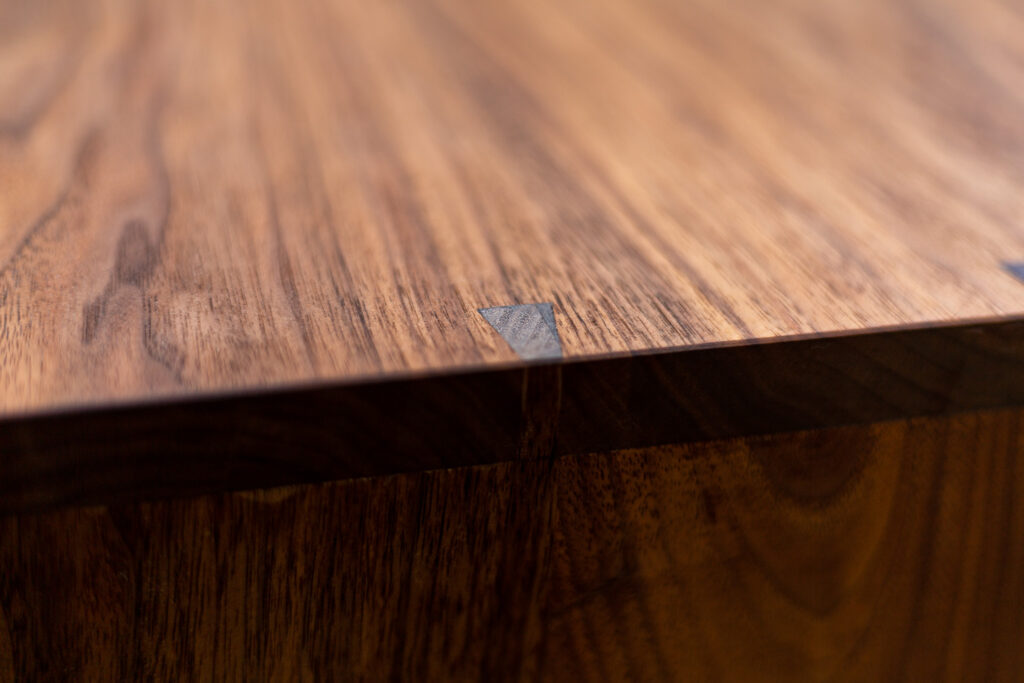
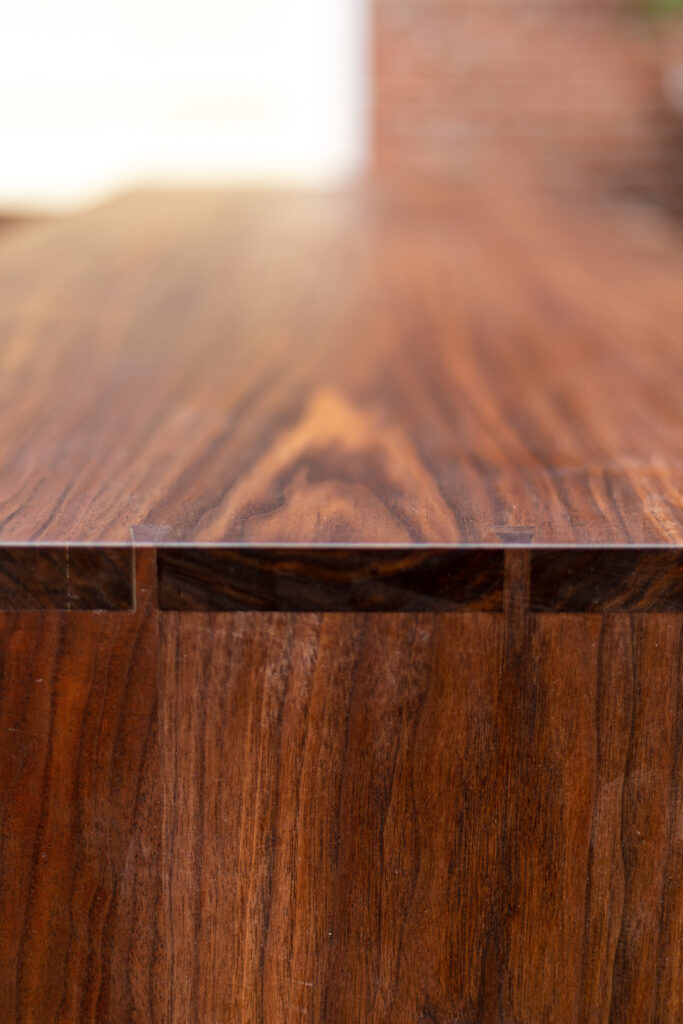
I ripped the boards to width on the table saw and match jointed the edges with the jack plane. For the length, I used my circular saw on a track to crosscut to the correct dimensions that would leave a 3/16″ gap all around each front. To finish the end grain of the fronts and fine tune the fit, I made a shooting board out of some of the walnut plywood scraps. The jack plane is a great option on the shooting board because of the low angle needed for end grain and heft needed to power through the cut. Then I spent many hours with the smoothing plane to get the finished surfaces smooth like glass.
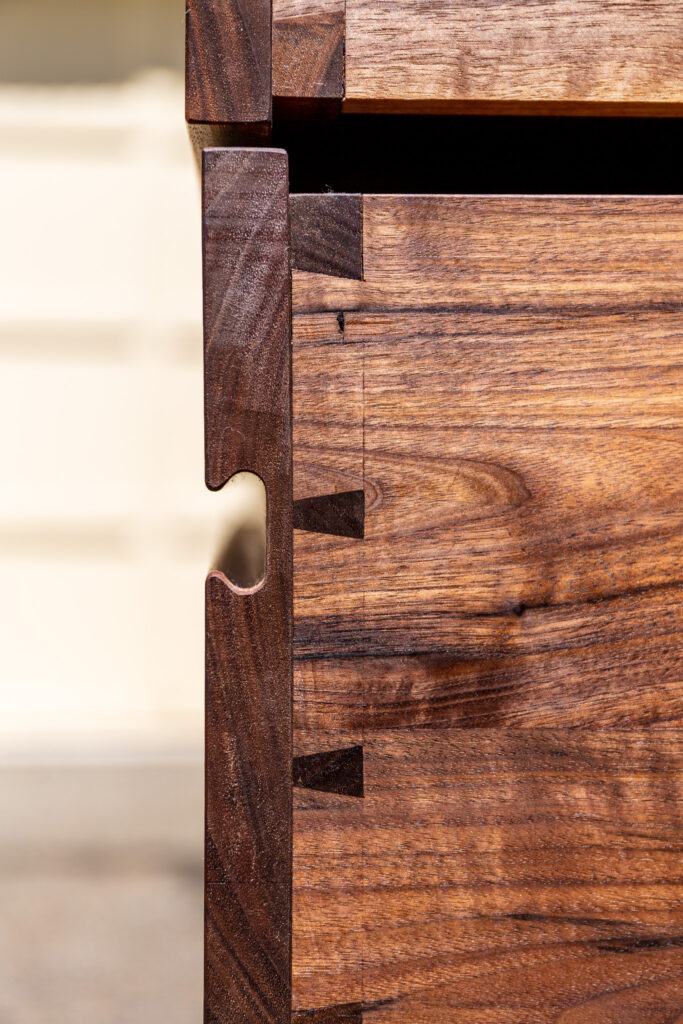
The Pulls
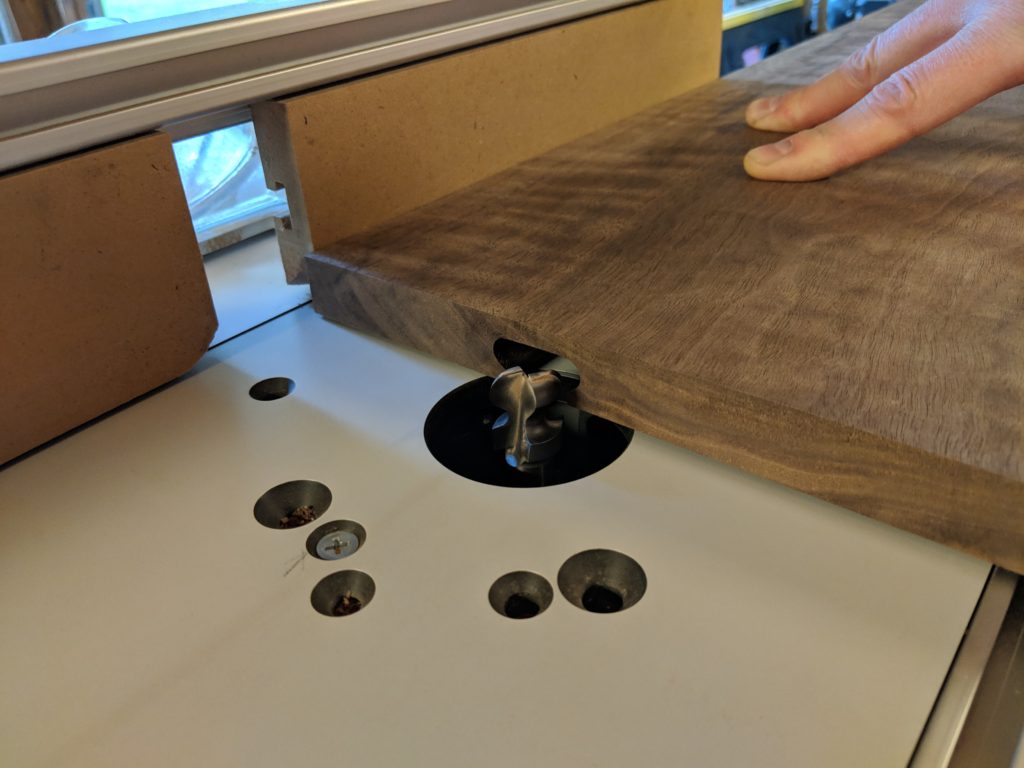
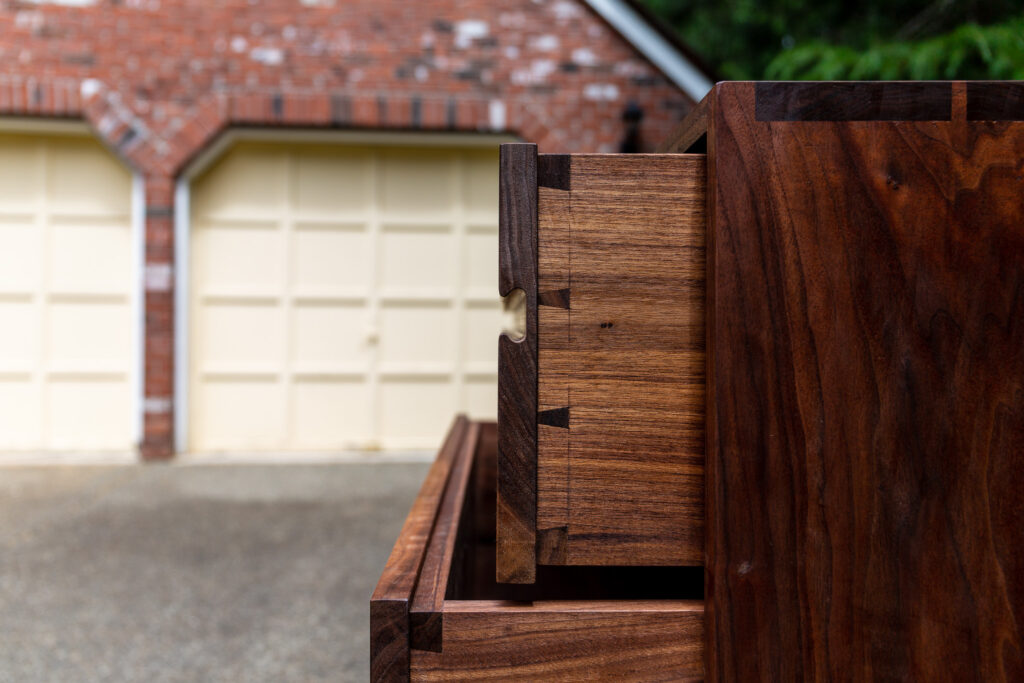
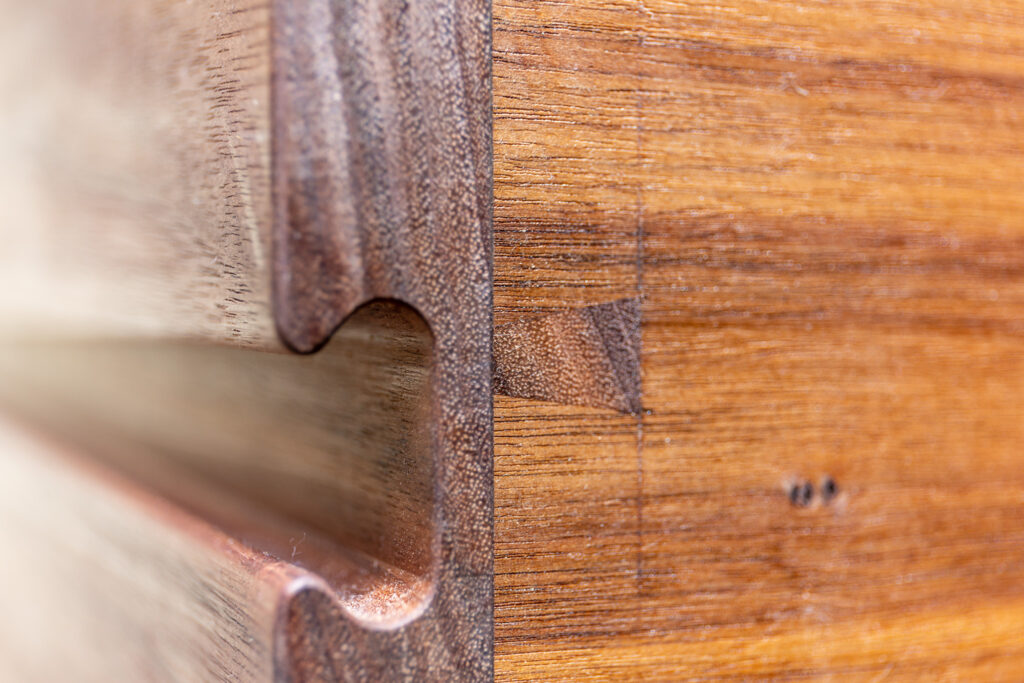
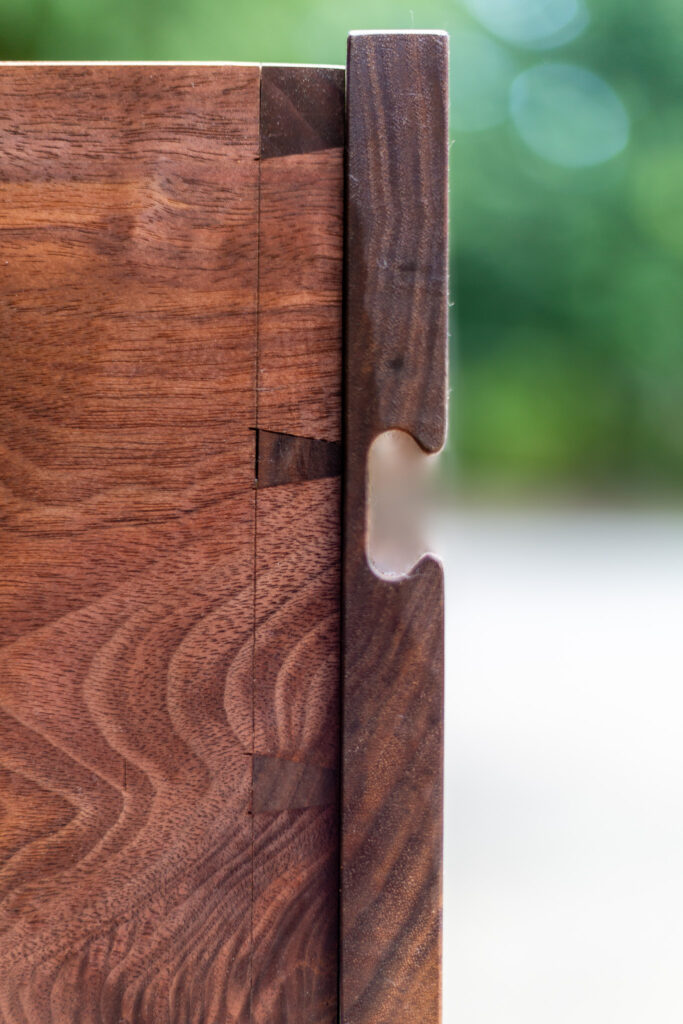
Whiteside Router Bits sells the perfectly profiled bit for this design and it’s called the Model 6024 European Style Drawer Pull. I installed it in the router table and ran multiple passes of each drawer front to achieve the gap that looked good to my eye. After easing the sharp edges, I applied the Danish oil and left them to dry.

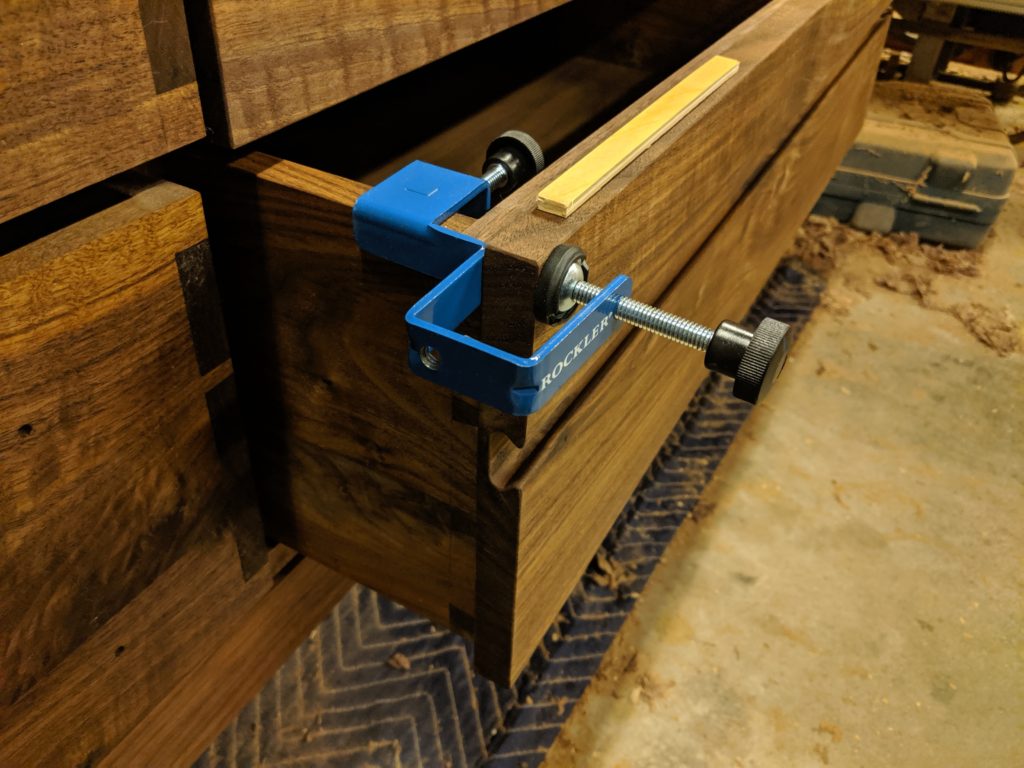
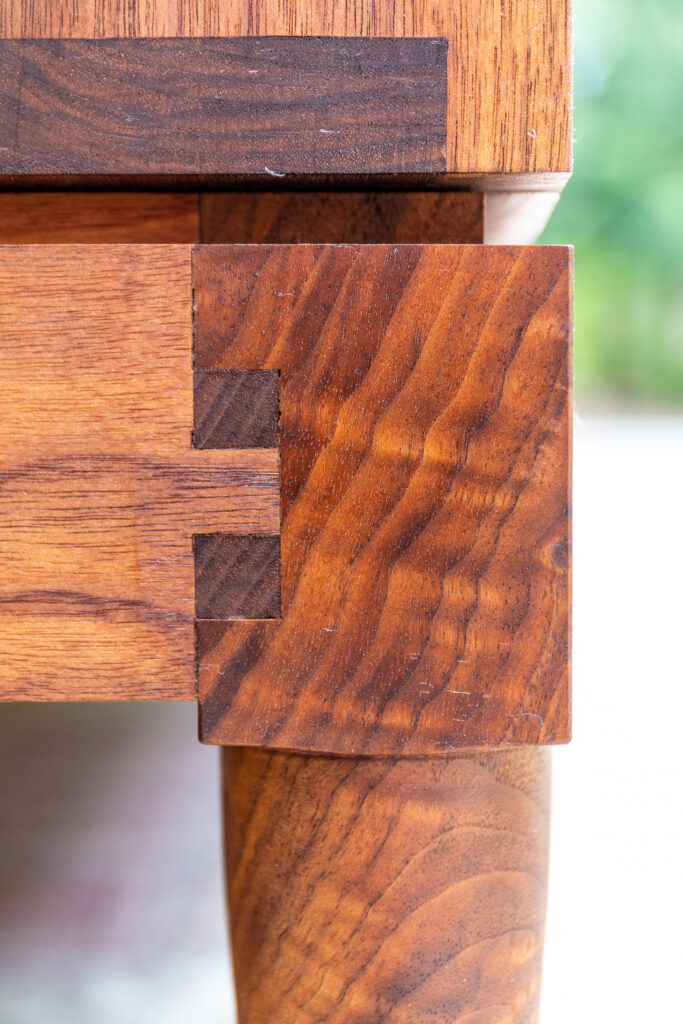
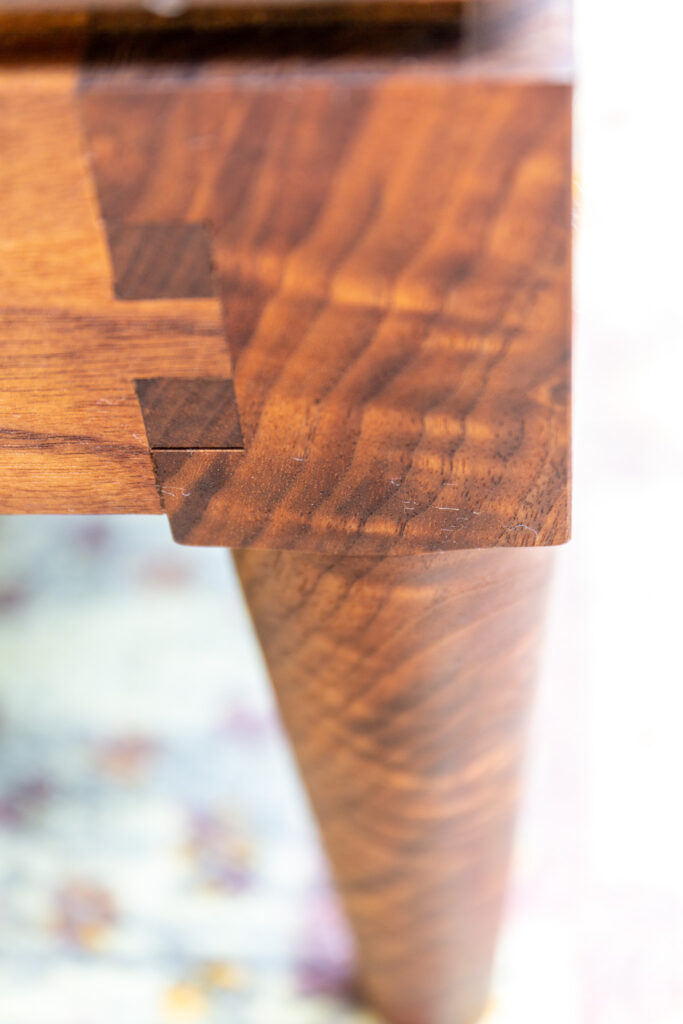
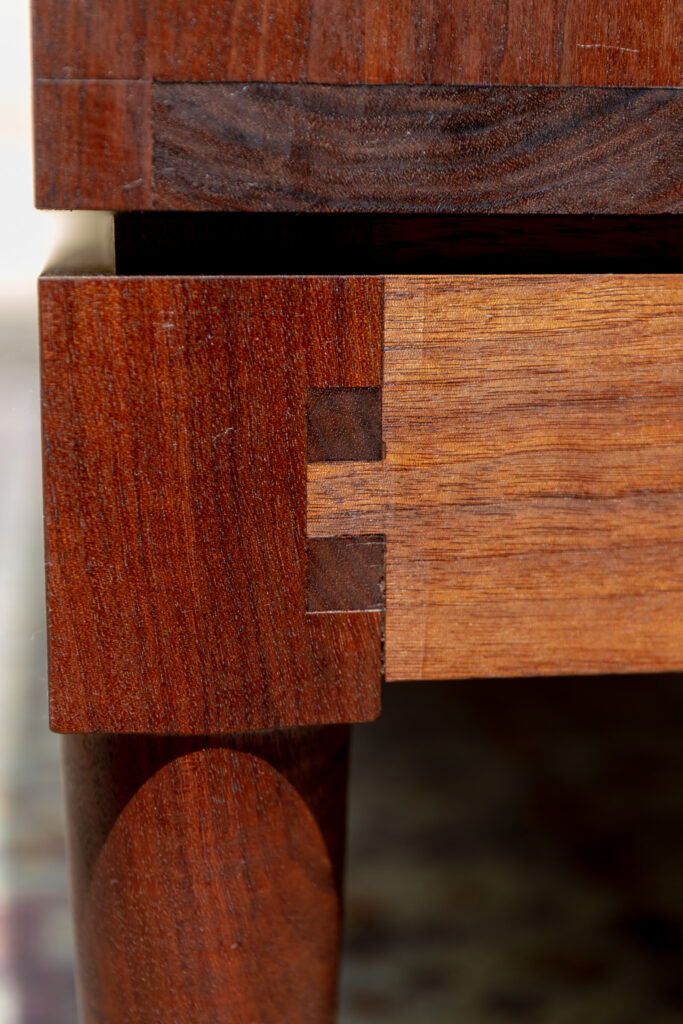
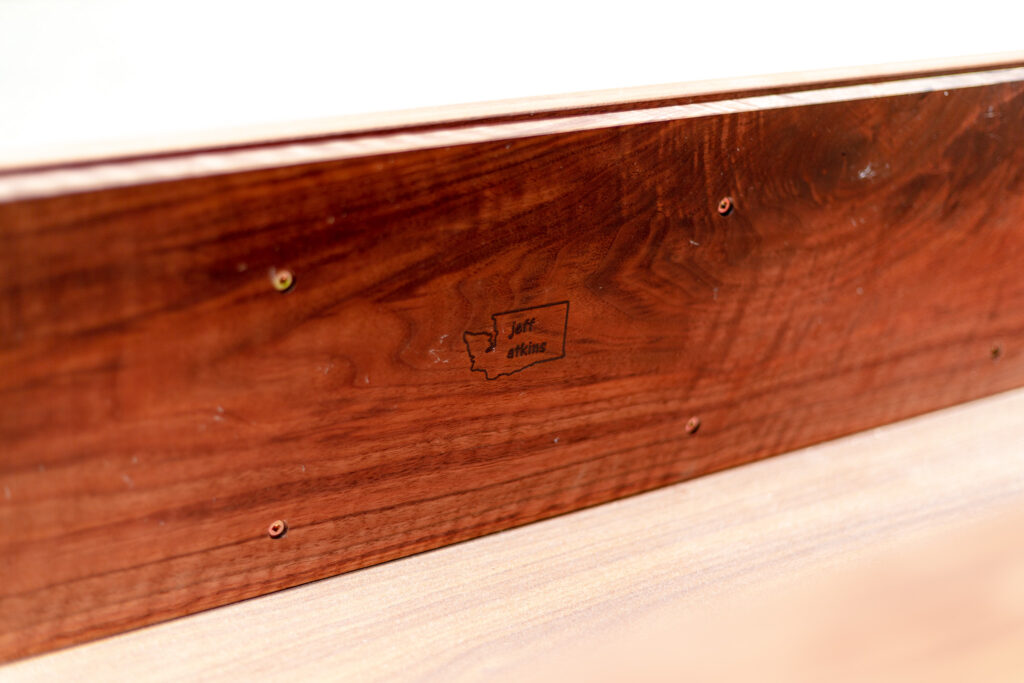
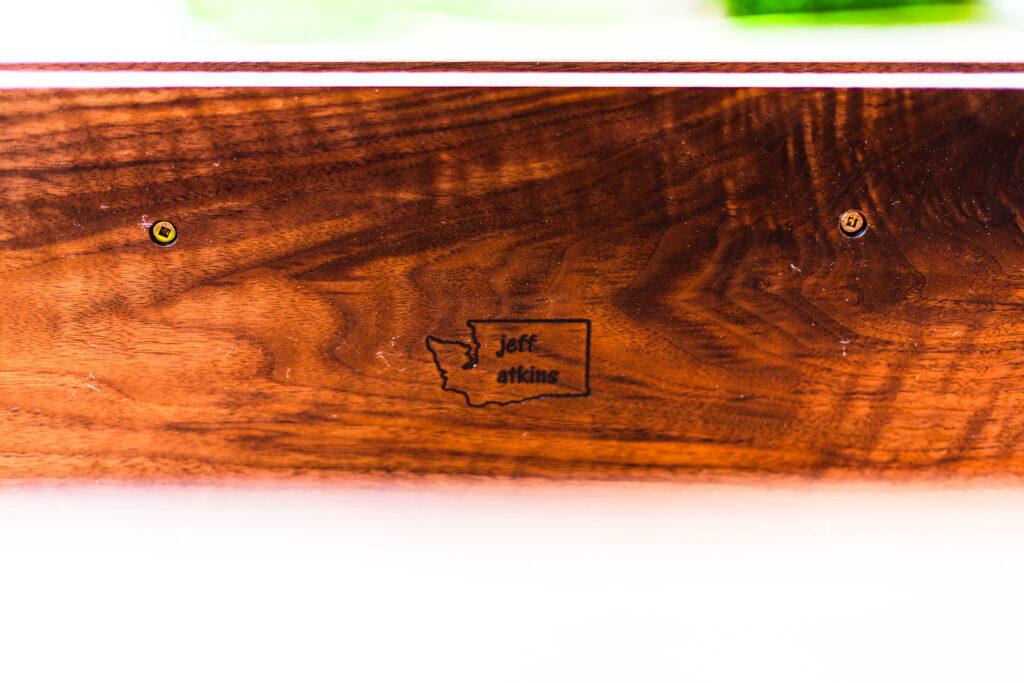
Attachment
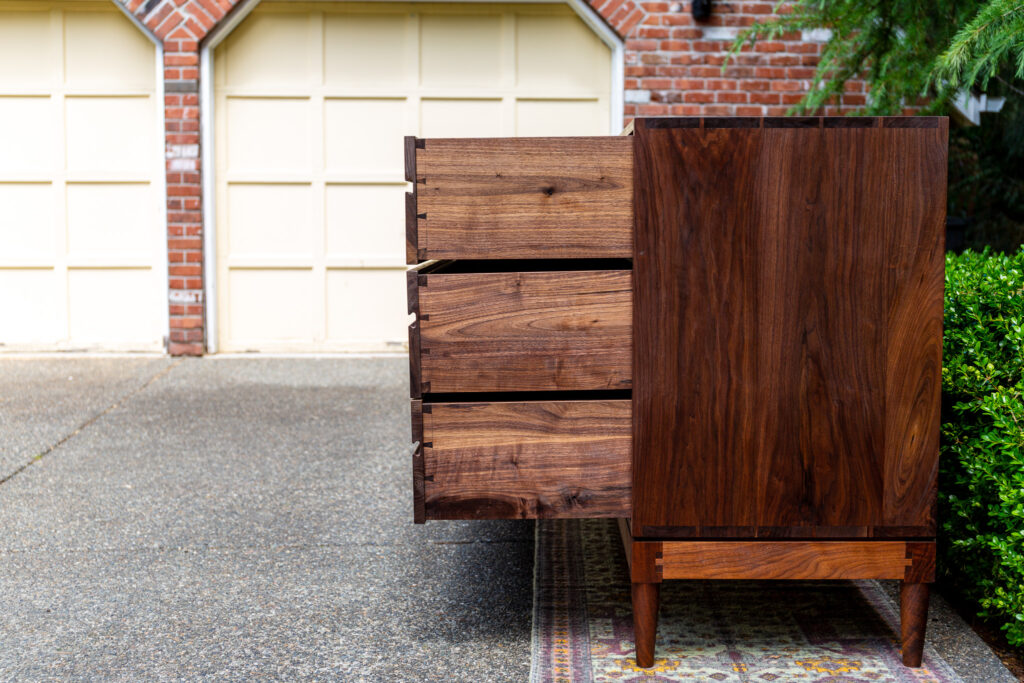
Neither Whiteside or Rockler sponsor me in any way so my links to their products are purely for you the reader’s sake. Now that is out of the way, Rockler sells these fancy drawer front installation clamps that allow you to position the drawer fronts on the boxes and micro-adjust for the correct gaps before you screw them in place. You only get one chance at this so the clamps sure are handy. I countersunk holes on the inside of the drawer boxes and used a screw to mark the location of the holes on the fronts. Then I drilled pilot holes and screwed the fronts to the drawer boxes. It was at this point that I could call this project done.
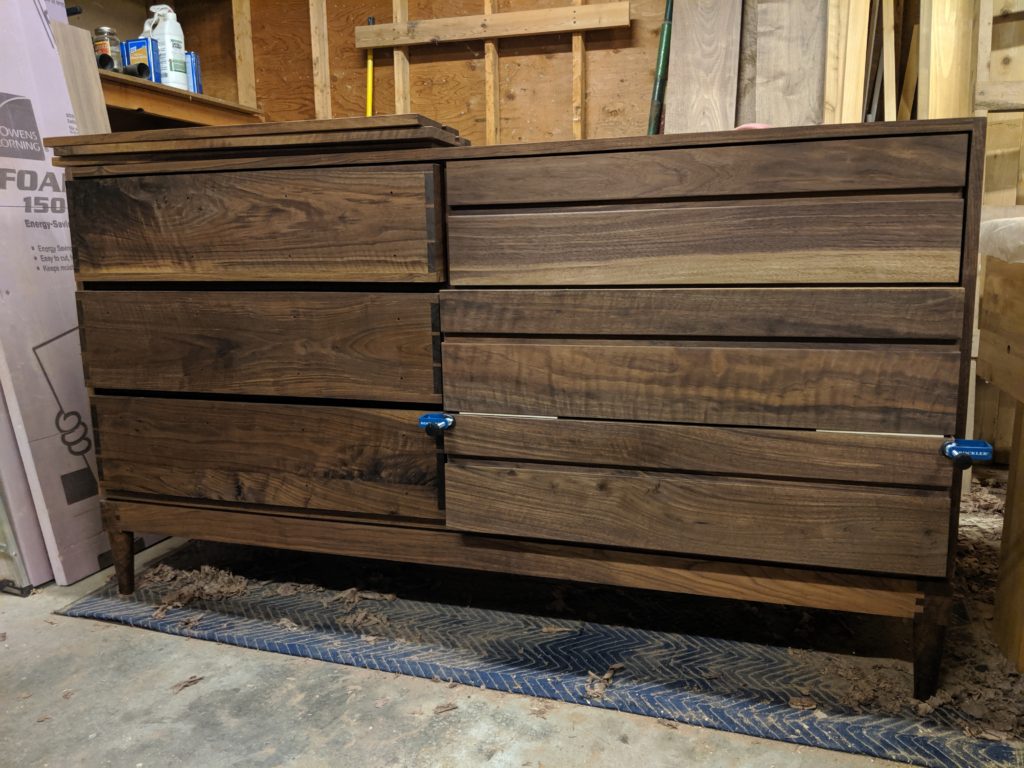
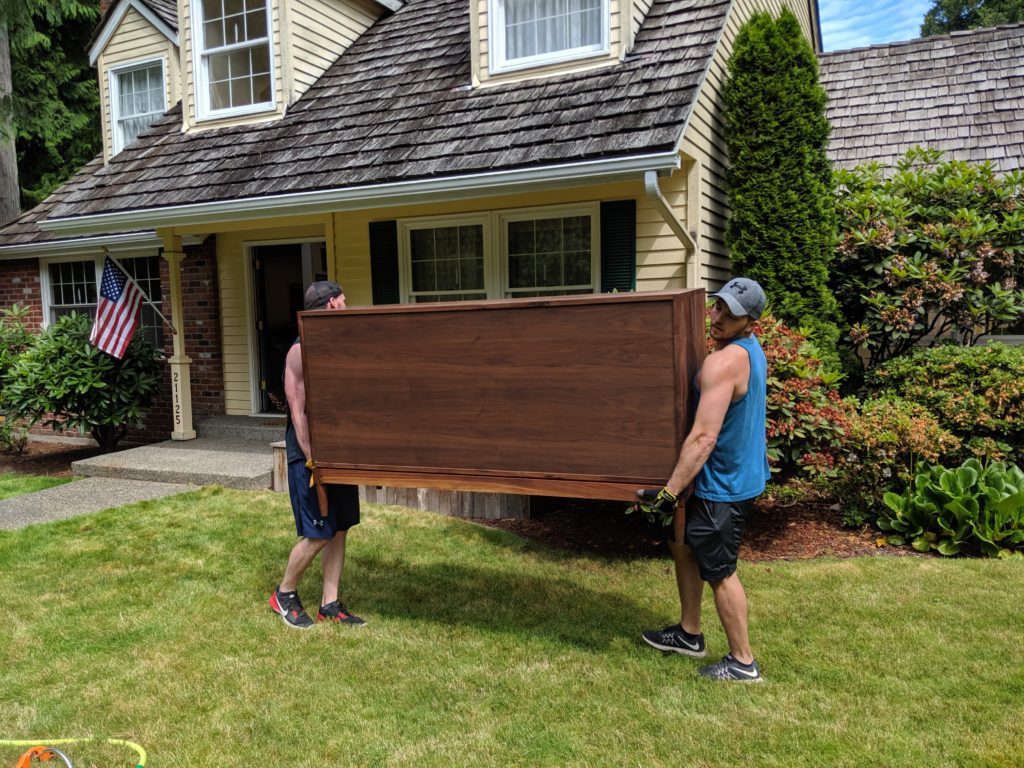
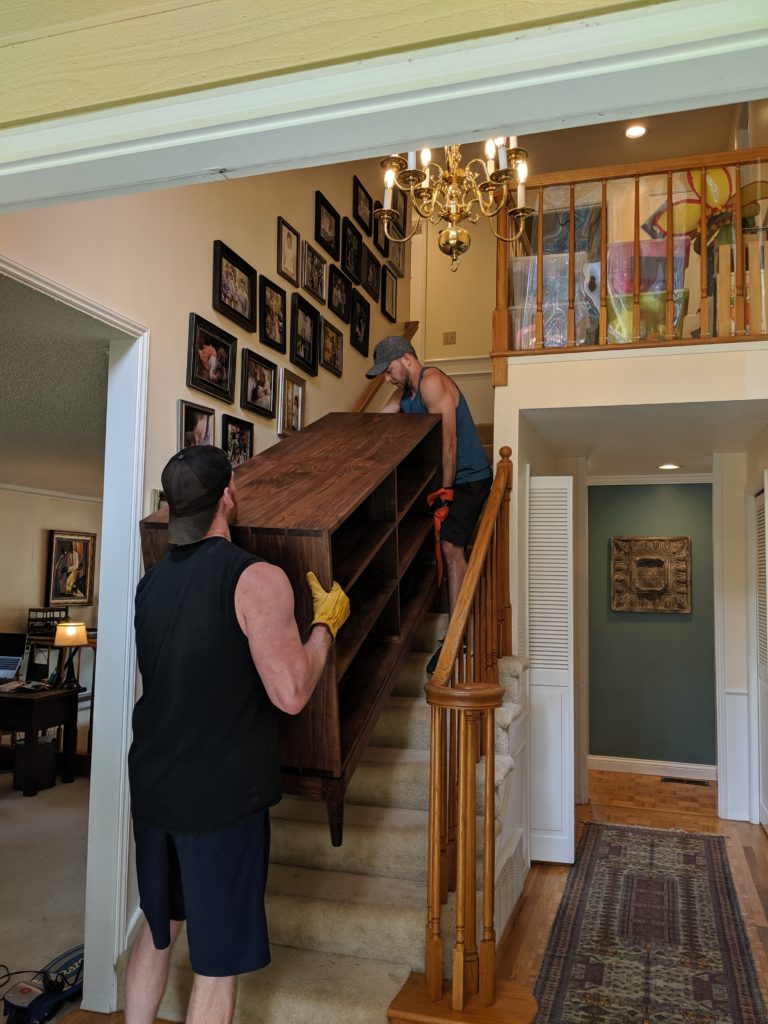
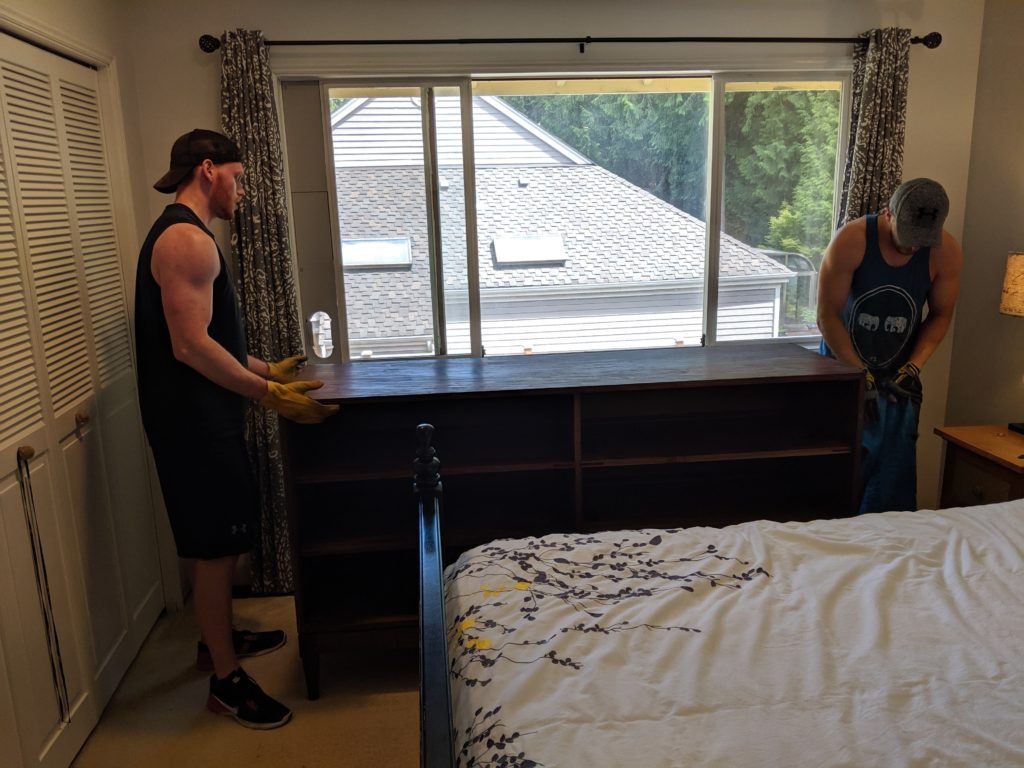
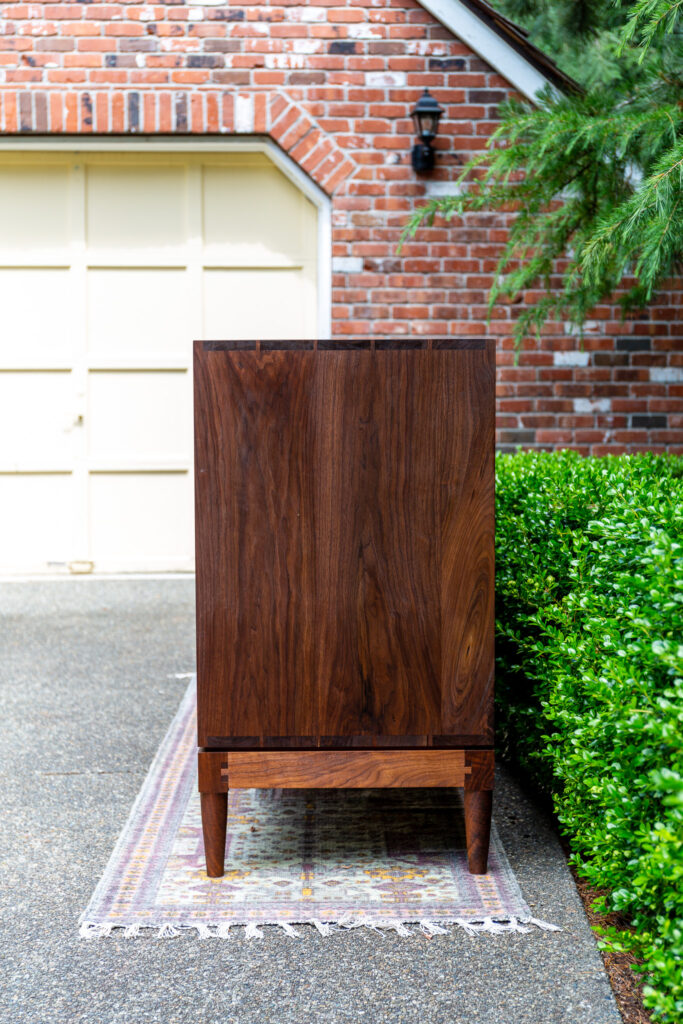
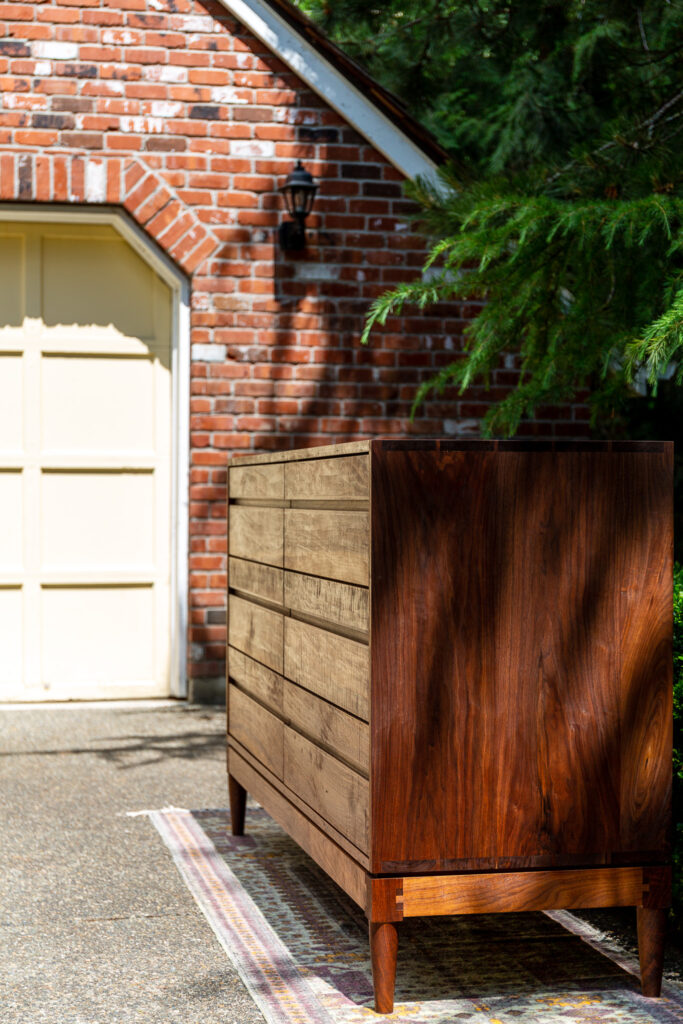
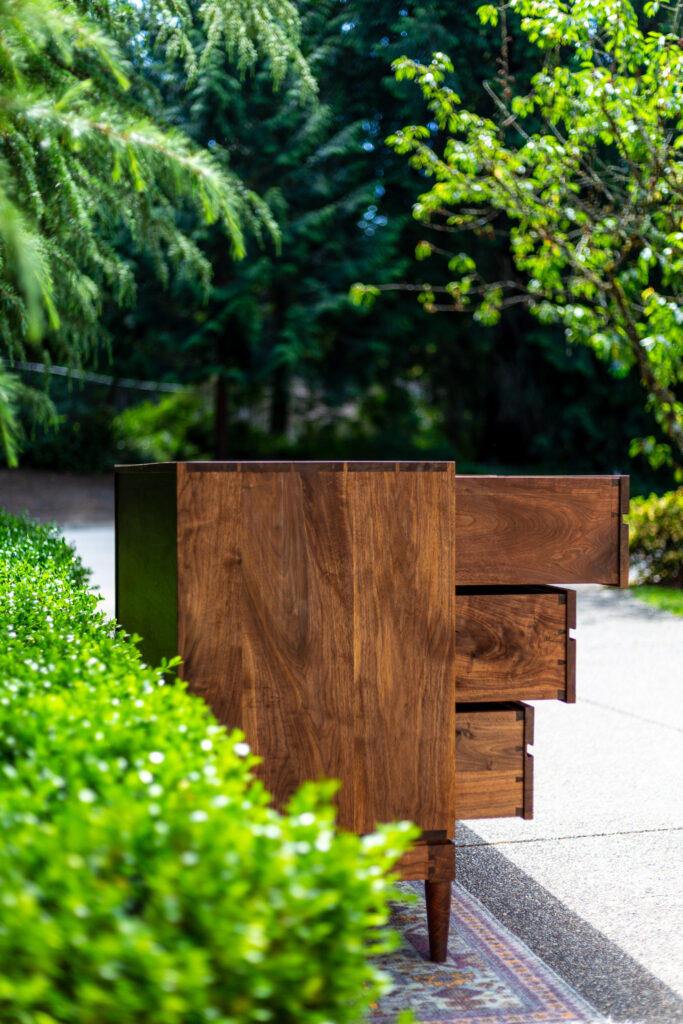
Out Of The Garage…
…and into the master bedroom. After the photo shoot, I used a great service called dolly to hire two local guys to move the dresser. It’s like Uber for movers. The guys got to work and I stayed out of their way.
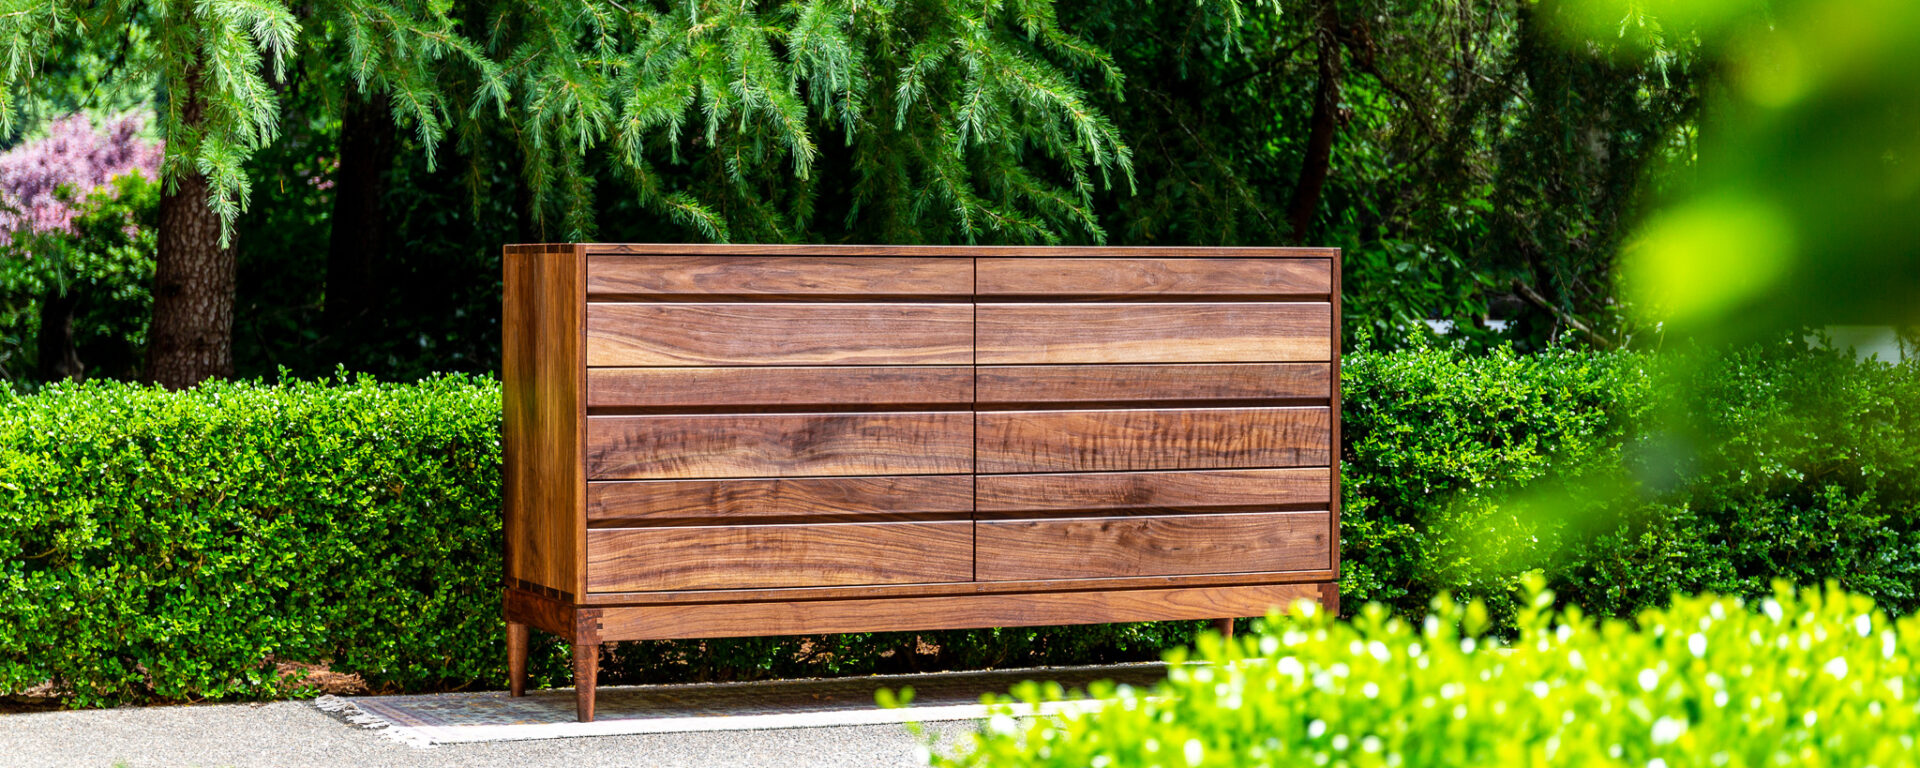
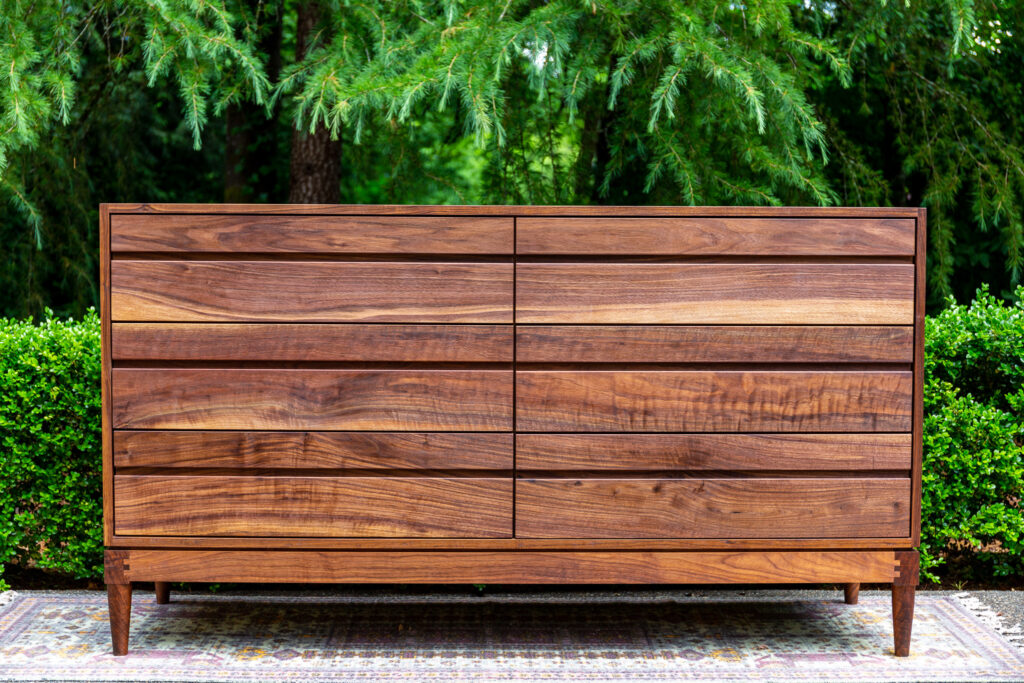
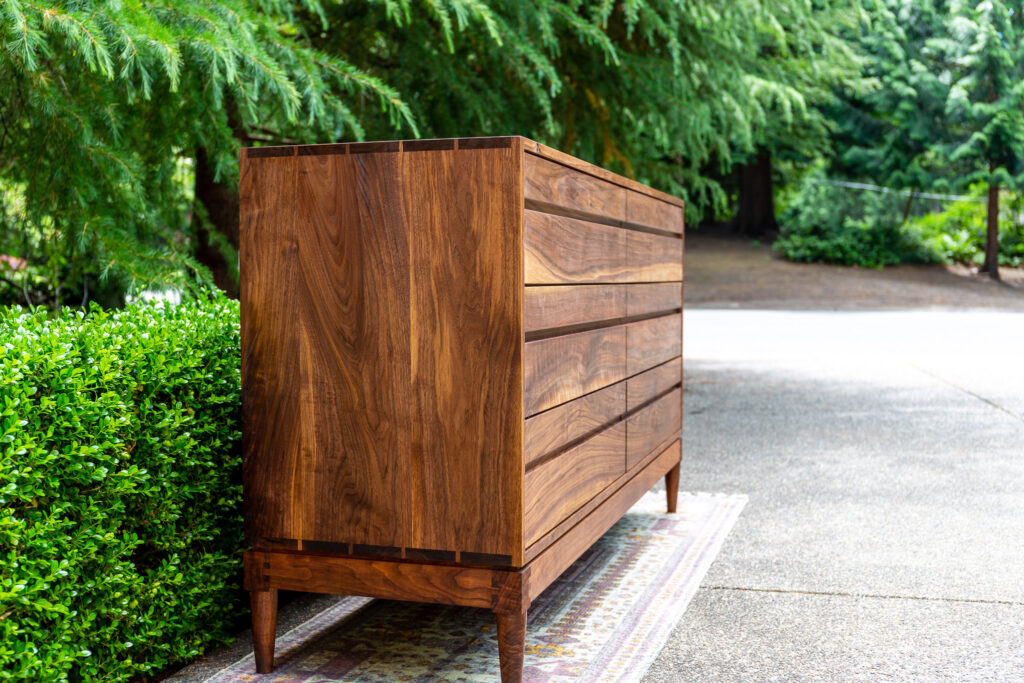
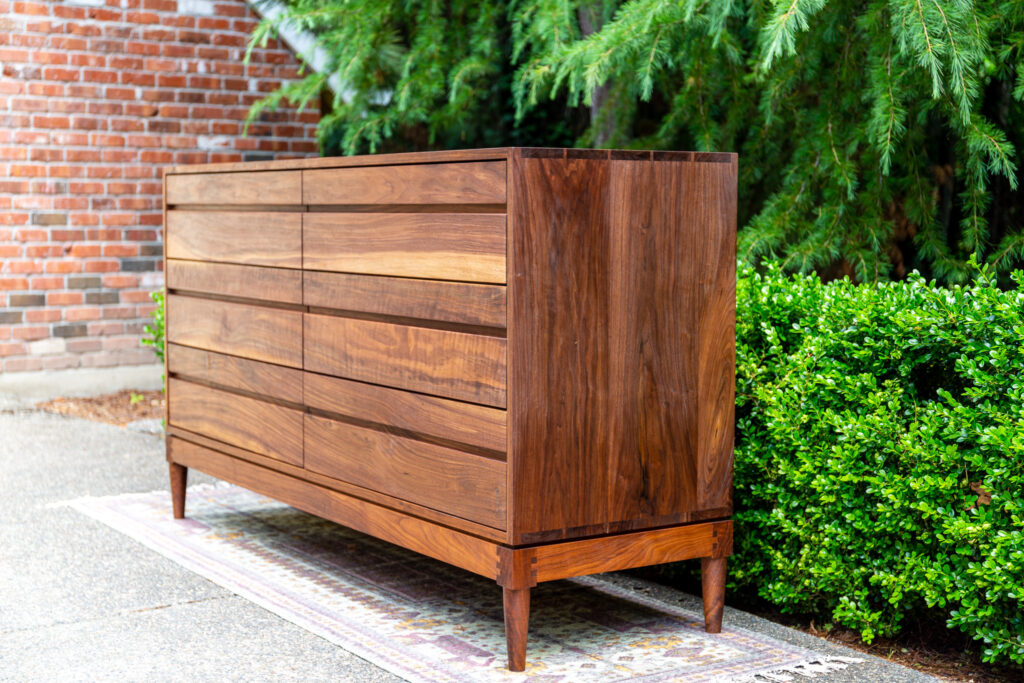
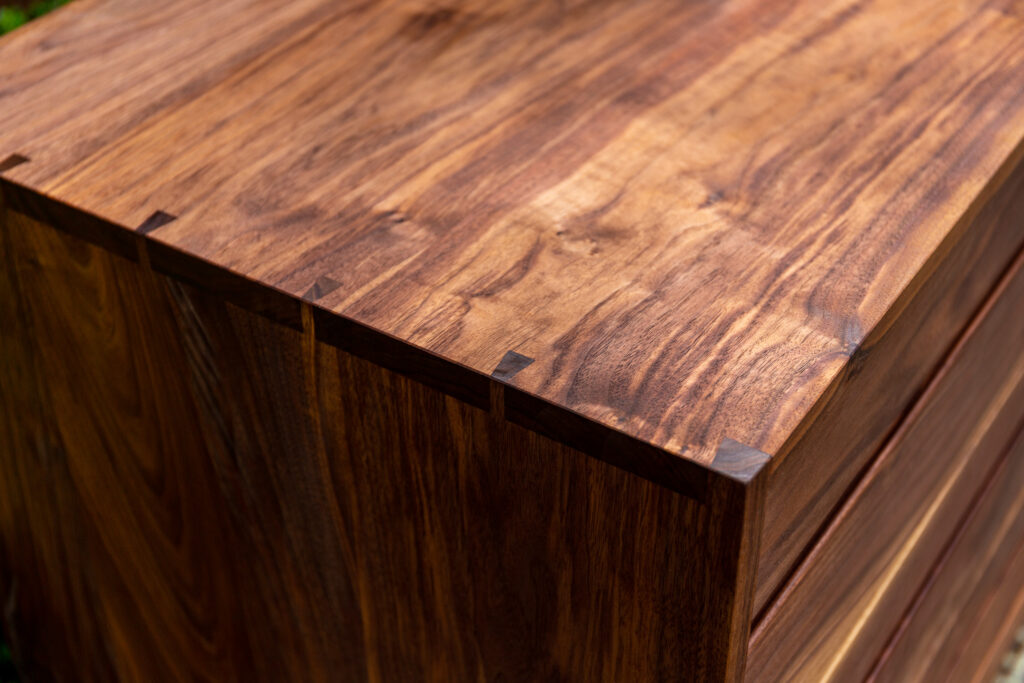
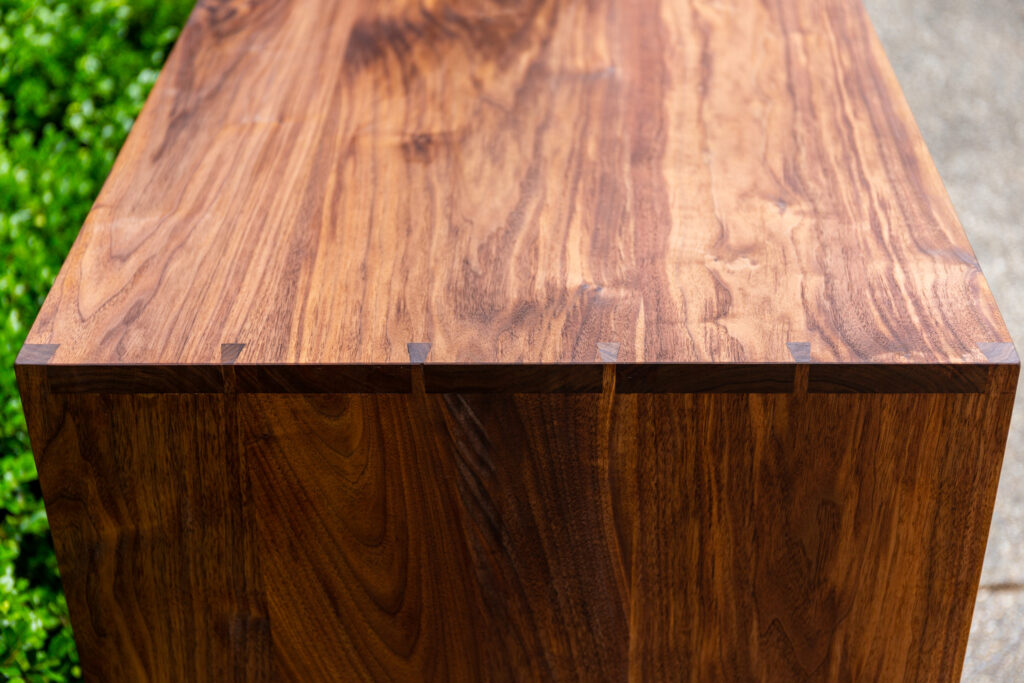
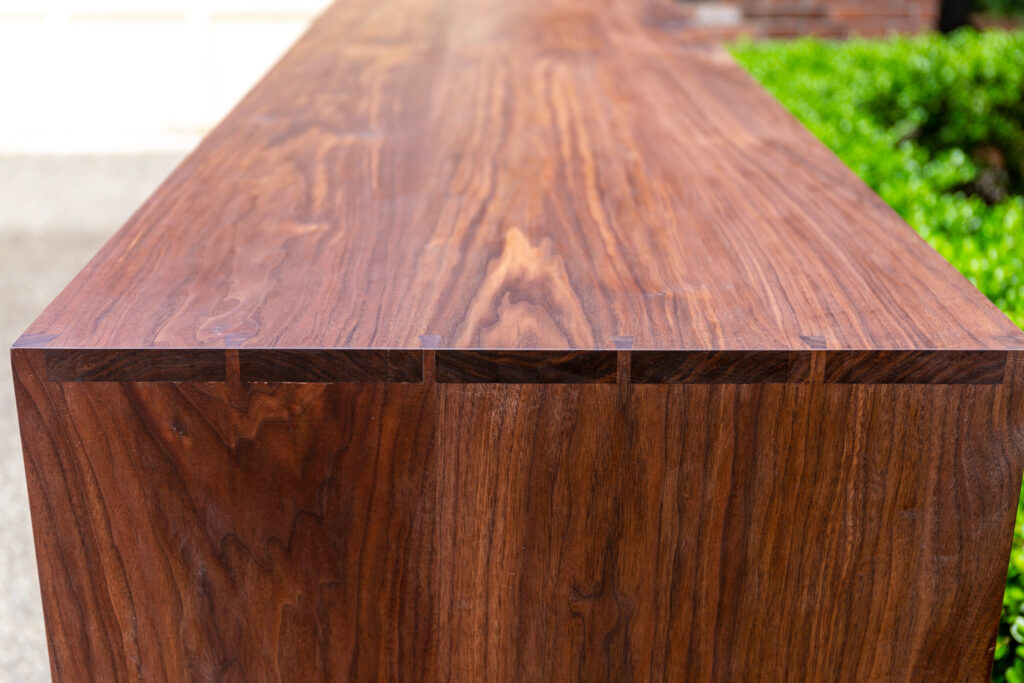
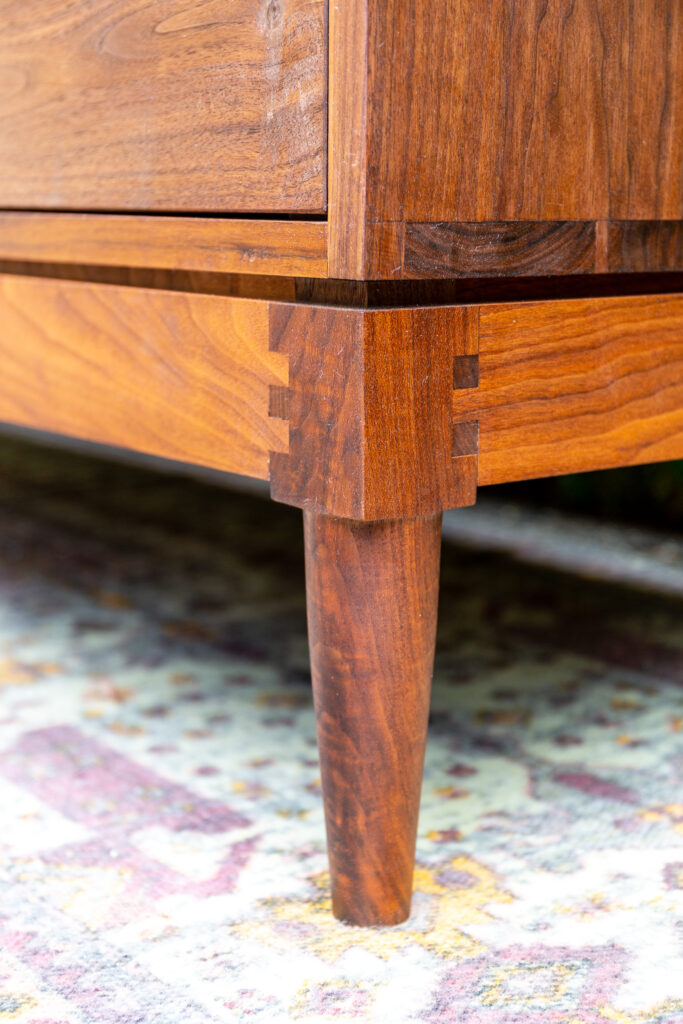
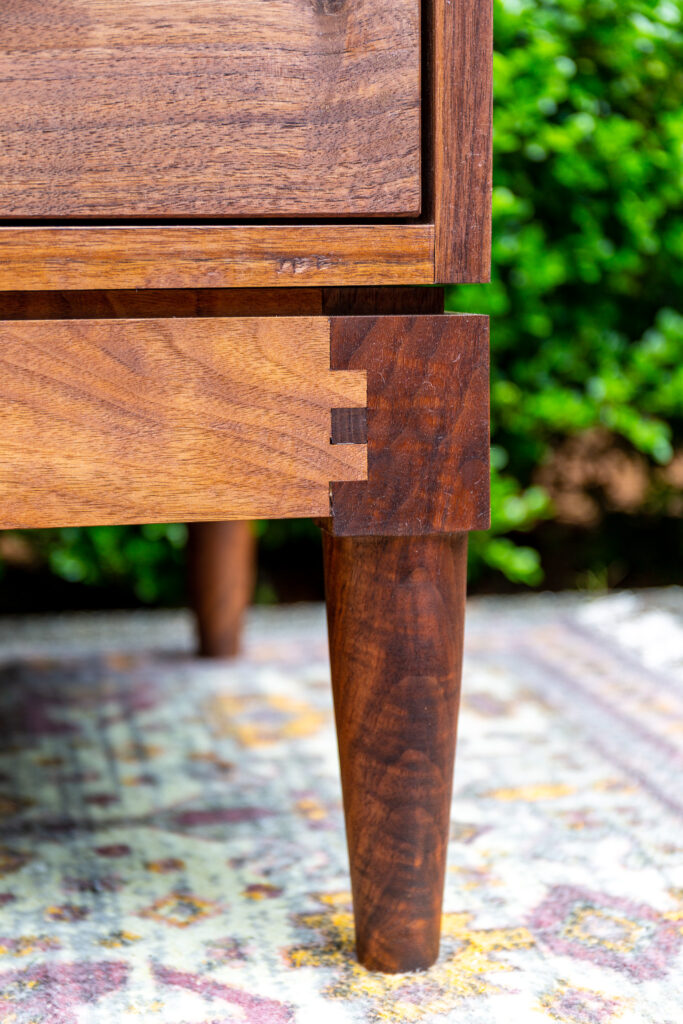
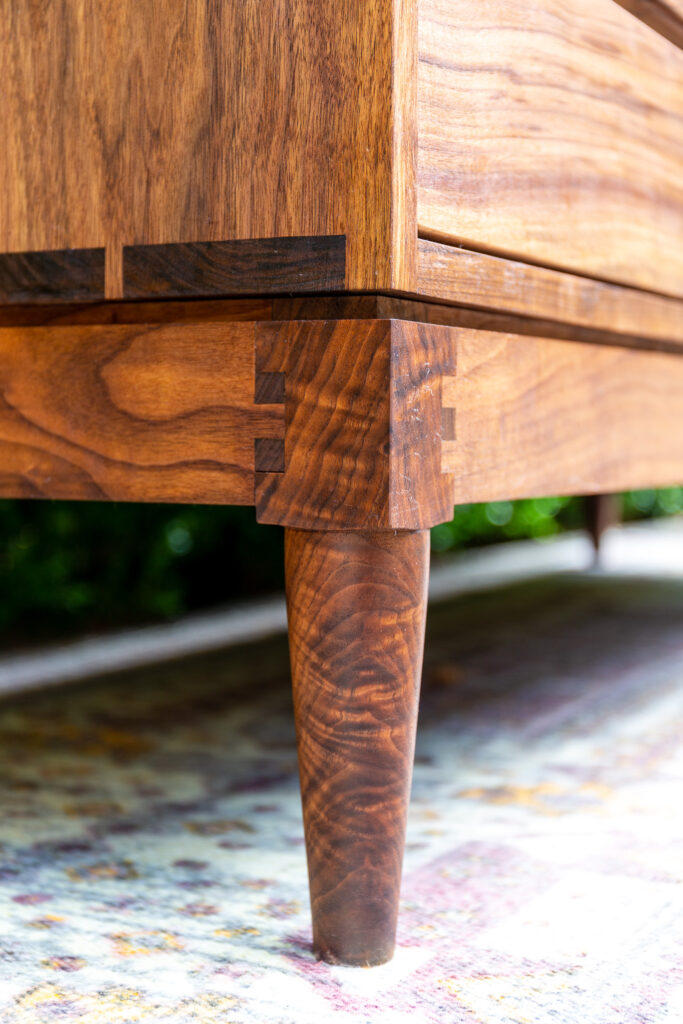
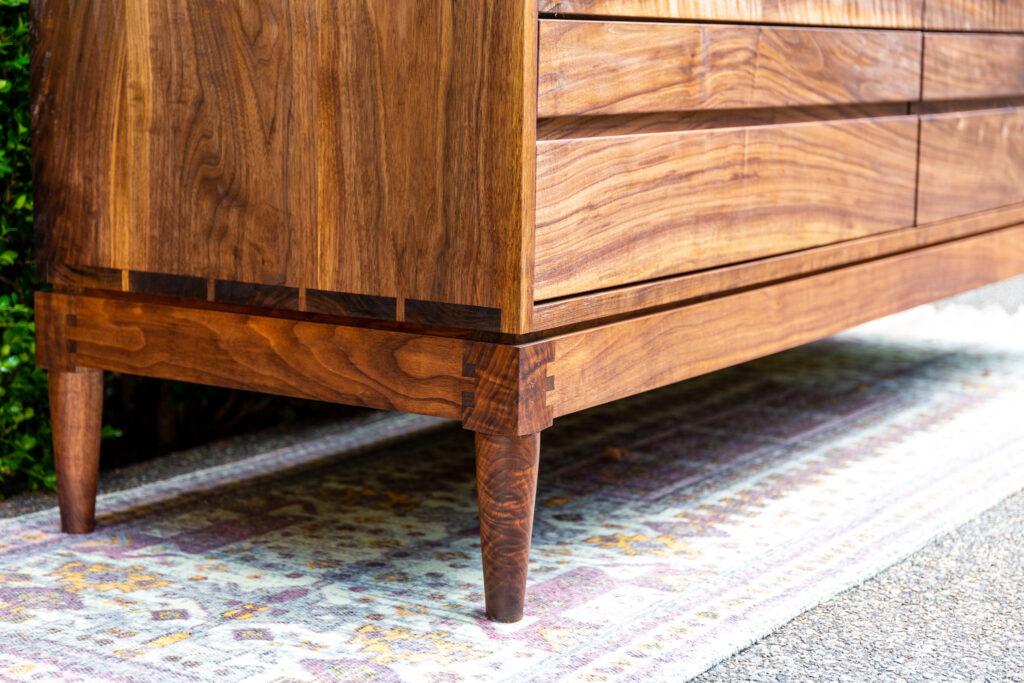
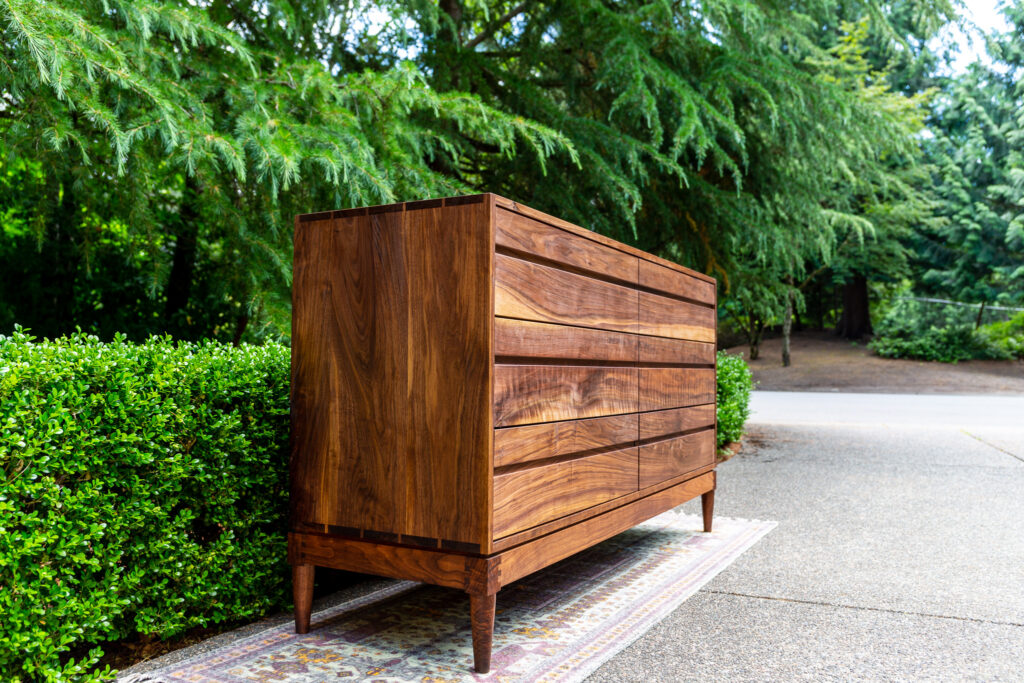
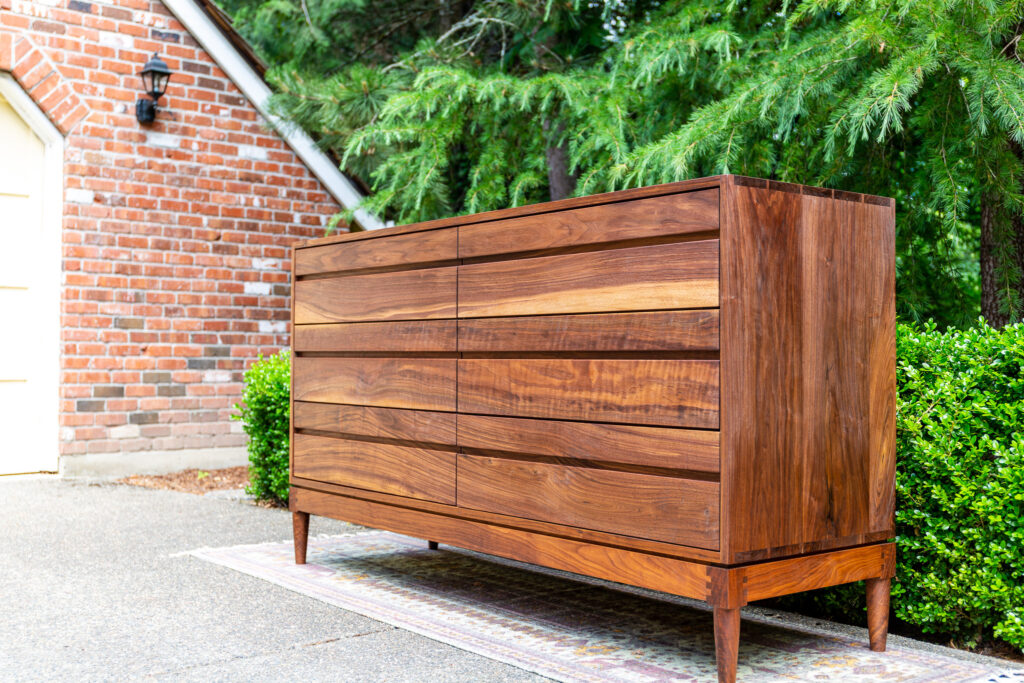
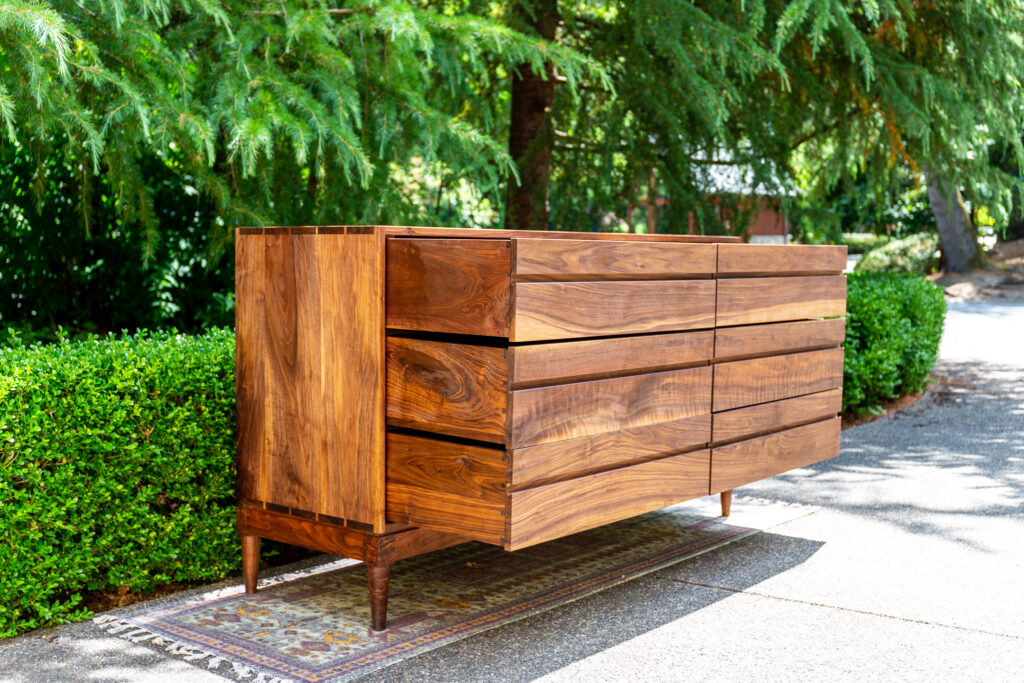
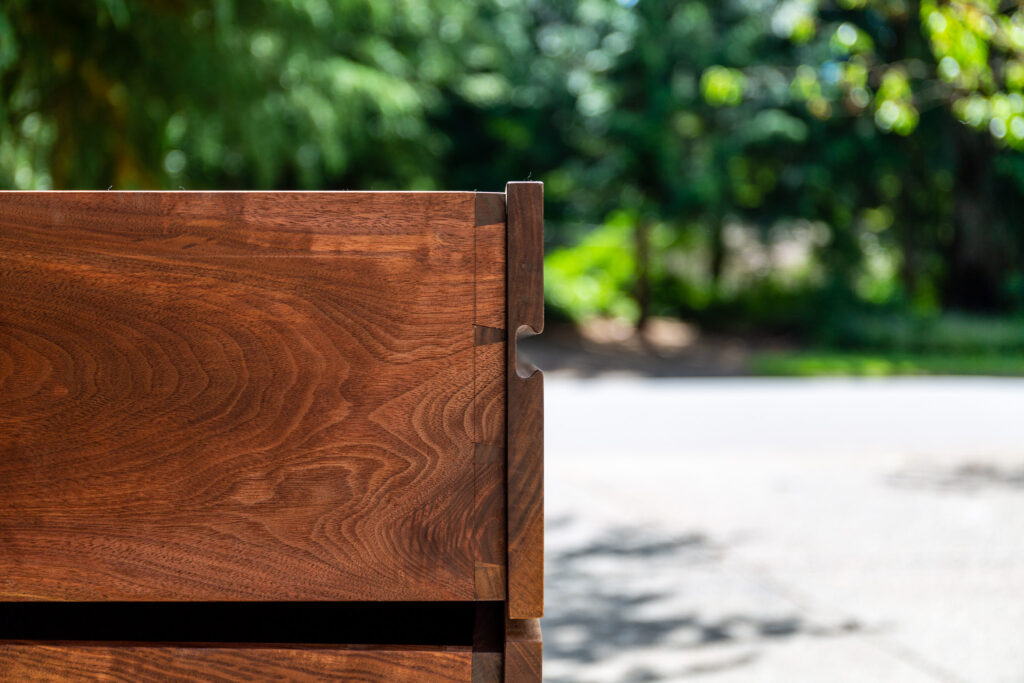
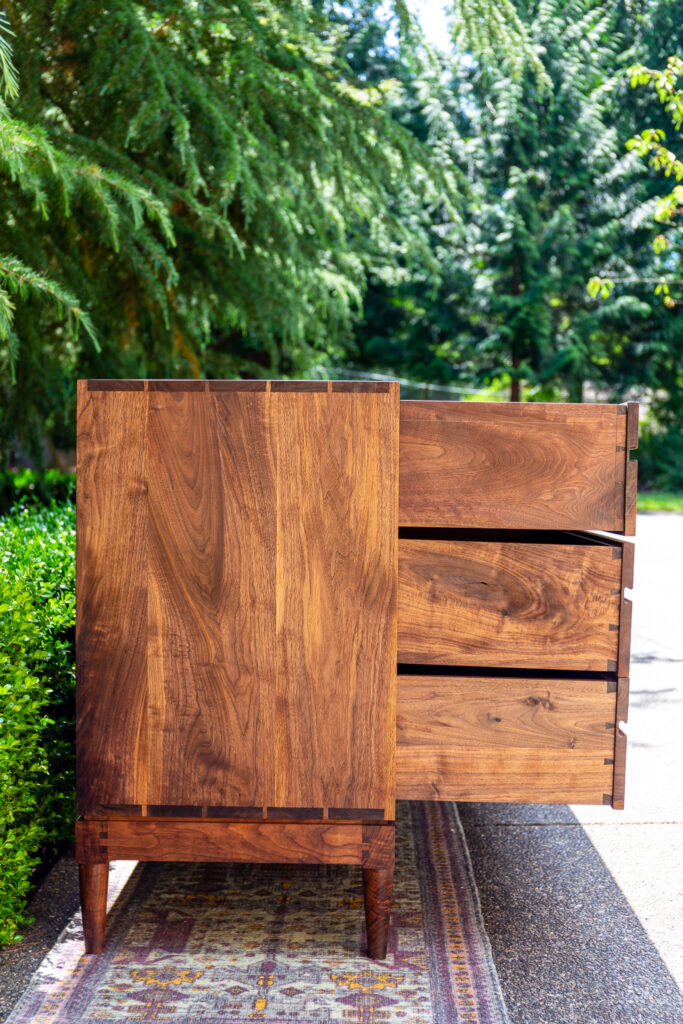
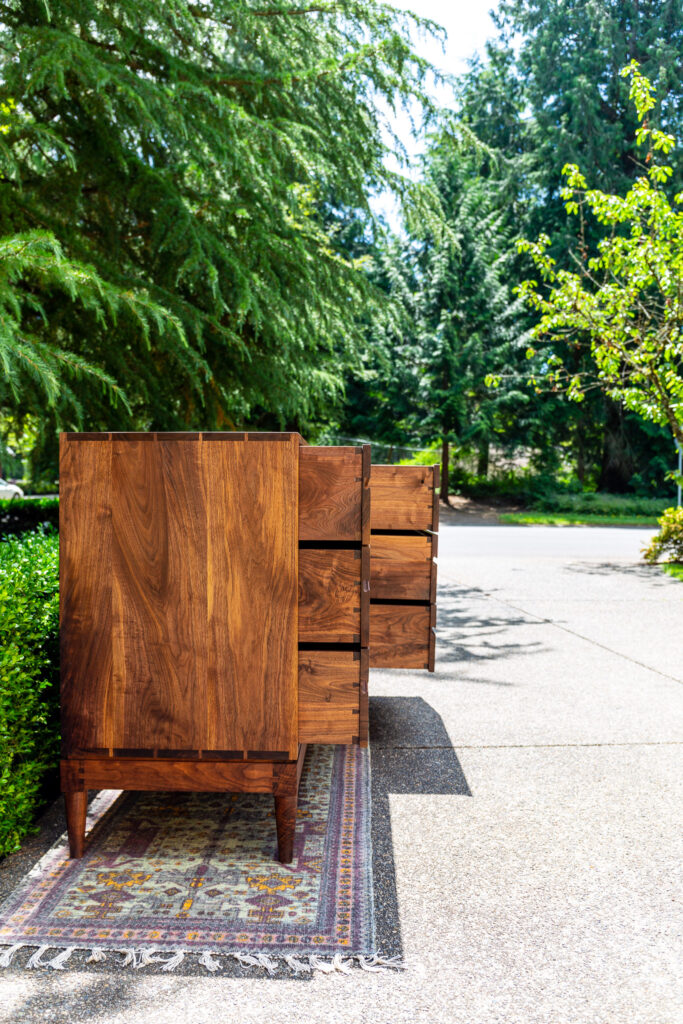
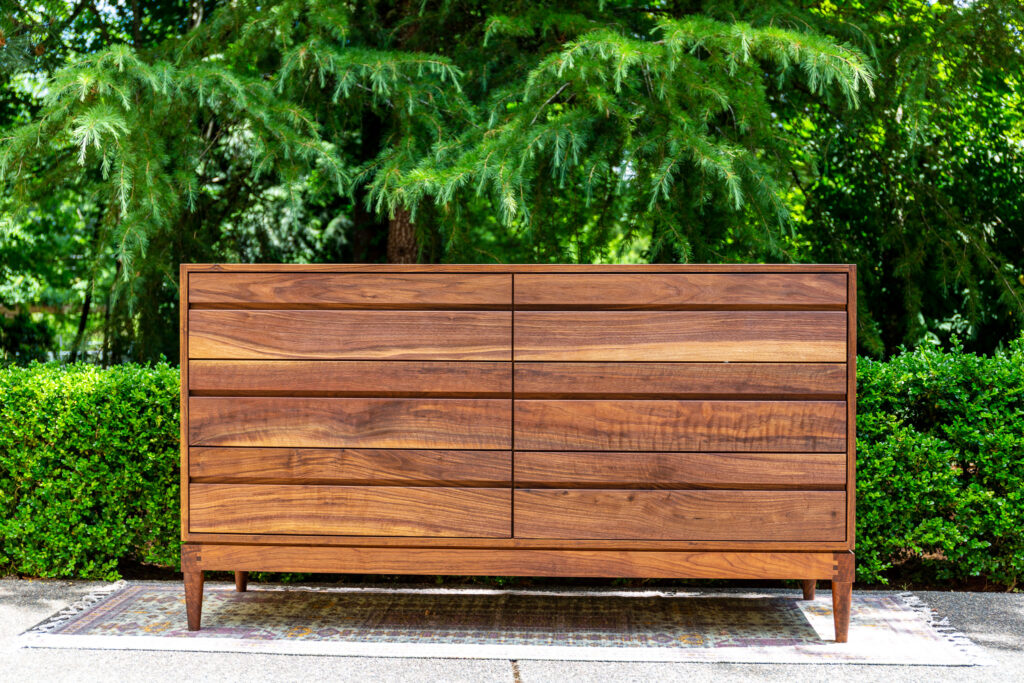
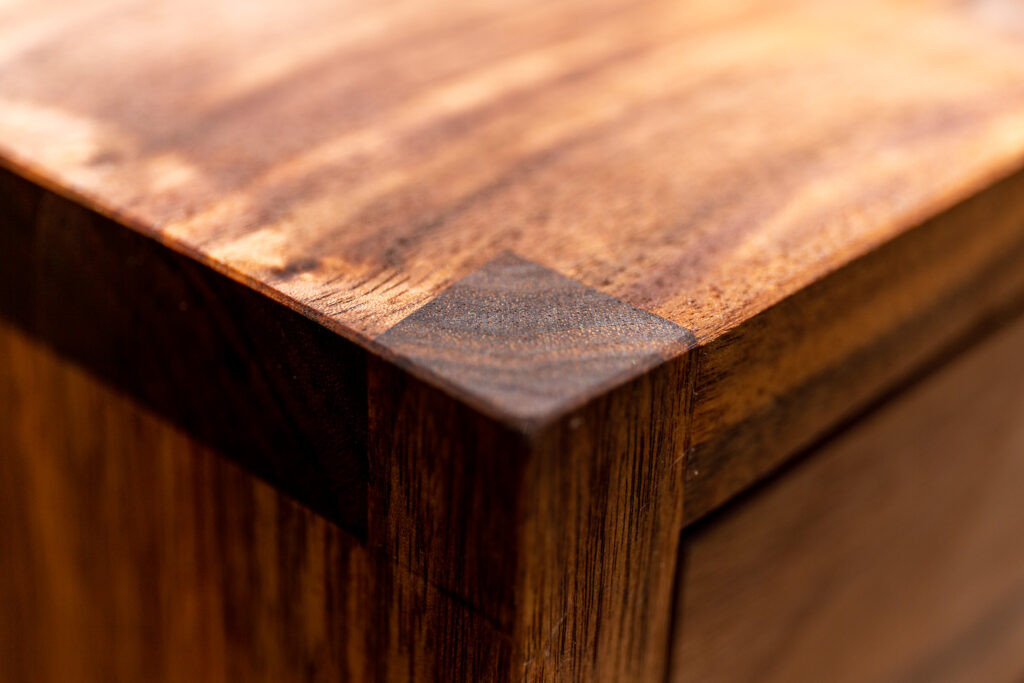
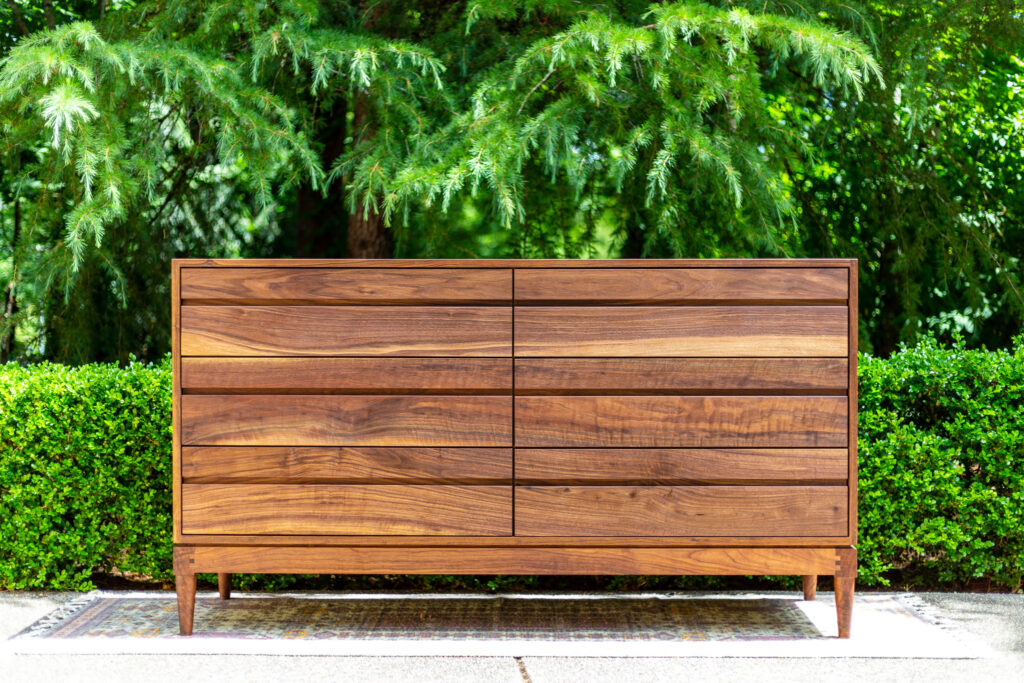
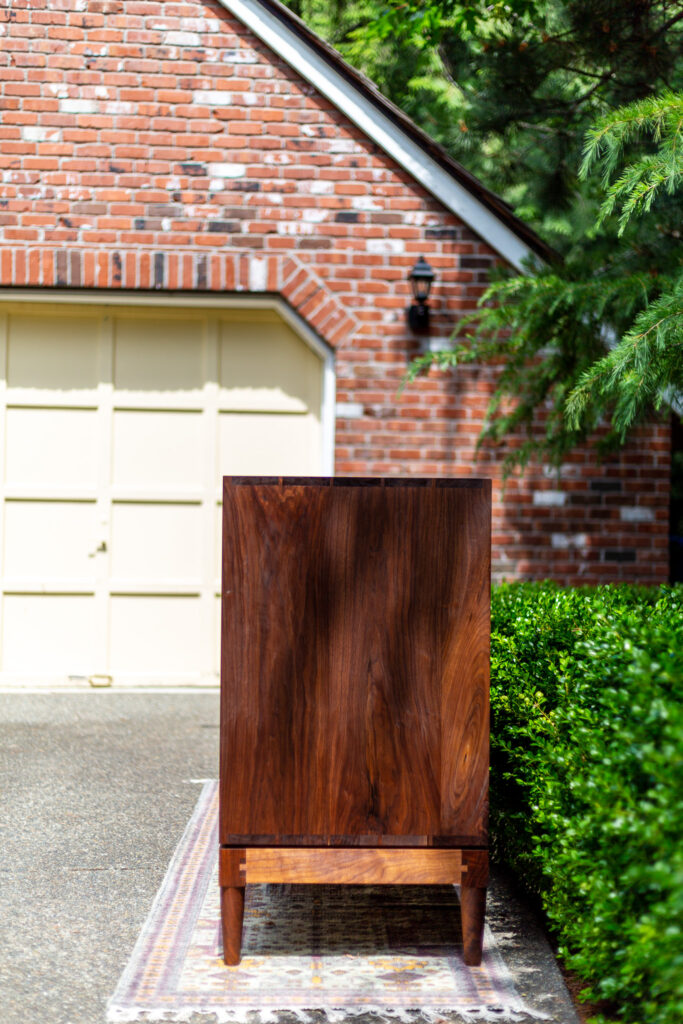
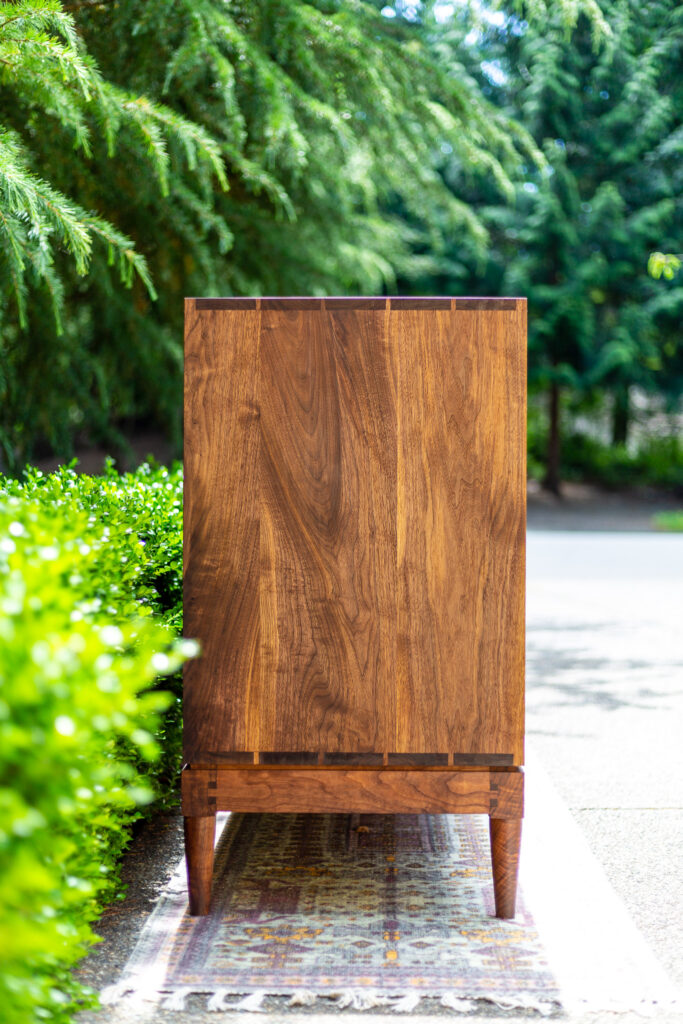
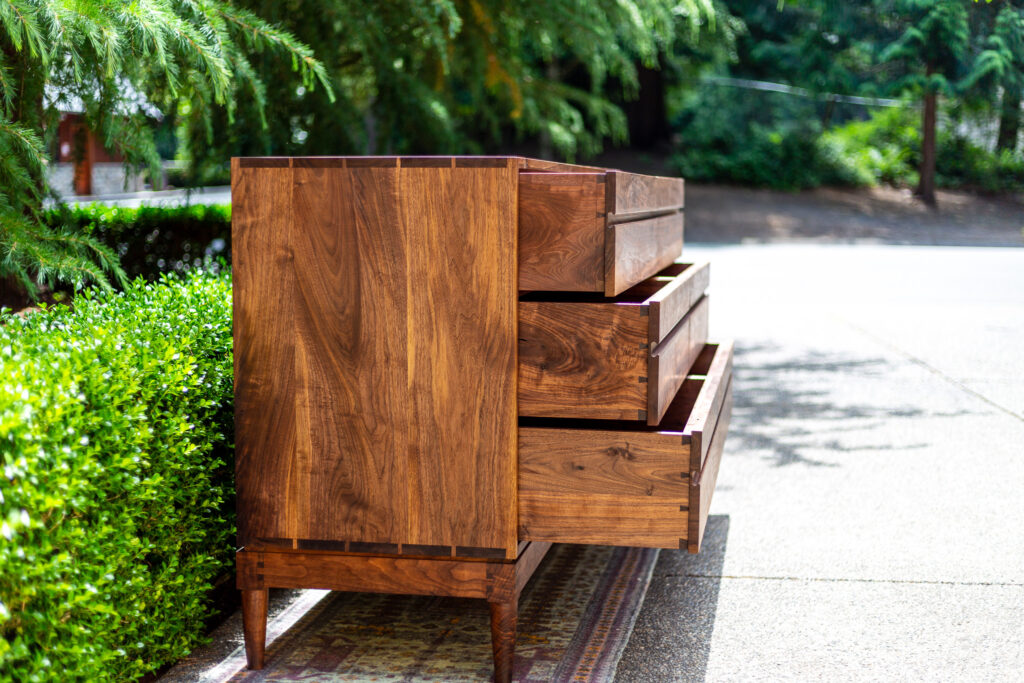
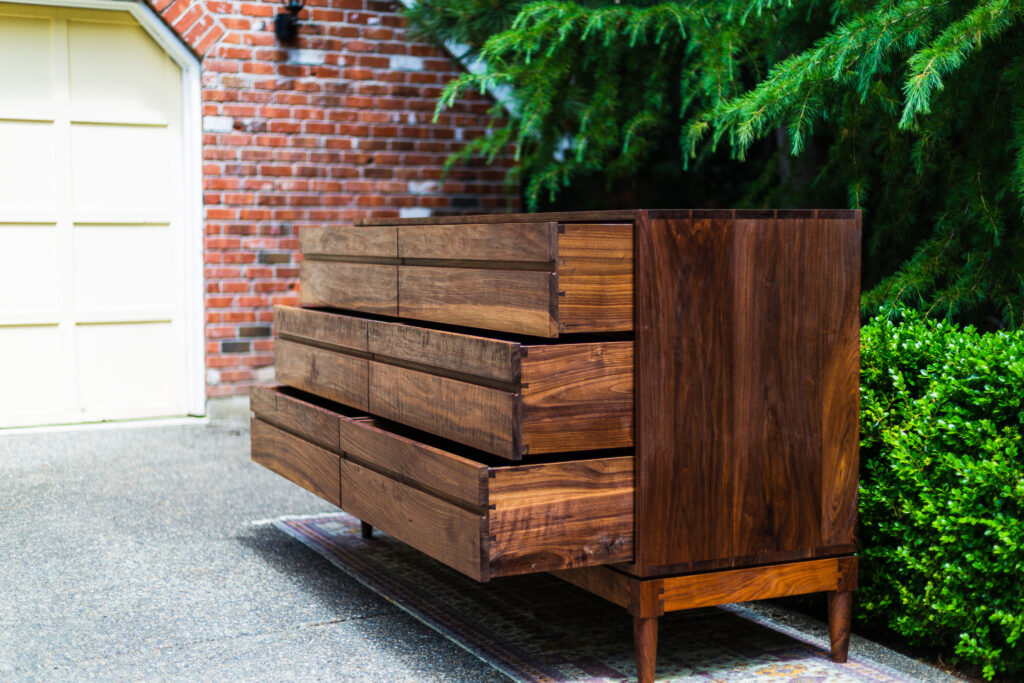
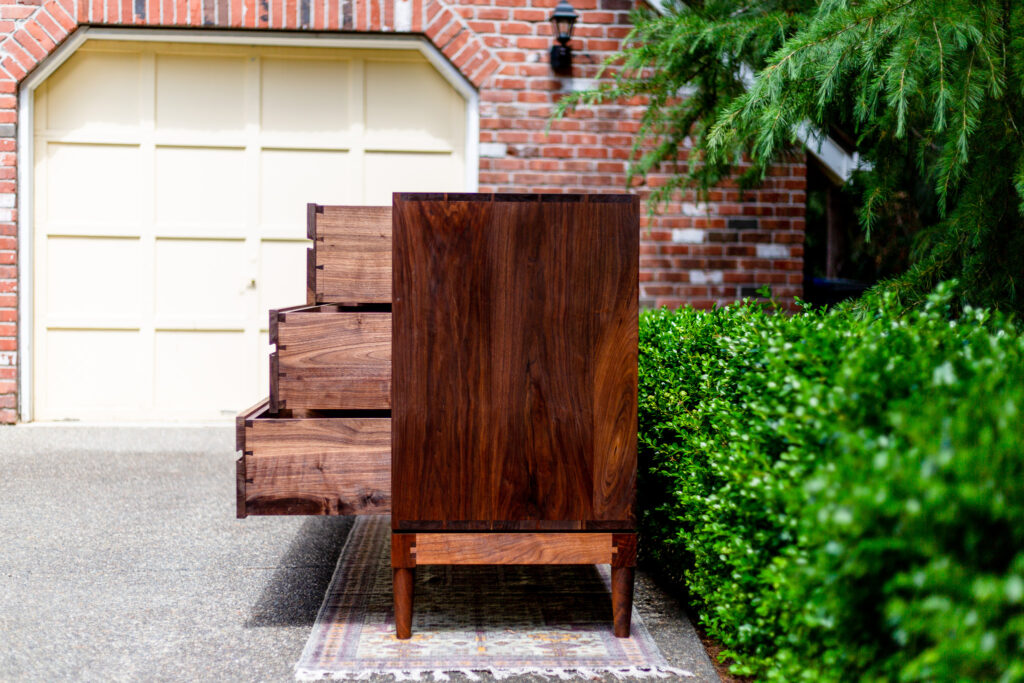
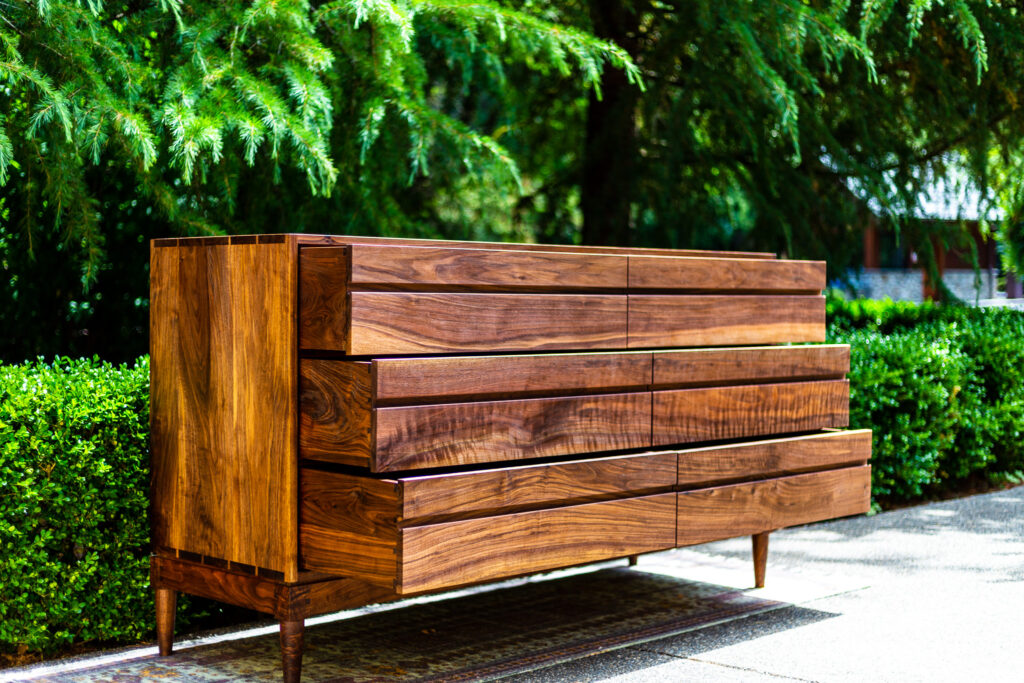
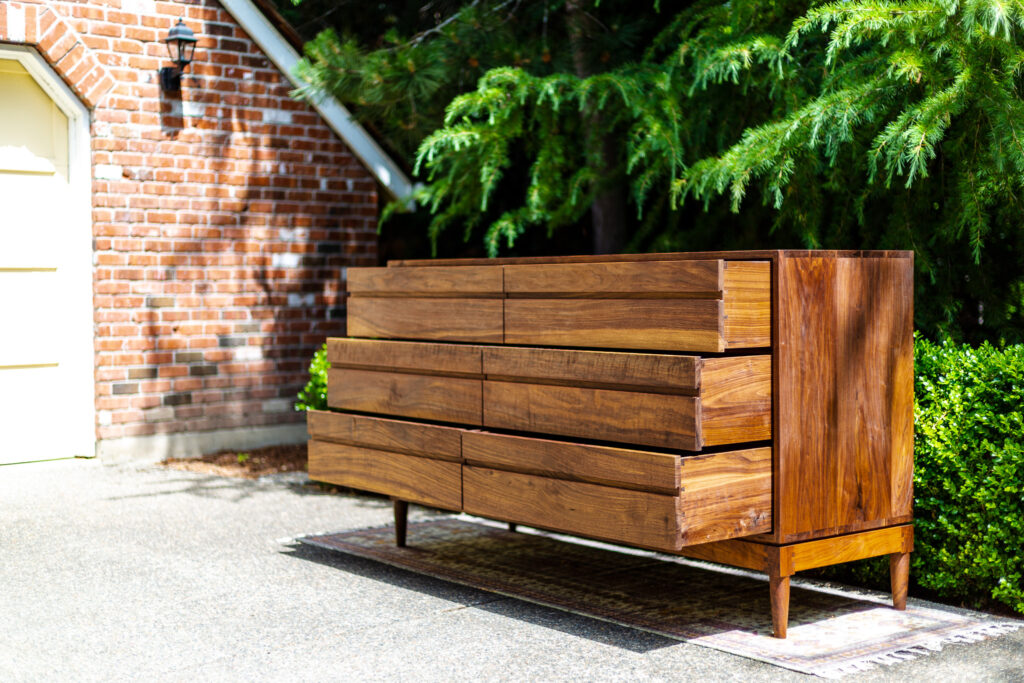
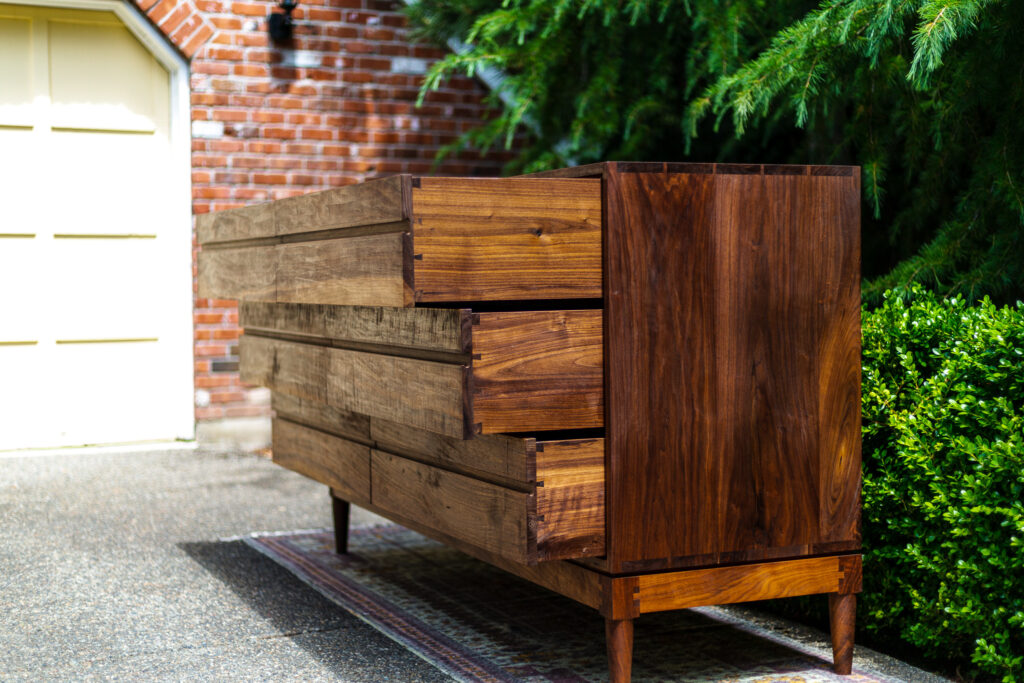
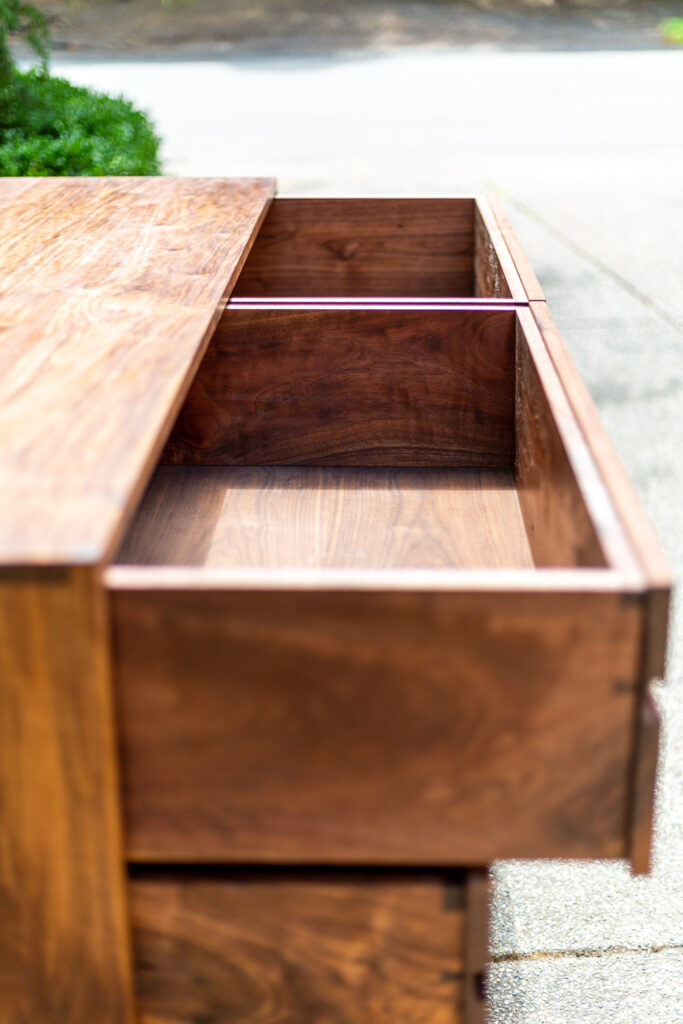
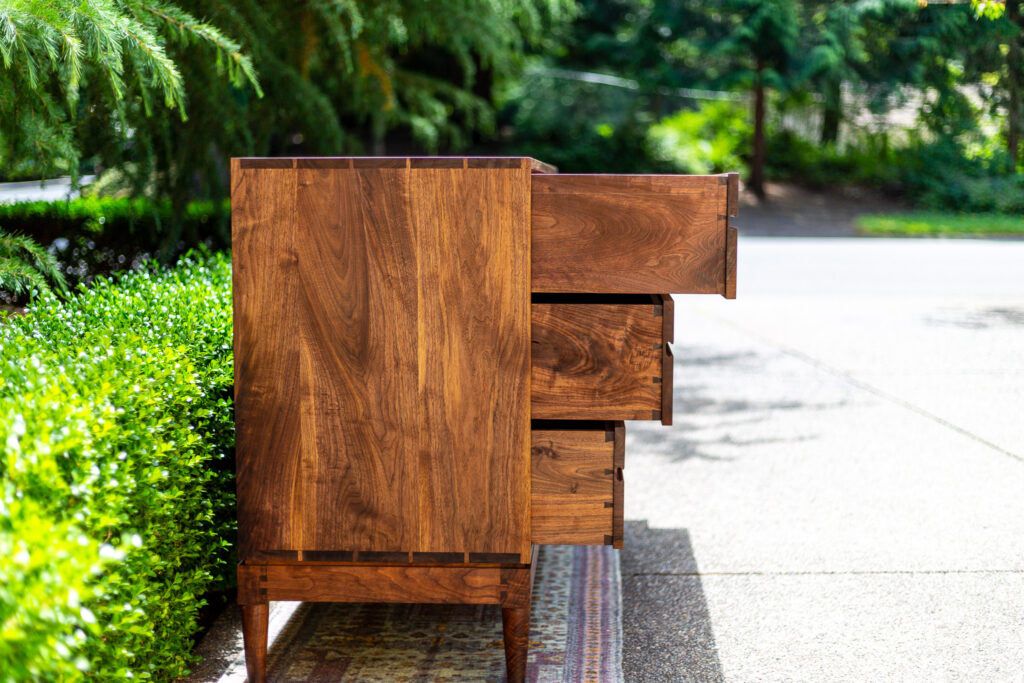
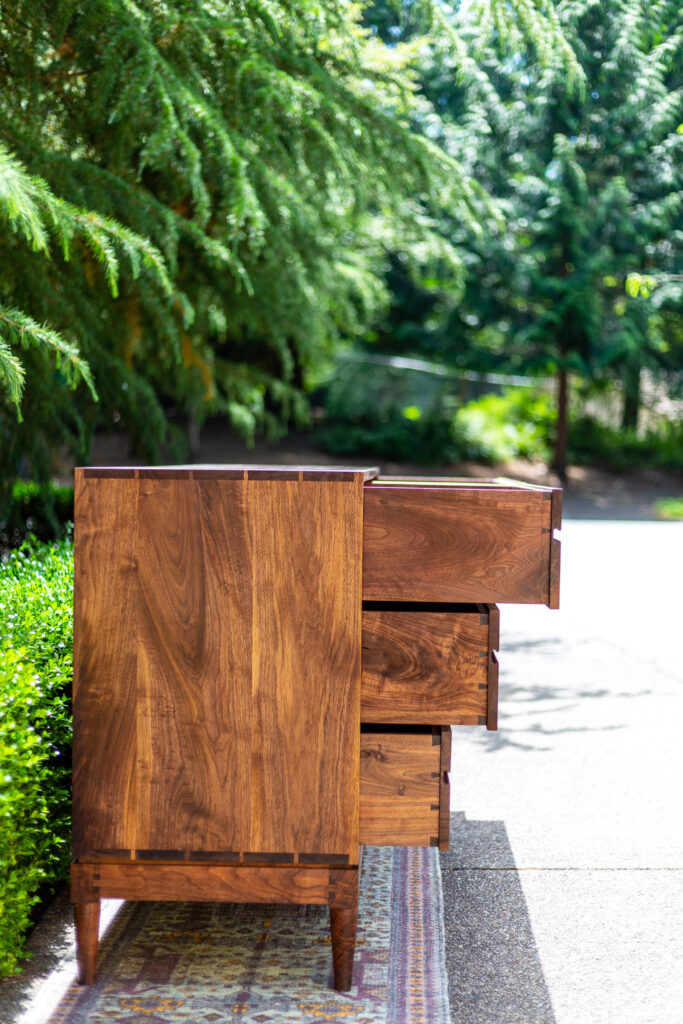
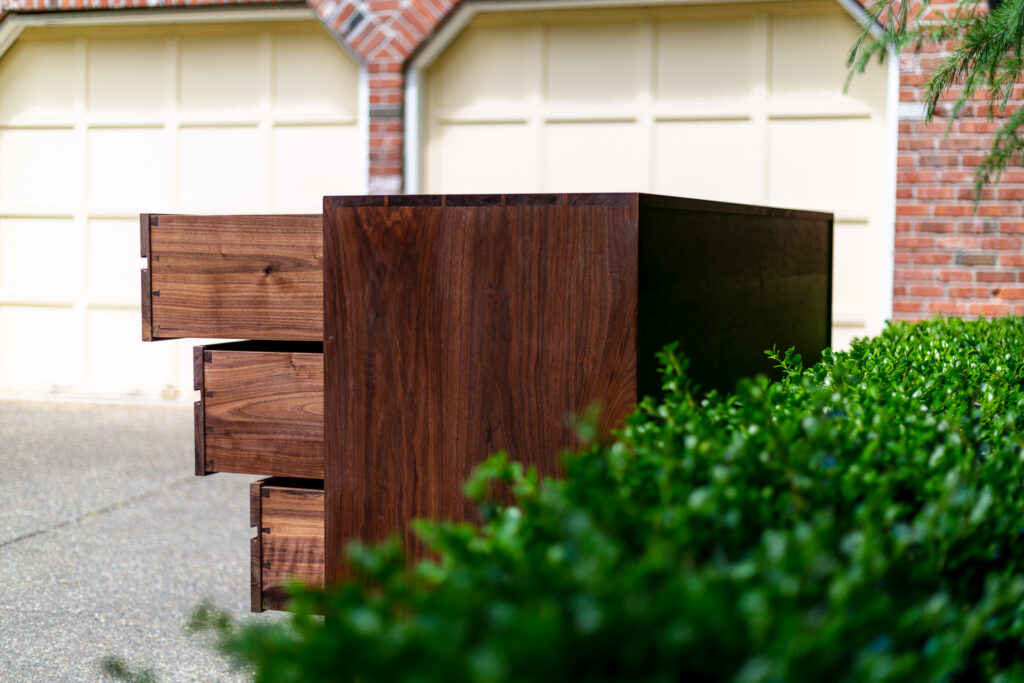
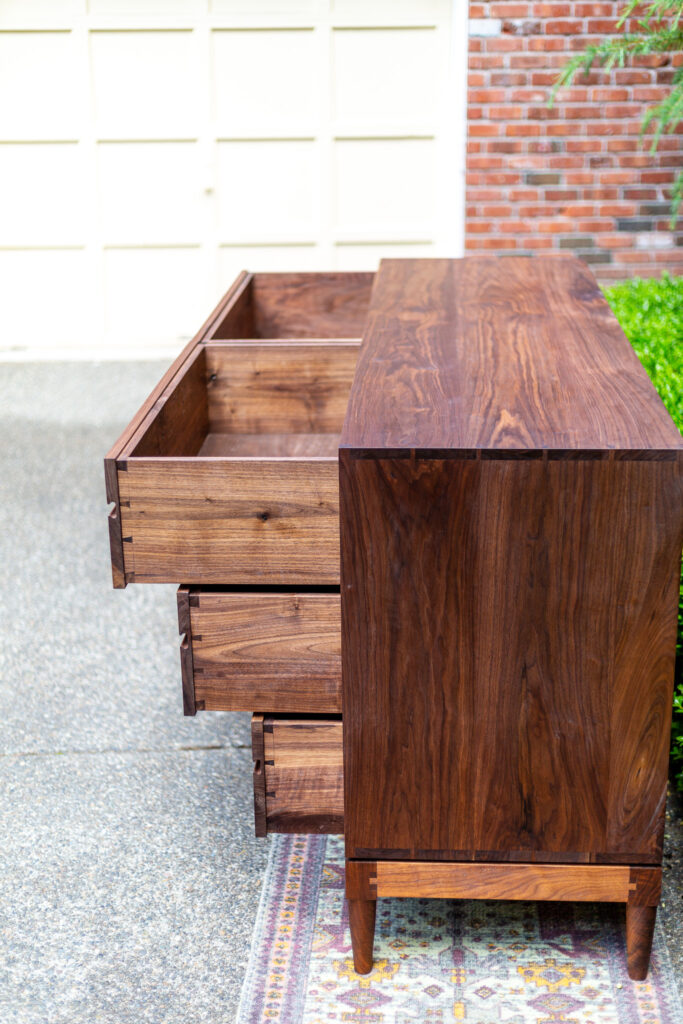
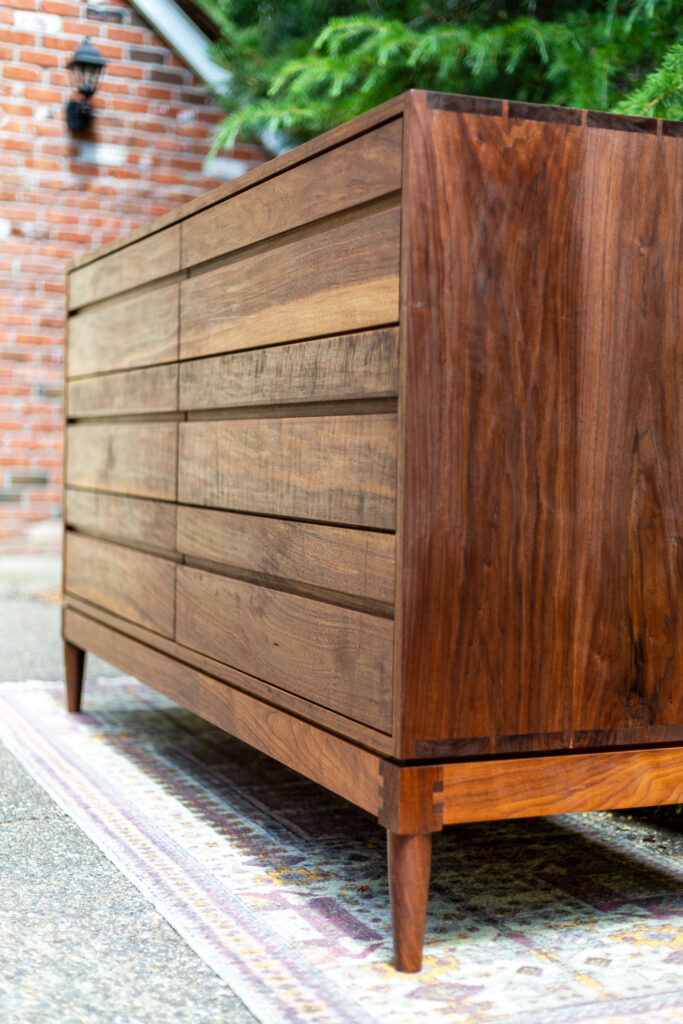
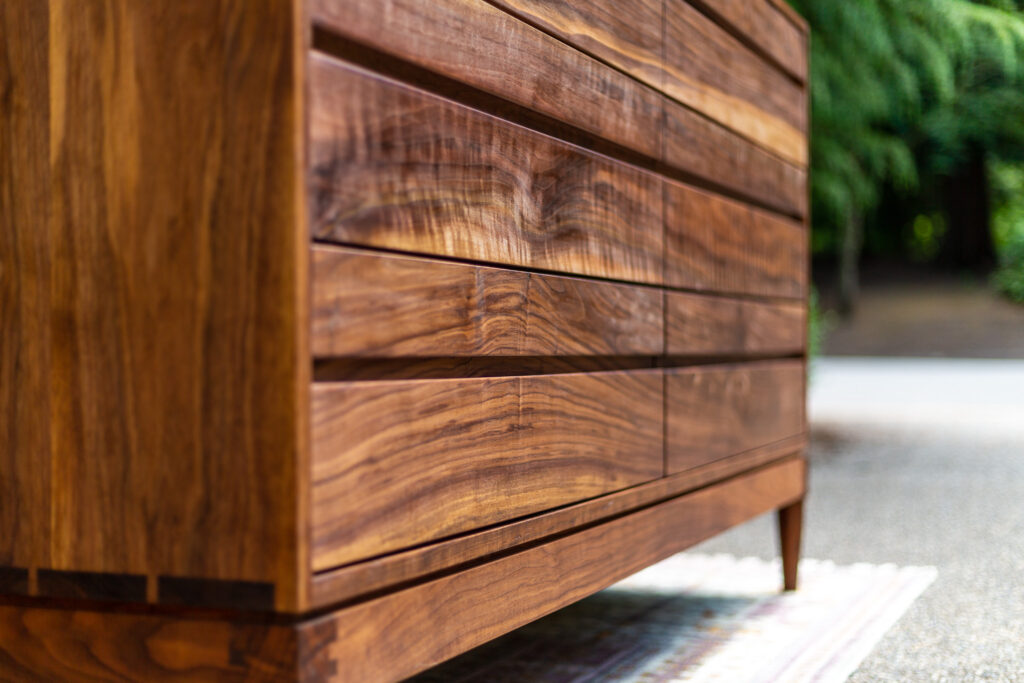
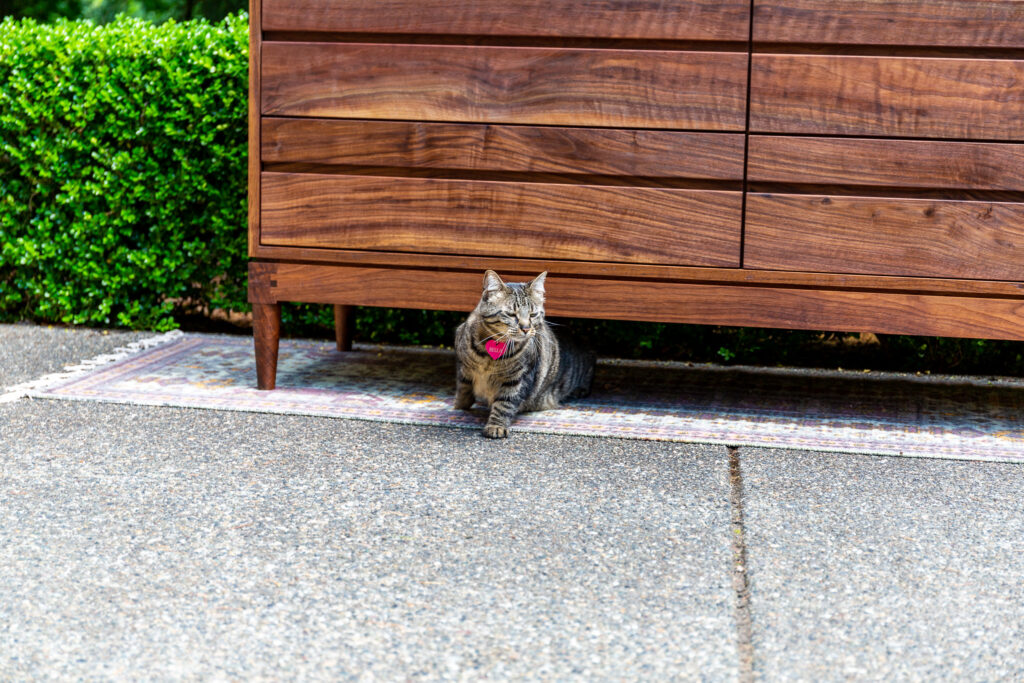
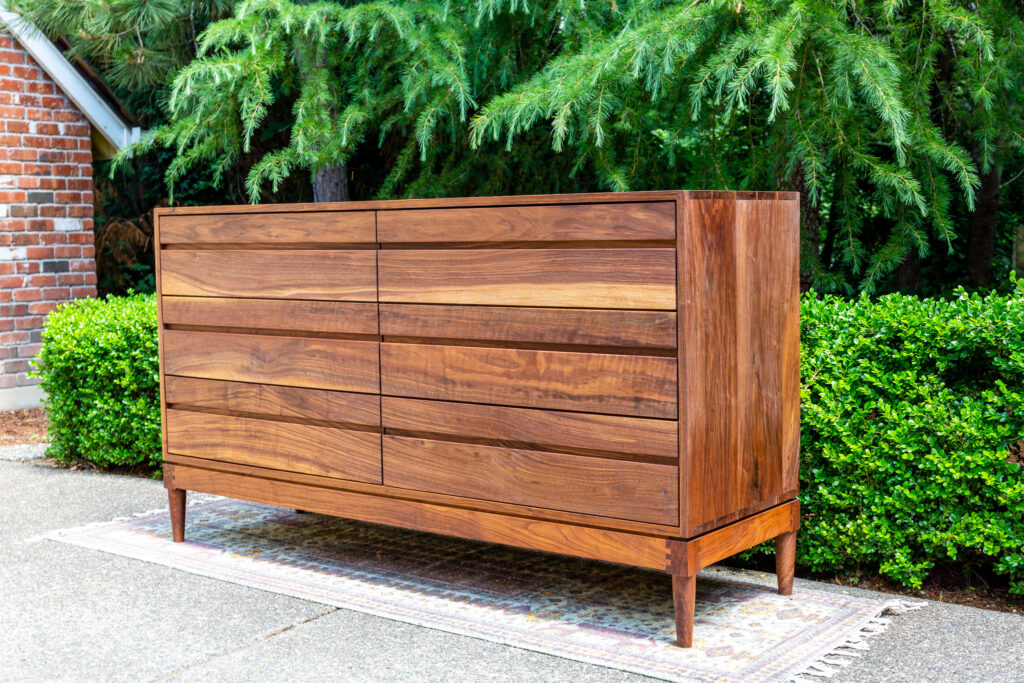
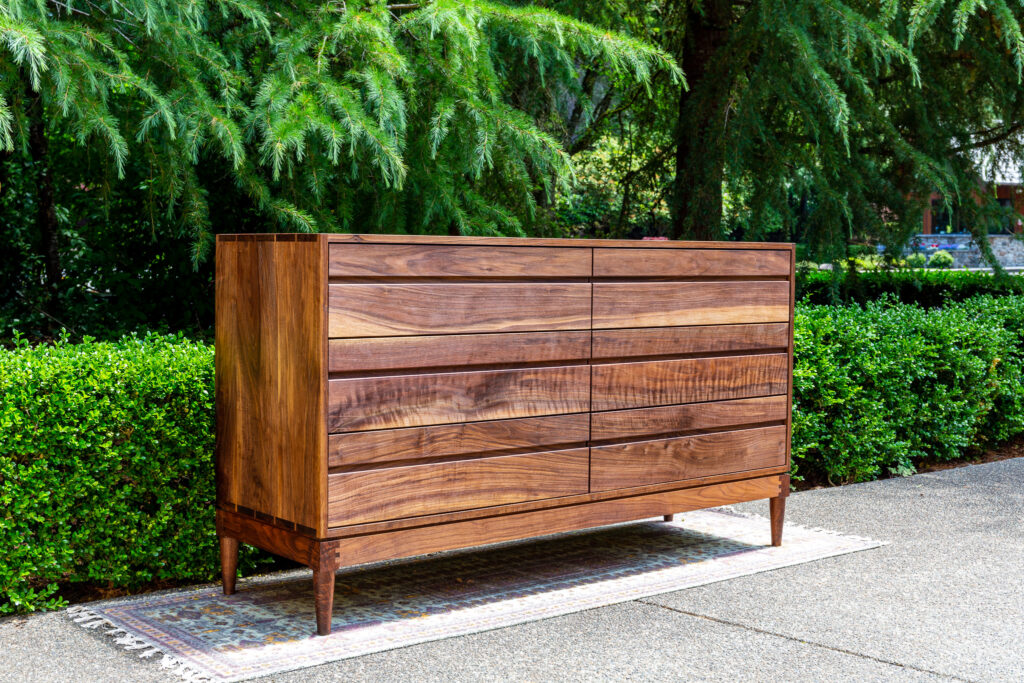
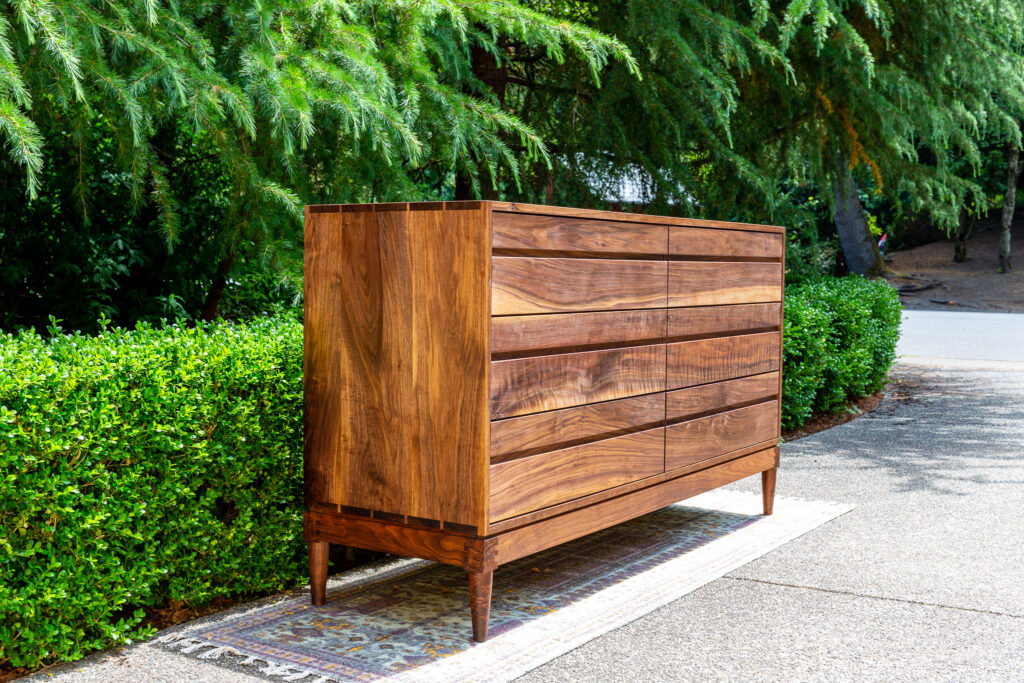
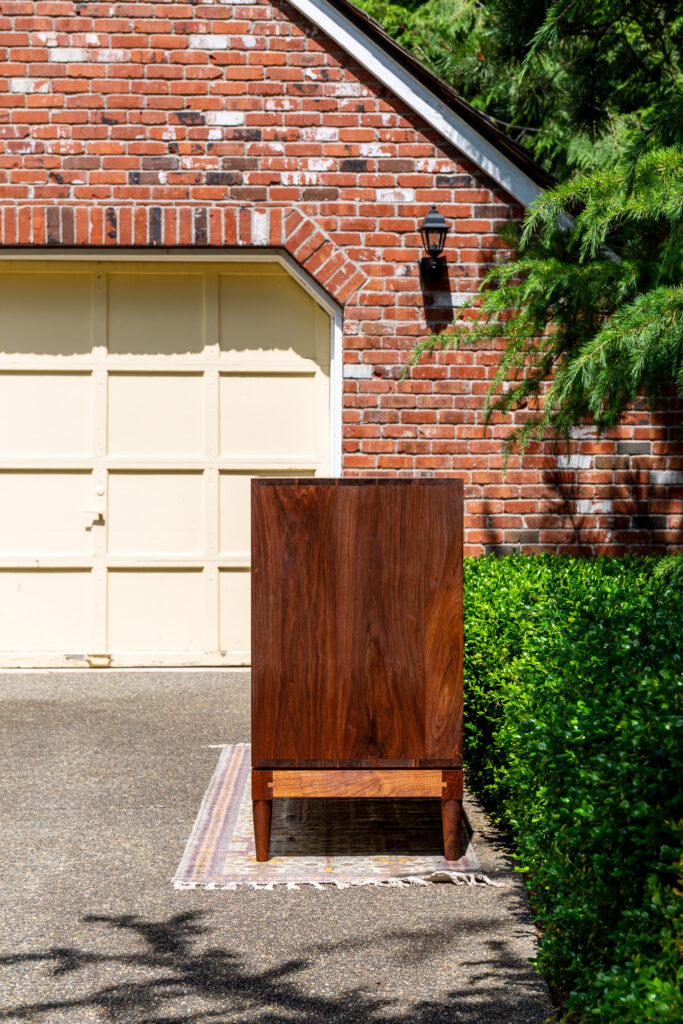
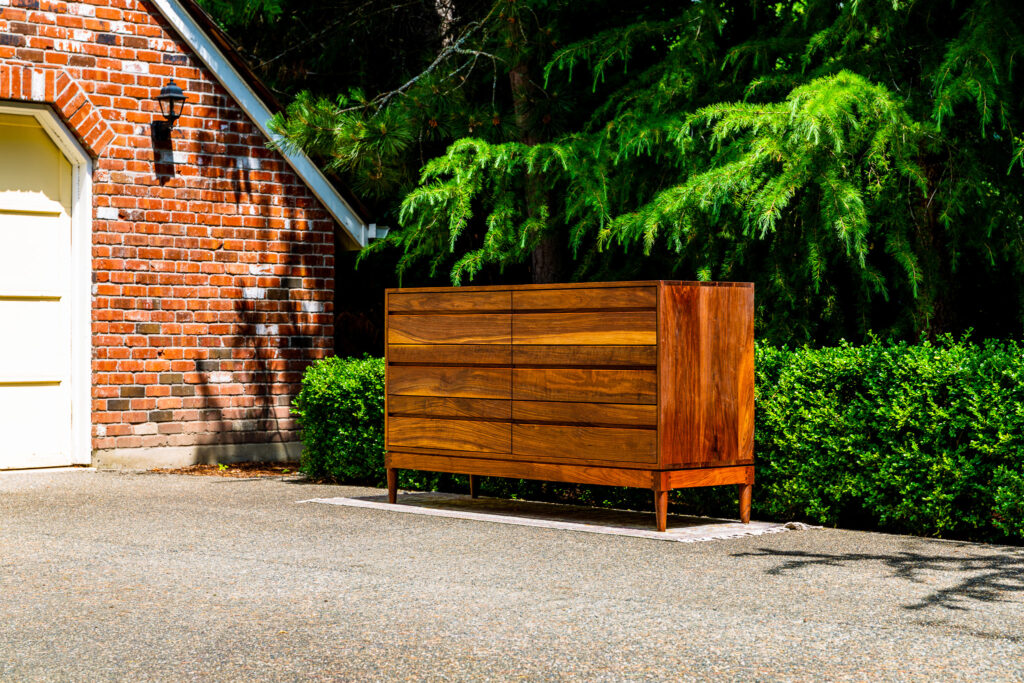
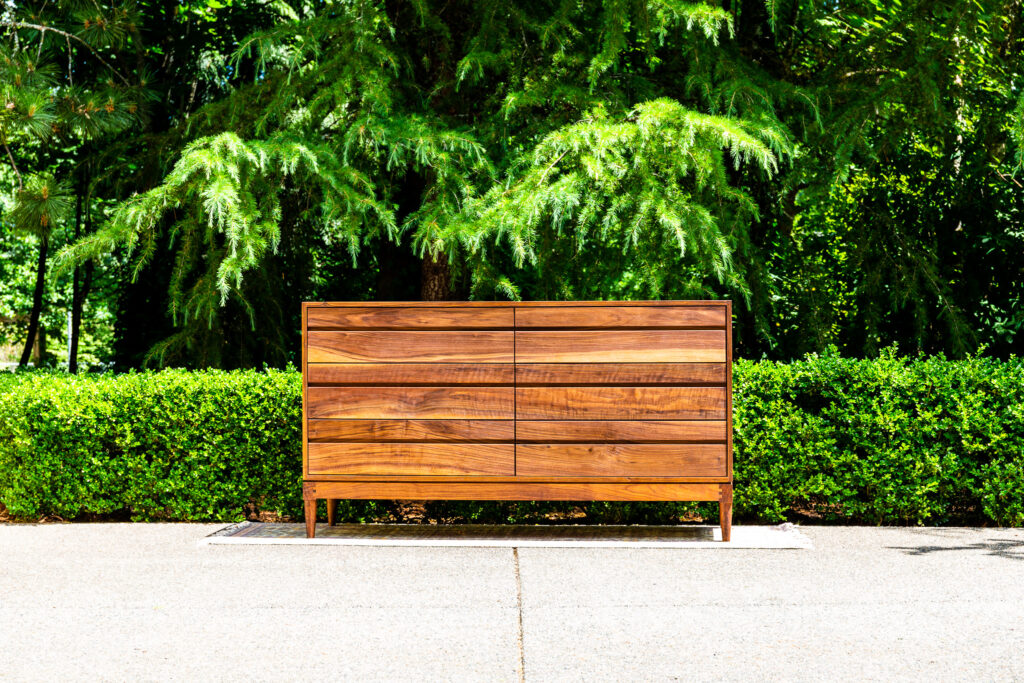
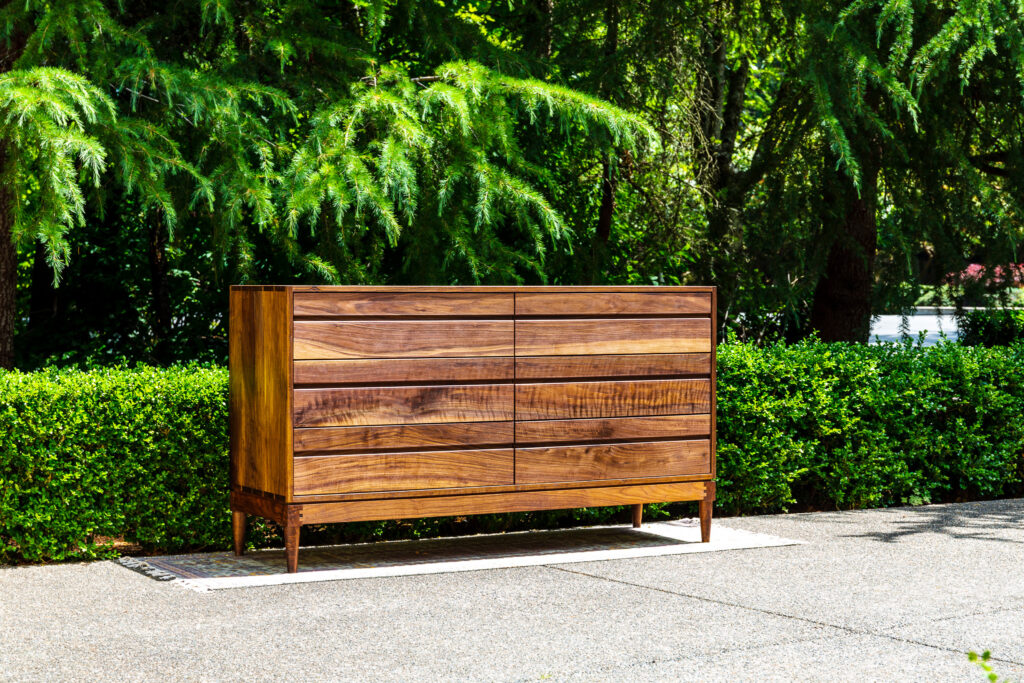
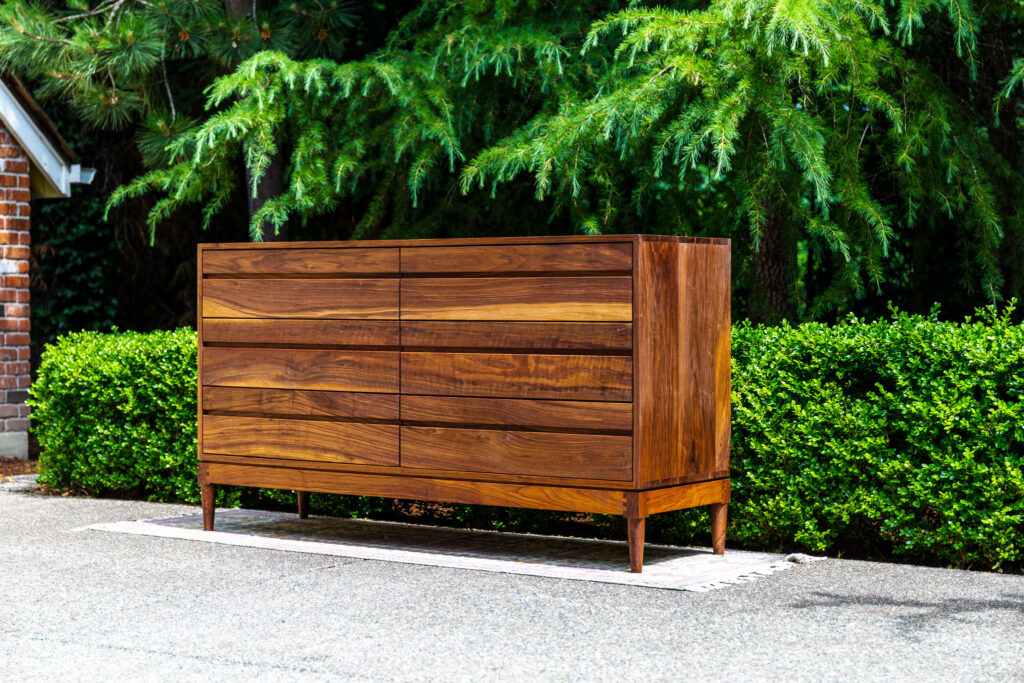
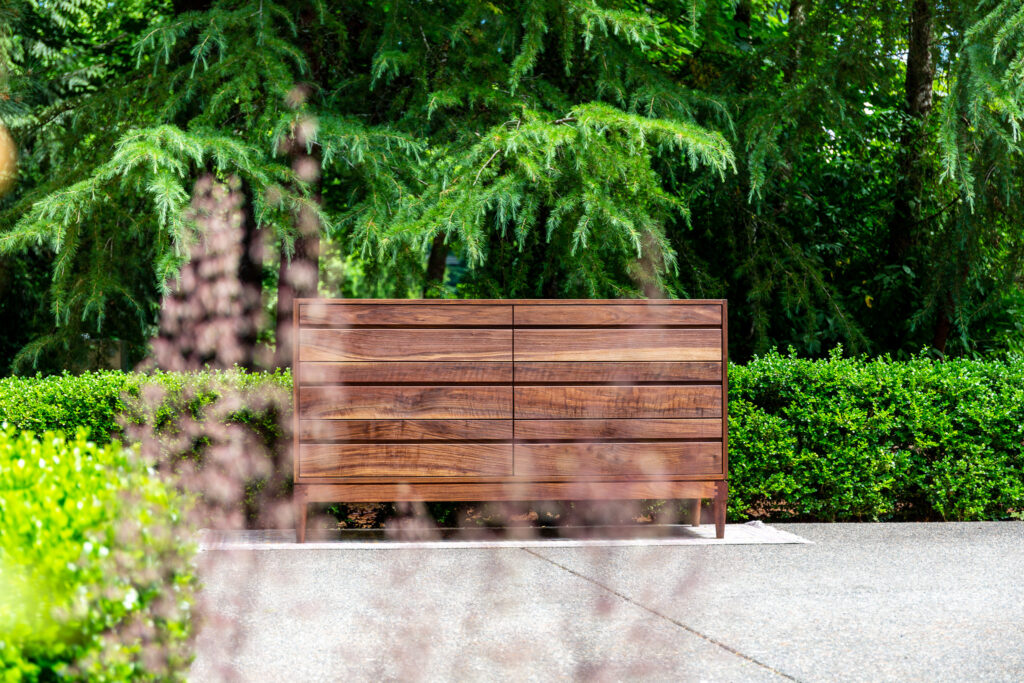
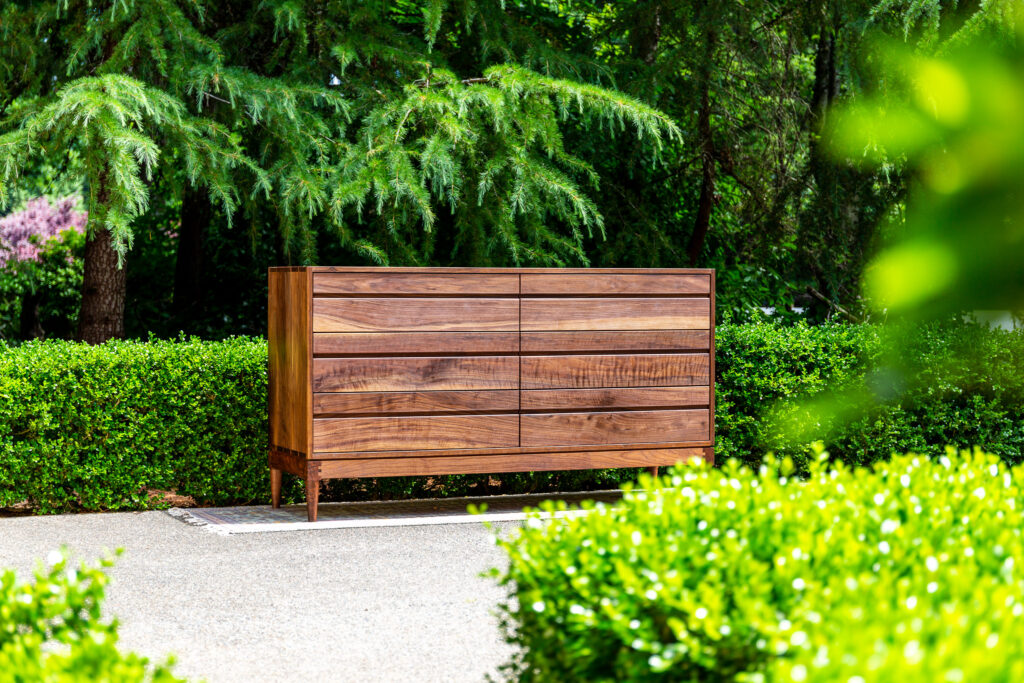
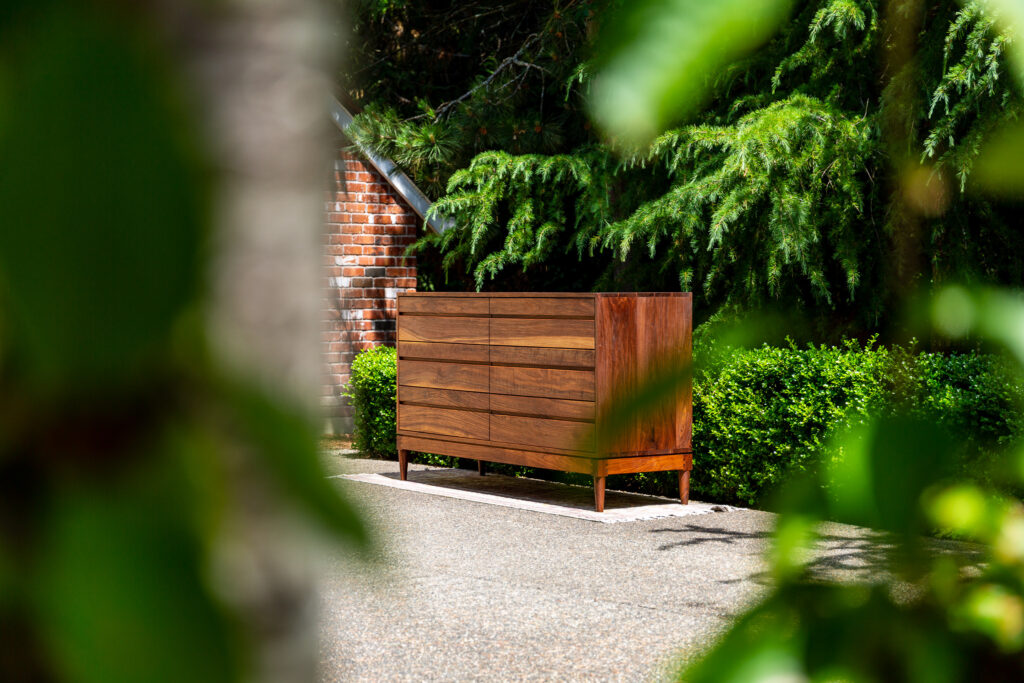
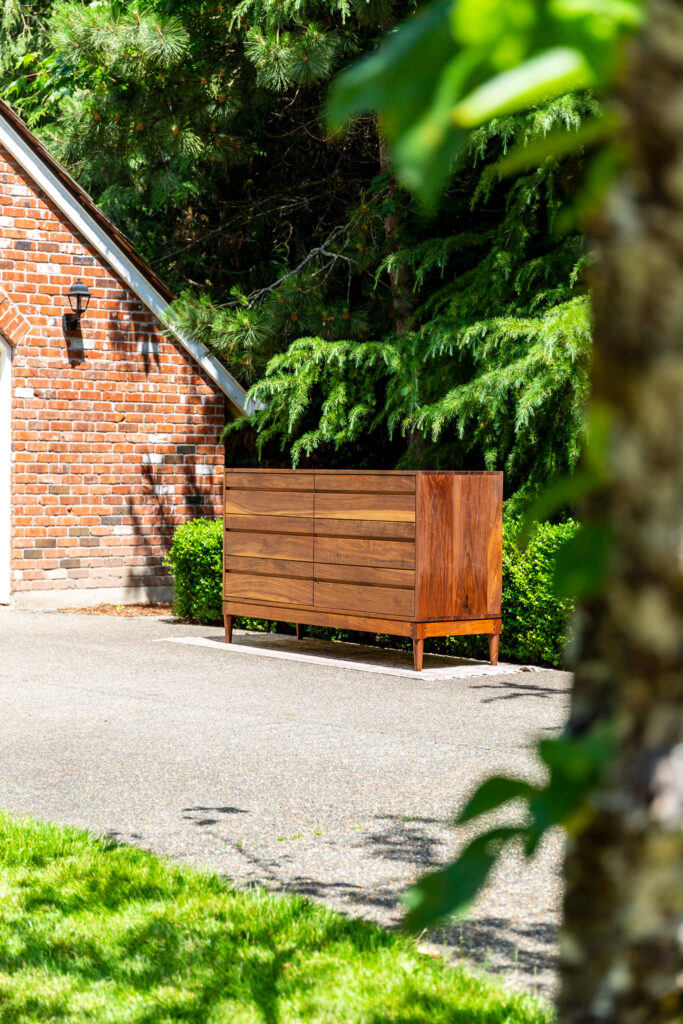
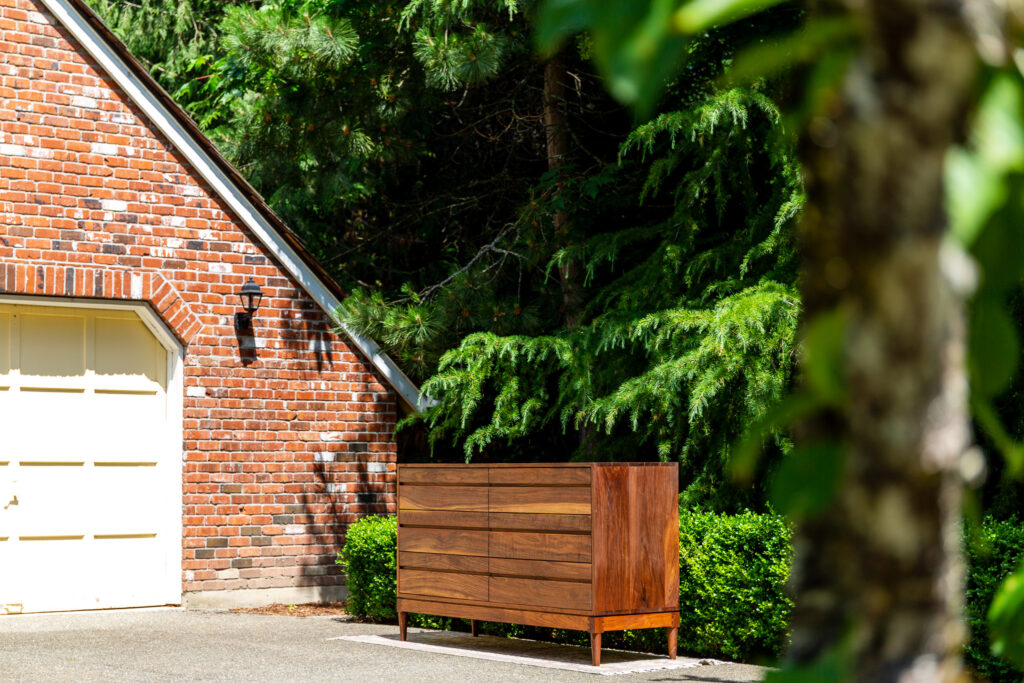
Final Photos
Shot on a Canon EOS 5D Mark III with EF 24-70mm F/4 zoom lens and EF 50mm F/1.8 prime lens. Processed in Adobe Lightroom. Enjoy…


Closing Thoughts
What can I say except this was one of those projects that when you are done you stand back and take it all in and say to yourself “I can’t believe I actually built this thing.” For me, this dresser exemplifies the idea that by breaking down a seemingly impossible goal into small manageable steps and then taking each of those steps one at a time, in the end all of those steps can add up to something that would seem insurmountable standing on its own. In the beginning, it was important to me to push myself outside of my comfort zone with this dresser and shoot for something that was a bit of a stretch. To me, that is the only way to learn. There were failures along the way but in the end the pride that comes from creating something like this that is difficult and beautiful and of the highest quality that will last the rest of my life and my children’s lives and possibly their children’s lives has a romance to it that makes you not want to waste your time with anything less ever again.